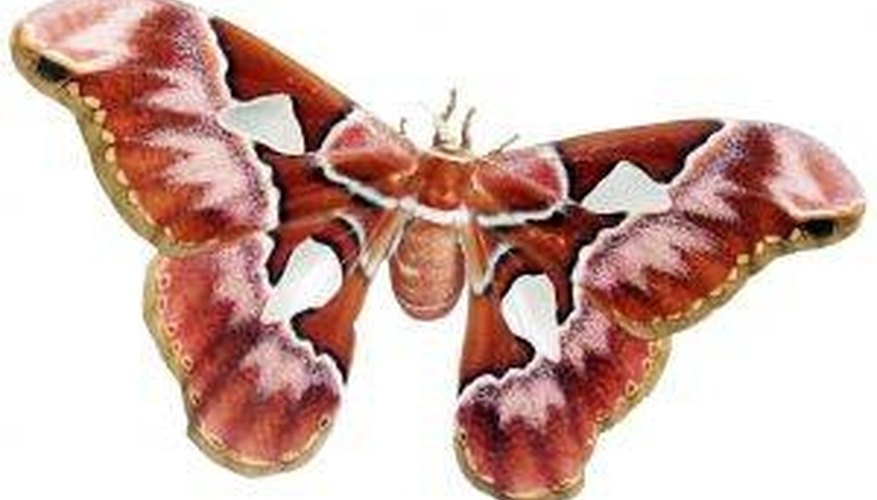

Butterflies come in different sizes and colors, and are considered beautiful by many people. Because of this, butterfly-themed rooms, areas and pictures have been adorning homes for generations. Often, people wish to decorate their home with real butterflies, or have butterflies on display, but getting such pieces of art is quite expensive. Fortunately, framing butterflies is something the average person can successfully do, not only saving a bit of money, but also getting the exact look desired.
Butterflies
Envelopes
Scissors
Moth crystals
Towels
Plastic container with lid
Spade-tip forceps (butterfly forceps)
Pins
Mounting board
Index cards
Wax paper or glass
Shadow box
Foam board
Wire cutters
If your butterflies are freshly caught, you do not need to relax the butterflies' wings, but you still need to lay them out to dry as instructed in Steps 3 through 6. Practice spreading and mounting on cheaper, or disposable butterflies. until you get the hang of it.
Obtain your butterflies. While some people may catch their own, you can purchase a variety of butterflies online from companies such as Butterflies and Things and Insect World (see Resources). The butterflies may be listed in the their Latin names, rather than their common names. Butterflies usually do not arrive with their wings open, so you will need to relax them, spread their wings, and then dry them again.
Relax your dried butterflies so they can be manipulated for framing without damaging them. Place each butterfly in an envelope, and fold it over. Cut off a corner to allow for moisture to come in. Lay the envelopes between two damp cotton towels inside a plastic container. Place moth crystals around the envelopes to prevent mold from forming, and close the lid. Wait 12 to 24 hours. It should look freshly caught once it is relaxed enough for the next step.
Open the wings by pinching the thorax of the butterfly with your fingertips. If you need to open them further, use spade tip forceps to gently force them open, so you can eventually get the forceps with one end in between the wings, as close to the thorax as possible, and the other end on the outside of the wings. Once you do, wiggle and bend it a bit, and then do the same thing on the other side. Keep holding the thorax on the outside.
Mount your butterfly to dry again. Use a pin to go through the thorax once the wings are loose and open. Then push it straight through until it pushes out the other side of the thorax by a half inch. Then gently push the pin through a mounting or foam board, available at craft stores.
Secure the wings with a thin strip of paper, like a cut up index card (about 1/4 inch thick). Place the strip from the top to the bottom of each the wing. It should overhang so you can place your pins in the paper, not the wings. Make sure the antennae are tucked under the strips, so they make a V shape.
Use wax paper, or a piece of glass to cover the rest of the wings, so they don't curl. Let all the butterflies dry again for 1 to 2 days. You have just spread your butterflies, so they are ready to frame.
Purchase a shadow box from anywhere frames are sold. Cut a piece of foam board (thick enough to fit in your shadow box, and place your pins in) to fit the exact measurements of your shadow box. You can buy fabric covered foam board to make it aesthetically pleasing to you.
Gently remove the pins, paper and wax paper from the dried and open butterfly on the temporary mounting board. Then, pin the thorax of the butterflies into the foam board in your shadow box. Cut off any excess pins sticking out with wire cutters. Piece together the shadow box, and enjoy.
Items you will need
Tips
References
Tips
- If your butterflies are freshly caught, you do not need to relax the butterflies' wings, but you still need to lay them out to dry as instructed in Steps 3 through 6. Practice spreading and mounting on cheaper, or disposable butterflies. until you get the hang of it.
Writer Bio
Melissa Lewis is a former elementary classroom teacher and media specialist. She has also written for various online publications. Lewis holds a Bachelor of Arts in psychology from the University of Maryland Baltimore County.