How To Make A Light Bulb Work With A Battery
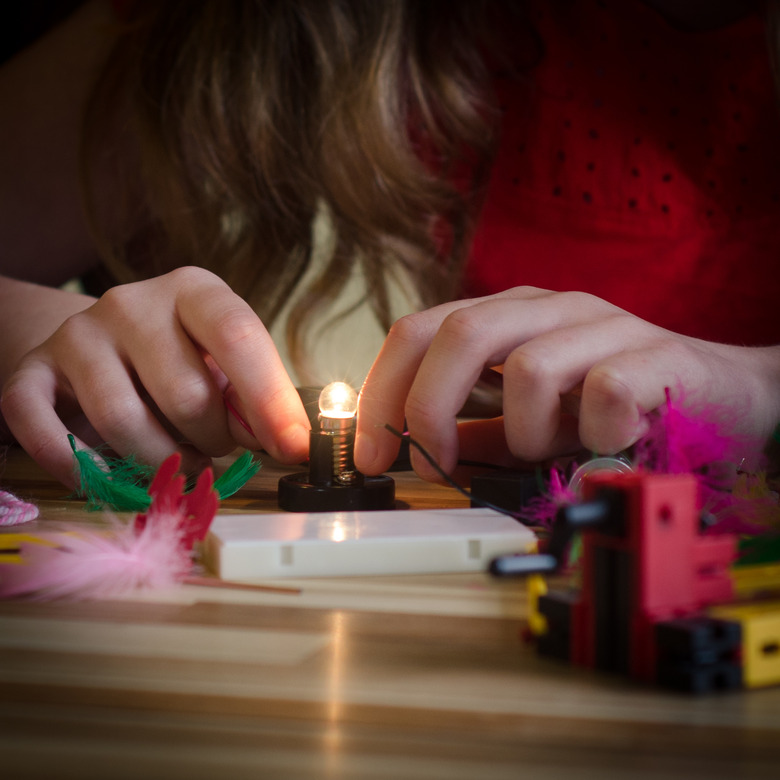
You can learn basic facts about electricity by wiring a simple flashlight bulb to a battery. When you wire the circuit together, current from the battery flows through the wire to the light bulb, lighting it. The circuit is simple, inexpensive and completely safe; you can find the parts at any hardware store.
Step 1
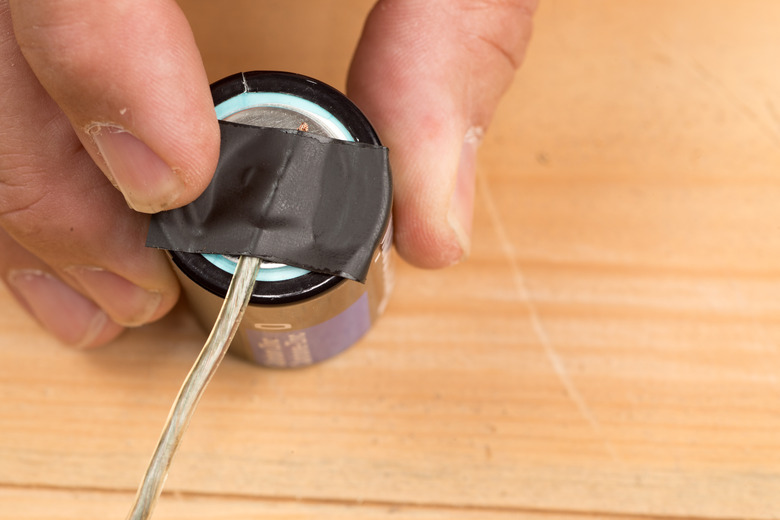
Strip about 2 inches of insulating material off both ends of the wires if the wires have coated ends. Attach one end of the wire to the negative or smooth end of the battery, using a small piece of electrical tape to keep the metal wire touching the battery.
Step 2
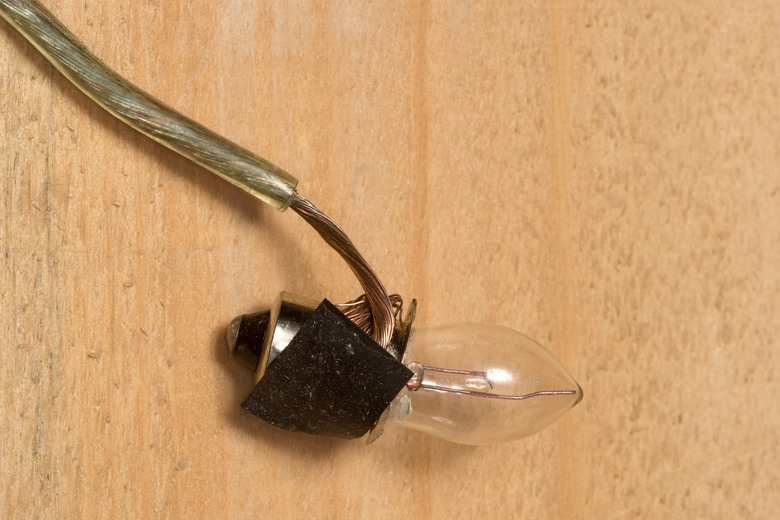
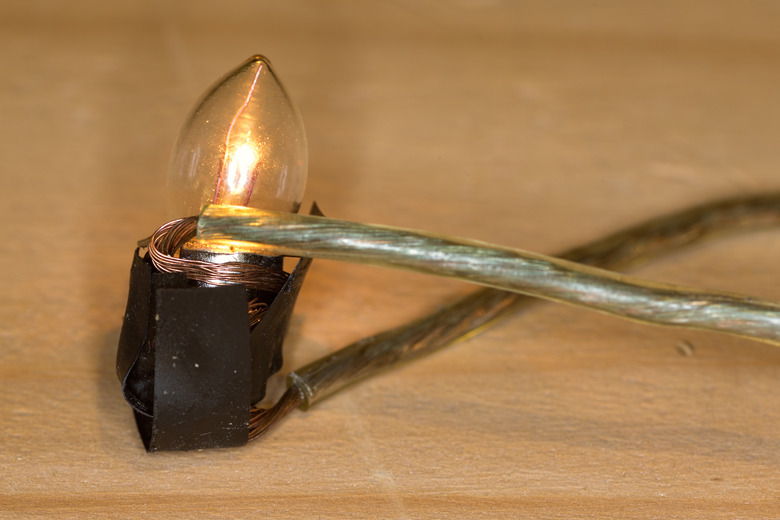
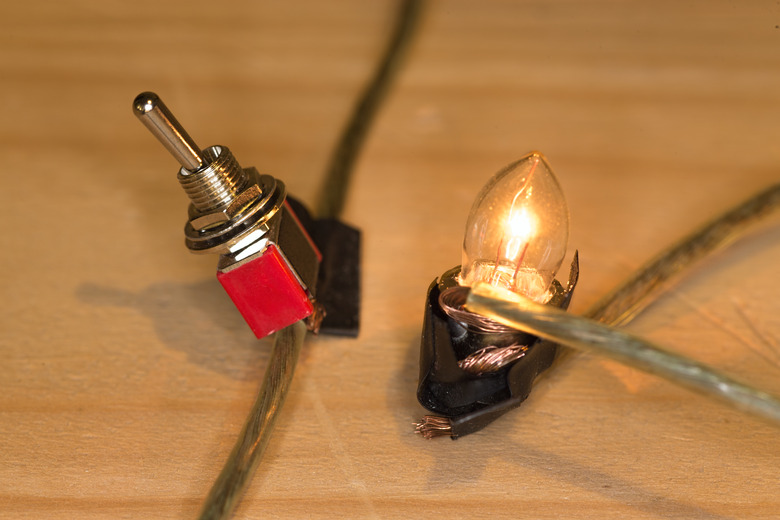
Attach the other end of the wire to the bulb by wrapping it around the metal at the bottom of the bulb. Wrap it around the area where the screw threads are on a normal bulb. You may need to attach a piece of electrical tape over the wire to hold it securely around the metal bulb base.
Step 3
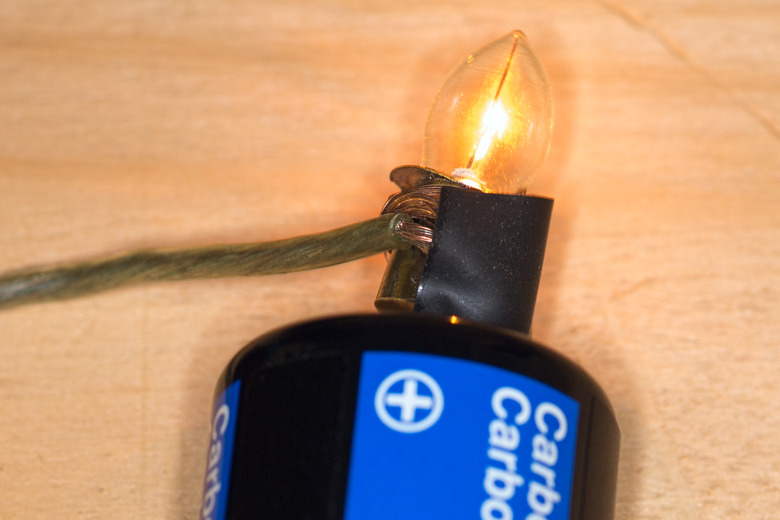
Make the light bulb light up with the battery by touching the bottom tip of the bulb to the positive or bumpy end of the battery. The bulb contains two wires extending into the inside of its base that create the circuit that lights the bulb. One stops at the side of the metal base and one extends into the tip, so be sure all contacts with the bulb base touch.
Step 4
Light the bulb using two wires. Attach one wire to the negative end of the battery and wrap the other end of the same wire around the base of the bulb. Attach the other wire to the positive end of the battery with electrical tape and to the base of the bulb, completing the circuit and lighting the bulb.
Step 5
Use optional materials to make this activity easier or to create a simple light that stands alone without tape or holding the bulb against the battery. Buy switches to turn the bulb on and off, bulb or battery holders, wires with alligator clips attached and additional bulbs or batteries at teacher and hobby stores.
Things Needed
- C- or D- cell battery or both
- 8- to 10-inch coated/insulated copper wire
- Electrical tape
- Wire strippers
- Flashlight bulb
- OPTIONAL:
- Additional wire
- Battery and bulb holders
- Copper wire with alligator clip attached
- Switches
- Various materials to test as insulators and conductors
- Multiple wires and bulbs
TL;DR (Too Long; Didn't Read)
If using as a child's activity, try testing conductivity and insulating properties of various materials such as paper, foil, plastic and glass by placing them between the wire and battery to see whether the bulb still works. If using this activity to teach children about electricity, drawing the circuit of battery contact (negative), wire, bulb and battery contact (positive) helps them understand how an electrical circuit works.
Warning
Match the lightbulb with the output voltage of the battery. Too little voltage, and the bulb won't illuminate. Too much voltage, and the bulb will burn out.
Cite This Article
MLA
Stover, Elizabeth. "How To Make A Light Bulb Work With A Battery" sciencing.com, https://www.sciencing.com/light-bulb-work-battery-4798212/. 17 April 2018.
APA
Stover, Elizabeth. (2018, April 17). How To Make A Light Bulb Work With A Battery. sciencing.com. Retrieved from https://www.sciencing.com/light-bulb-work-battery-4798212/
Chicago
Stover, Elizabeth. How To Make A Light Bulb Work With A Battery last modified March 24, 2022. https://www.sciencing.com/light-bulb-work-battery-4798212/
