How To Make A Rain Forest For A Science Project
Science projects often require taking a concept you have learned in class and applying your understanding with visual props. For science students interested in creating a rain forest, there are many ways to depict this natural scene. Rain forests are filled with different types of animal and plant life. Using a diorama or shoebox to portray a rain forest is an easy and creative way to incorporate all of the characteristics for a classroom science project.
Step 1
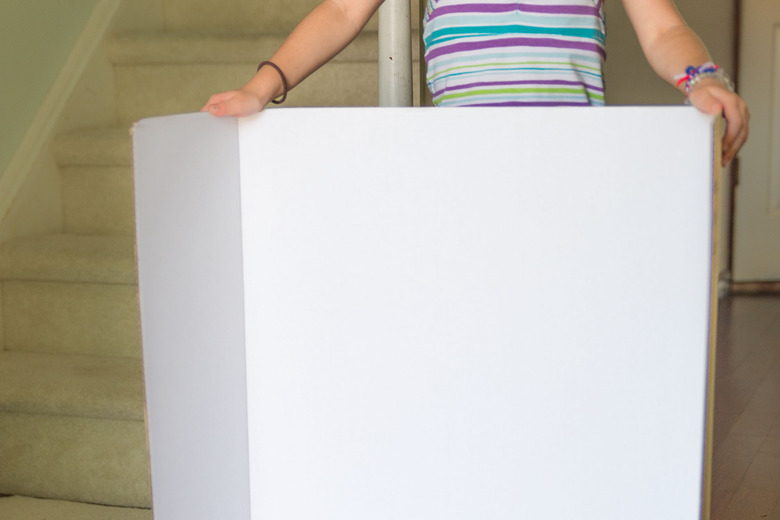
Choose your board. The best way to begin building a diorama is to work with a large piece of foam board or poster board. Purchase a large or extra large size so you will have plenty of room on your display for all of the details.
Step 2
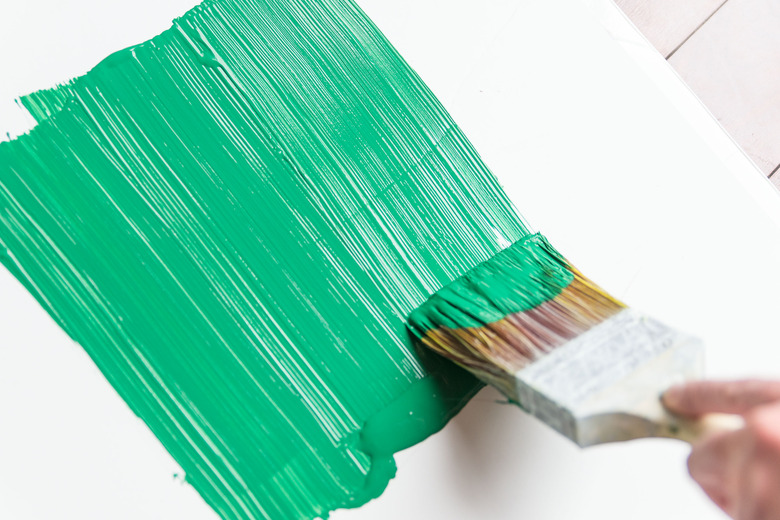
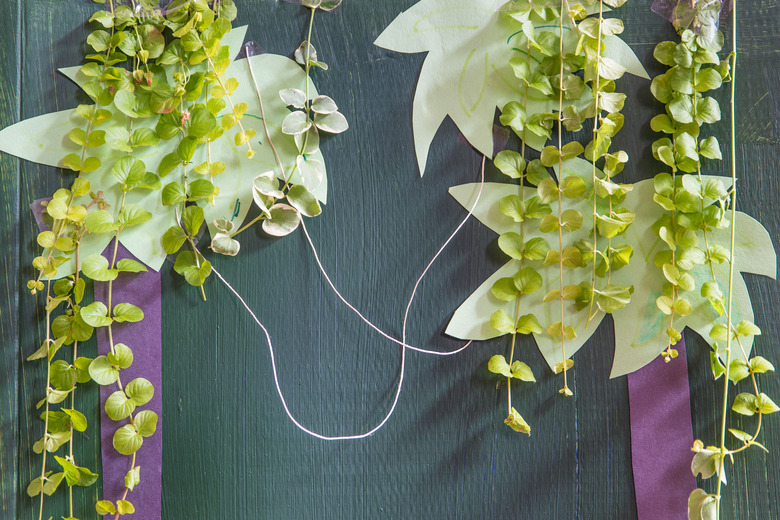
Cover the board with green paint, construction paper or colored marker. This will give your rain forest an authentic color scheme and will act as a base for the rest of the materials. If you choose to create the green background with construction paper, make sure to secure it in place with sturdy tape or glue.
Step 3
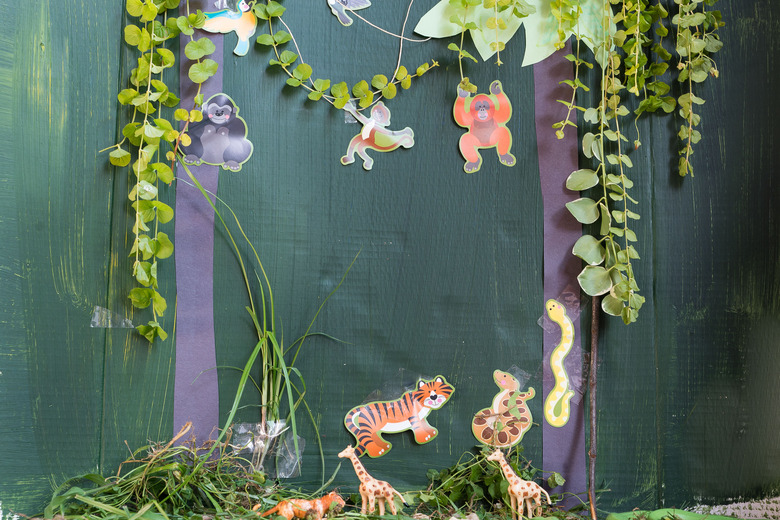
Decorate your scene. This will be the largest portion of the project, so take your time with details and materials. The rain forest is home to many forms of plant and animal life. Illustrate the interior of your shoebox or diorama with these different life forms.
Step 4
Create the plant life. This can be done with a marker or colored pencils. If you prefer a more realistic look, apply faux grass, sticks, leaves, and so forth, for a more three-dimensional texture. Use strips of construction paper to make twisting vines that hang throughout the rain forest. Tissue paper can be crumpled and glued on the box to represent different wildflowers that may appear in a rain forest.
Step 5
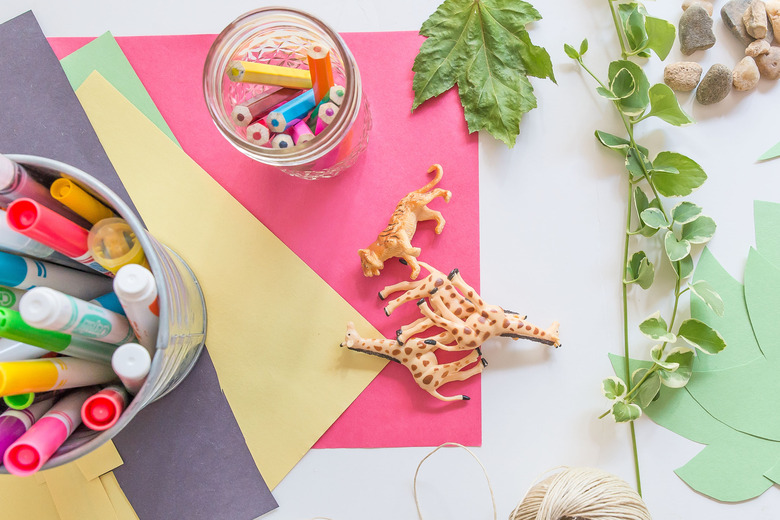
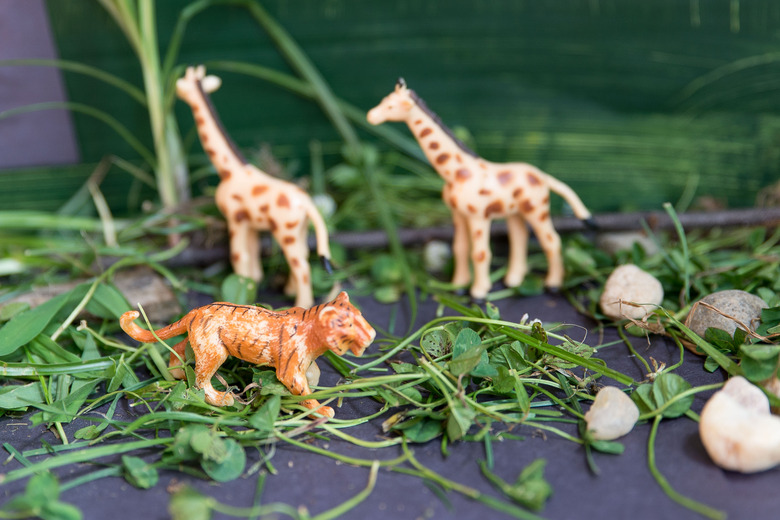
Create the animal life. A rain forest includes animals that are large and small. There are a number of ways you can include animal life. One option is to simply draw the animals with colored pencils and markers. You might also use magazine cutout pictures. If you want a more realistic effect, purchase small animal figurines to represent the monkeys, birds, butterflies and other insects that dwell in the rain forest.
Step 6
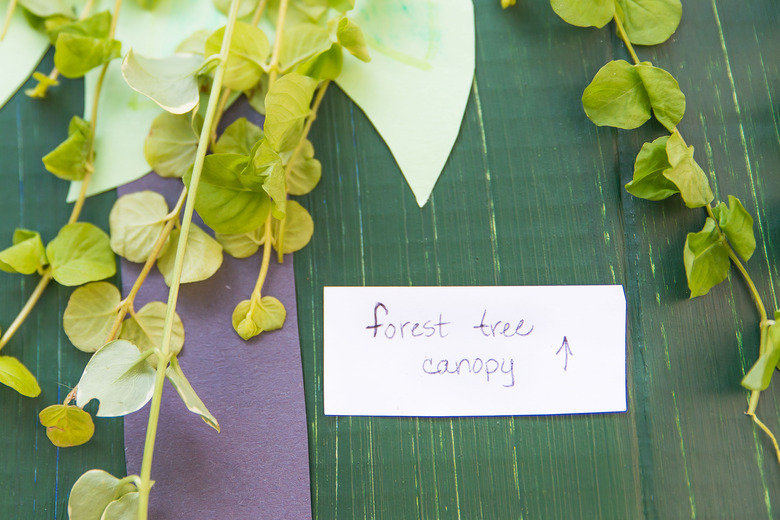
Finish your rain forest. Complete the overall look of your rain forest by labeling important areas and characteristics. This can be done by using sticky notes and a permanent marker.
Things Needed
- Poster or foam board
- Scissors
- Tape or glue
- Faux grass, sticks, leaves (optional)
- Animal figures (optional)
References
Cite This Article
MLA
McCreary, Randi. "How To Make A Rain Forest For A Science Project" sciencing.com, https://www.sciencing.com/make-rainforest-science-project-6240873/. 24 April 2017.
APA
McCreary, Randi. (2017, April 24). How To Make A Rain Forest For A Science Project. sciencing.com. Retrieved from https://www.sciencing.com/make-rainforest-science-project-6240873/
Chicago
McCreary, Randi. How To Make A Rain Forest For A Science Project last modified August 30, 2022. https://www.sciencing.com/make-rainforest-science-project-6240873/
