How To Make A Simple Remote Control Car
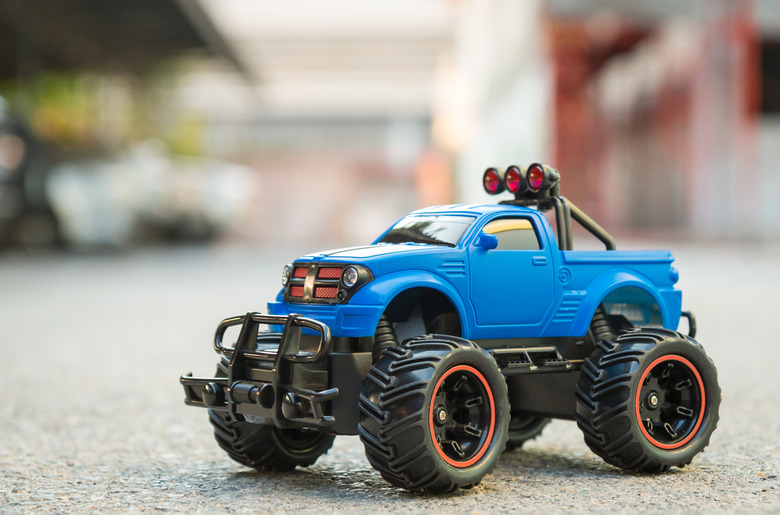
Remote-control, or RC, devices have been a steady, enjoyable hobby for many people over the years. The cars can range in scope from simple, homemade vehicles to expensive, multifunctional creations.
Building a simple RC car has never been easier, thanks to the availability of cheap, miniaturized consumer hobby electronics available at most well-stocked electronics or hobby stores. Those, combined with some basic tools, will allow you to construct your own simple RC car in a matter of minutes.
TL;DR (Too Long; Didn't Read)
The "brains" of any RC car is the radio control transmitter and receiver electronics, available at low cost at many hobby electronics outlets.
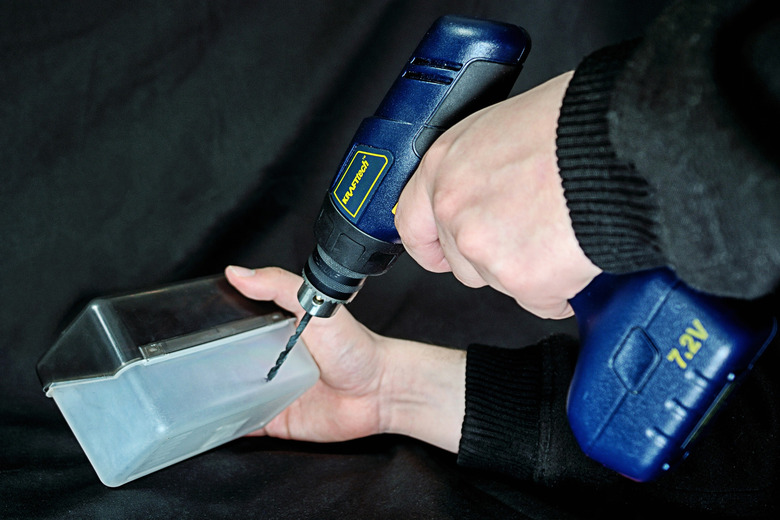
1. Drill the Holes
Drill two small holes on opposite sides of the index card box – across from one another, not through the lid of the box. The holes should be not much bigger than the shafts of the motors themselves, to limit vibration during operation; so using a 1/8-inch or 1/4-inch sized drill bit should work.
2. Mount the Wheels
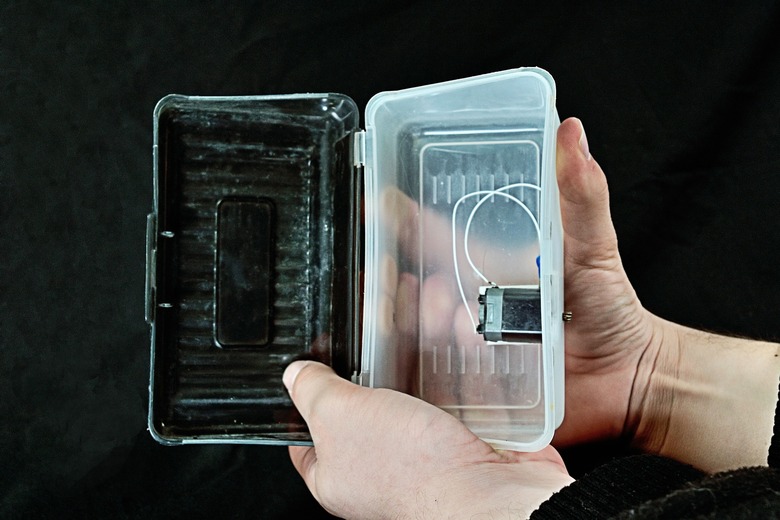
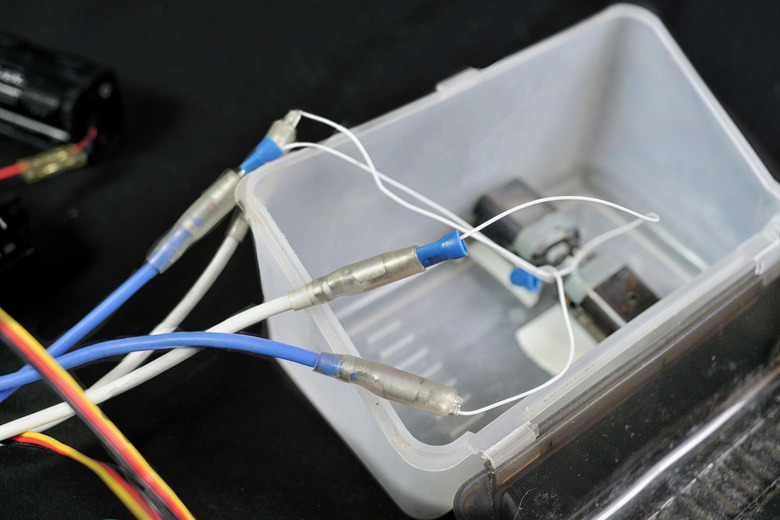
Detach the motor's rubber wheels and thread the motor's shafts through the drill holes from inside the box. This means that the body of the motors should sit inside the box with the shafts poking through the drilled holes.
3. Mount the Motors
Mount the motors in place with a strip of double-sided sticky tape underneath each one. Press down firmly to secure the connection.
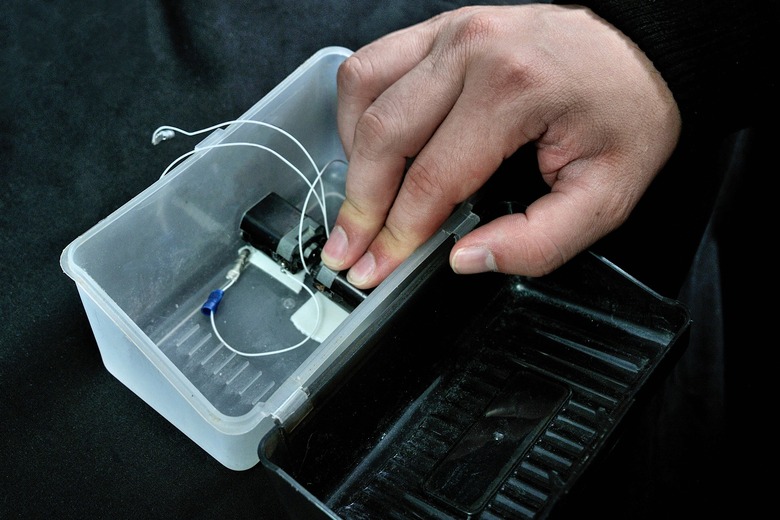
4. Wire the Batteries
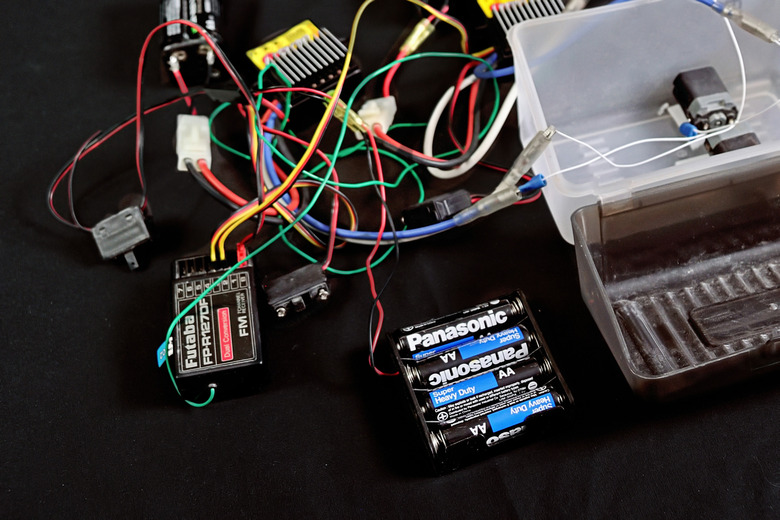
Solder the power wires from the battery pack to the power inputs of the 2-channel remote receiver, positive to positive and negative to negative.
5. Wire the Motors
Solder the wires from the motors to the outputs of the radio receiver, positive to positive and negative to negative.
6. Pack Batteries and Electronics
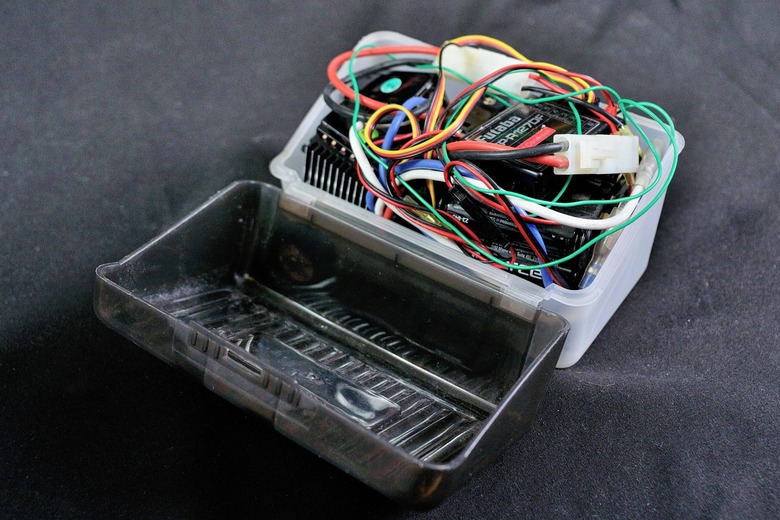
Place the battery pack and radio receiver into the card box carefully, and secure them in place with more strips of double-sided sticky tape.
7. Final Assembly and Test
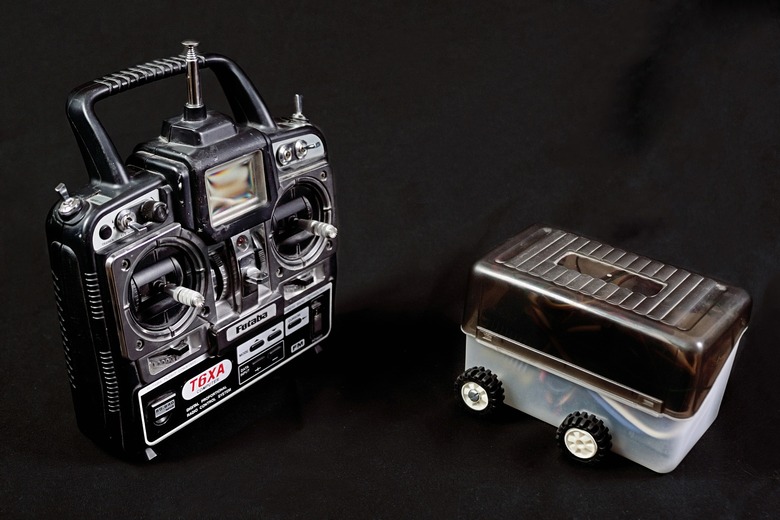
Attach the rubber wheels to the protruding shafts, and test your construction with your remote control. Your RC car should be able to scoot along on its two wheels forward and backward, and turn left and right.
Things Needed
- Plastic index card box
- Electric drill
- Two 9-volt DC motors & detachable rubber wheels
- Double-sided sticky tape
- 9-volt battery pack
- Soldering iron & 2-percent silver solder
- 2-channel radio receiver
- Remote control
Cite This Article
MLA
Gaither, Jordan. "How To Make A Simple Remote Control Car" sciencing.com, https://www.sciencing.com/make-simple-remote-control-car-6621205/. 17 April 2018.
APA
Gaither, Jordan. (2018, April 17). How To Make A Simple Remote Control Car. sciencing.com. Retrieved from https://www.sciencing.com/make-simple-remote-control-car-6621205/
Chicago
Gaither, Jordan. How To Make A Simple Remote Control Car last modified March 24, 2022. https://www.sciencing.com/make-simple-remote-control-car-6621205/