Methods Of Making Crystals For A Kids Science Experiment
Crystals made for a kid's science project are used for a variety of studies. Making them is a chance to demonstrate the formation of the crystals themselves, the effects of salt in a water source or several other geology-based topics. Crystal growing is easy, and there are several types that can be grown at home, including slow-growing and fast-growing crystals. Two or more types can be made to demonstrate the differences in crystal-forming methods.
Salt crystals
Salt crystals
Salt crystals are one of the easiest to grow. They are grown on a porous rock such as a lava rock or charcoal. They are formed via capillary action. Evaporation causes the water and salt to be drawn through the pores on the rock's surface. As the water evaporates completely, the salt crystals are formed.
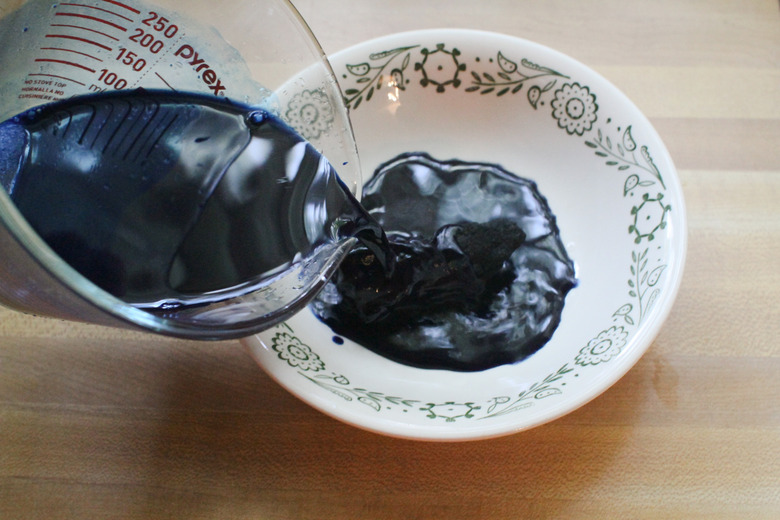
Salt crystals are made by mixing 4 tbsp. table salt, 4 tbsp. laundry bluing, 4 tbsp. water, and 4 tbsp. of ammonia. Food coloring can be dropped onto the rock to grow colored crystals. The rock is placed in a container, and the salt mixture is poured onto it.
Crystals begin forming in as little as six hours and can continue to grow for up to three days. Once the mixture has completely evaporated, more salt solution can be poured into the container to grow larger crystals. Avoid pouring subsequent solutions onto the existing crystals.
Alum crystals
Alum crystals
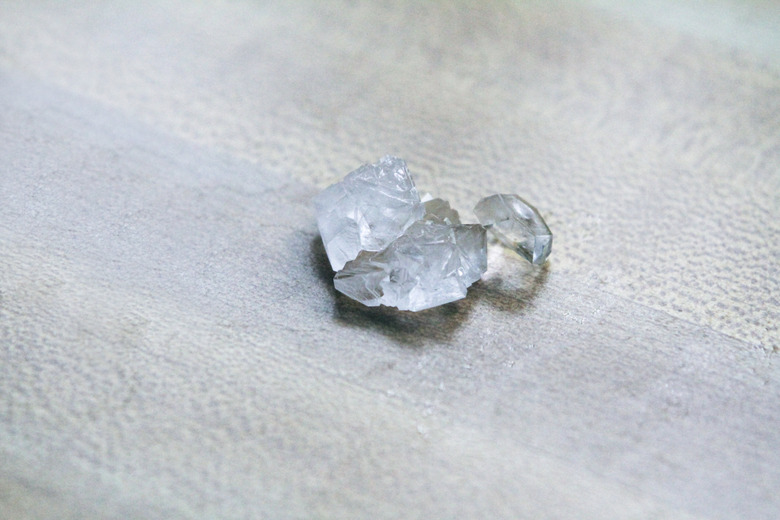
Alum is a pickling spice that is available at any grocery store. Alum is short for aluminum potassium sulfate, and it grows larger crystals than the typical salt crystal. The alum itself forms the crystals, and a growing medium is not needed, just a container to hold the alum mixture until the crystal forms.
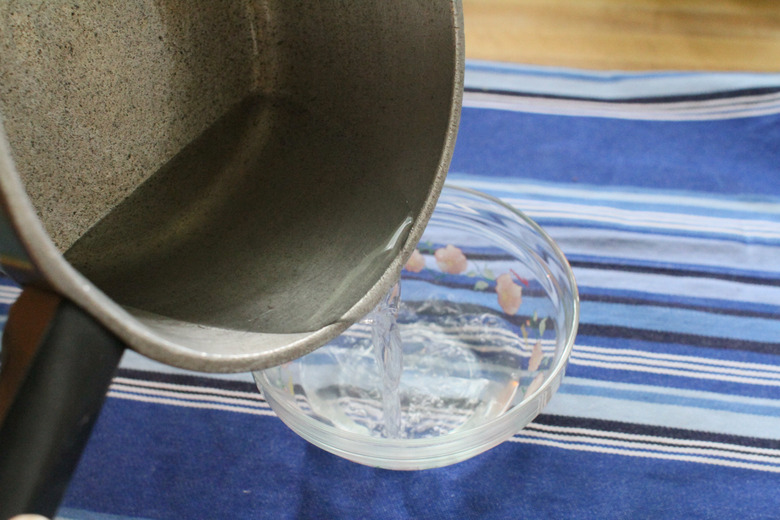
Two tbsp. of alum is mixed with 1/2 cup water and heated on the stove or in the microwave until the alum is completely dissolved. Pour into a clear, heat-proof dish and allow to sit for 24 hours. Individual crystals will form that are then removed from the excess growing solution.
Alum crystal become larger the slower the solution cools. An experiment is to mix two batches of the solution and place one in an insulated bag to cool and let the other cool in the open to see which crystal is larger after 24 hours.
Sugar crystals
Sugar crystals
Sugar crystals are grown from a super-saturated solution. This is a solution that has much more mineral (in this case sugar) than liquid molecules. Sugar crystals are how rock candy is made.
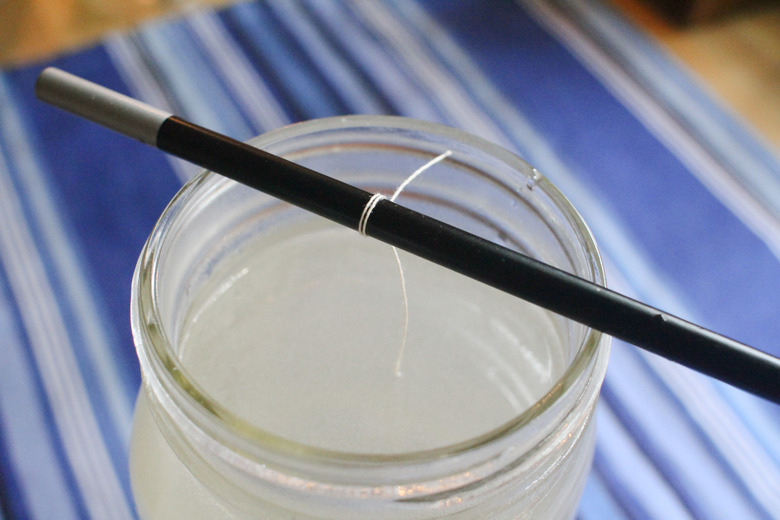
Heat 2 cups of water to a boil, and slowly stir in 4 cups of sugar, making sure all the sugar dissolves. Poured the solution into a glass jar, and tie a string to a pencil that is dipped into the solution. Set the string aside to dry until it is hard to form the seed crystals the rest of the sugar crystals will adhere to. Place a sheet of parchment paper over the jar to keep out dust.
Once dry, set the pencil over the mouth of the jar so that the string dangles into the sugar solution. Allow it to set at room temperature for a week or more until large, flat-faceted crystals have formed on the string. The best part of these crystals are they can be eaten.
References
Cite This Article
MLA
Harrington, Jenny. "Methods Of Making Crystals For A Kids Science Experiment" sciencing.com, https://www.sciencing.com/methods-crystals-kids-science-experiment-5209366/. 24 April 2017.
APA
Harrington, Jenny. (2017, April 24). Methods Of Making Crystals For A Kids Science Experiment. sciencing.com. Retrieved from https://www.sciencing.com/methods-crystals-kids-science-experiment-5209366/
Chicago
Harrington, Jenny. Methods Of Making Crystals For A Kids Science Experiment last modified August 30, 2022. https://www.sciencing.com/methods-crystals-kids-science-experiment-5209366/


