Tips To Drawing Symmetry
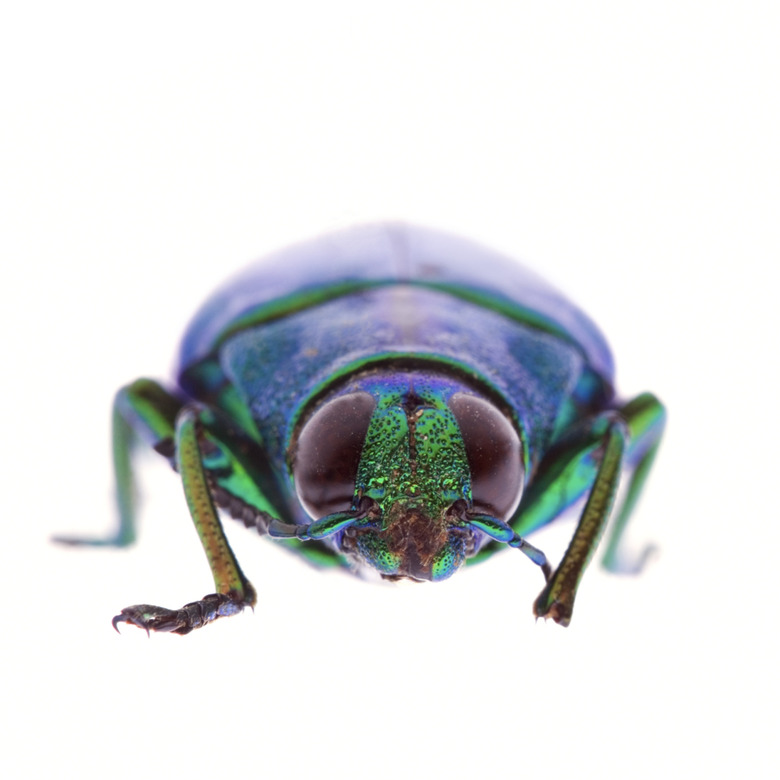
A drawing that is symmetric has identical parts mirroring each other across a line of symmetry. This symmetry can be found throughout nature including the human body, the shape of leaves and the wings of a butterfly. Making art that demonstrates symmetry can be difficult since the two halves across the line of symmetry must be identical. An artist uses practice and a few helpful guides to draw symmetrical images.
Mirror Image Practice
Mirror Image Practice
You can practice symmetry in drawing by practicing with a mirror. Draw a straight line using a ruler either on the vertical or horizontal axis. On one side of the straight line draw half of a shape. For example, draw half of a cross or heart shape. Use a ruler to help determine the dimensions of the half shape that you drew. Use those measurements to create the mirror image of the half shape on the other side of the line of symmetry. Practice using different shapes such as those with straight lines and corners, along with curving lines. The more practice you have with basic shapes, the better you will be at creating more detailed symmetrical images later.
Grid Lines
Grid Lines
Grids are another way to create symmetrical images. Draw a grid using light pencil marks and a ruler. It is important that all grid lines are straight and the boxes are the same size. If the boxes are irregular, the drawing will be too. Determine which line on the grid is the center, or line of symmetry for the grid. Draw in one half of the image that you wanted to make. Use the grids as a way to measure distance from the line of symmetry and gauge the size of the objects. Once the drawing is complete, erase all the grid lines.
Free Sketch
Free Sketch
Free hand sketches can be used to practice symmetry as well. Use a picture of an object as a guide and free hand sketch a basic outline of the item. Use light pencil marks to create the free hand sketch because most of these markings will be erased or altered later. Determine where the line of symmetry is on the object and use a ruler to draw that line. Use the sketch as a guide to add more detailed images onto one side of the line of symmetry. Create the mirror image of the detailed image onto the other side of the line of symmetry.
Faces
Faces
Faces can be difficult to draw and are rarely perfectly symmetrical. However, you can practice drawing symmetrical faces using photographs. Take an image of a face and draw a vertical line through the center of the nose to make a line of symmetry. Cut the image down this line. Attach a white sheet of paper to the image to draw the other side of the face. In the beginning it may be useful to use the grid technique to capture all the features of the face. As you improve, remove the grid and draw in the mirror image of the face.
Cite This Article
MLA
Carpenter, Michael E. "Tips To Drawing Symmetry" sciencing.com, https://www.sciencing.com/tips-drawing-symmetry-12112752/. 24 April 2017.
APA
Carpenter, Michael E. (2017, April 24). Tips To Drawing Symmetry. sciencing.com. Retrieved from https://www.sciencing.com/tips-drawing-symmetry-12112752/
Chicago
Carpenter, Michael E. Tips To Drawing Symmetry last modified March 24, 2022. https://www.sciencing.com/tips-drawing-symmetry-12112752/
