5 Arduino Project Ideas
The Arduino is a popular programmable microcontroller circuit board that had its beginnings around 2005. Based on Atmel's ATmega chips, it provides a low-cost platform on which to create a wide variety of electronic control circuits. Programming and using the Arduino is fairly simple, making it attractive to students and hobbyists as well as electronics engineers. The Arduino board has standard 2.54 mm pin headers allowing easy connection to breadboards and other electronic prototyping tools. As a microcontroller, it is well suited to real-time control of lights, sensors, motors and other equipment. A thriving community of users and hardware and software vendors support the Arduino, allowing you to tackle a wide range of projects.
Arduino vs. PC
Arduino vs. PC
A typical PC or even a smartphone has far more memory and number-crunching power than an Arduino, but don't let that put you off. The Arduino specializes in simple repetitive tasks, such as controlling the speed of a motor. It won't run multiple sophisticated apps at the same time with high-speed color graphics. Because its focus is on electronic control applications, its creators chose a low-cost design using just a handful of components.
For Beginners: Starter Kit
For Beginners: Starter Kit
By itself, an Arduino board doesn't do much; you need a few other components that the board can interface with and act upon. Although you can buy a standalone Arduino, hobby outlets sell handy kits that help you learn hardware and software basics. In addition to the Arduino board itself, a good kit includes a breadboard for prototyping, resistors, light-emitting diodes (LEDs) and other electronic components, wiring and a 9V "wall wart" AC adapter to power the Arduino. Better kits have instruction guides that guide you through circuit building and coding.
To program the Arduino, you need a computer. You can use a Windows PC, Mac or Linux machine. You also need to download a copy of the Arduino Interactive Development Environment (IDE), which is a text editor you use to write Arduino code. The IDE is an open-source program available at no cost.
The Light Blinker
The Light Blinker
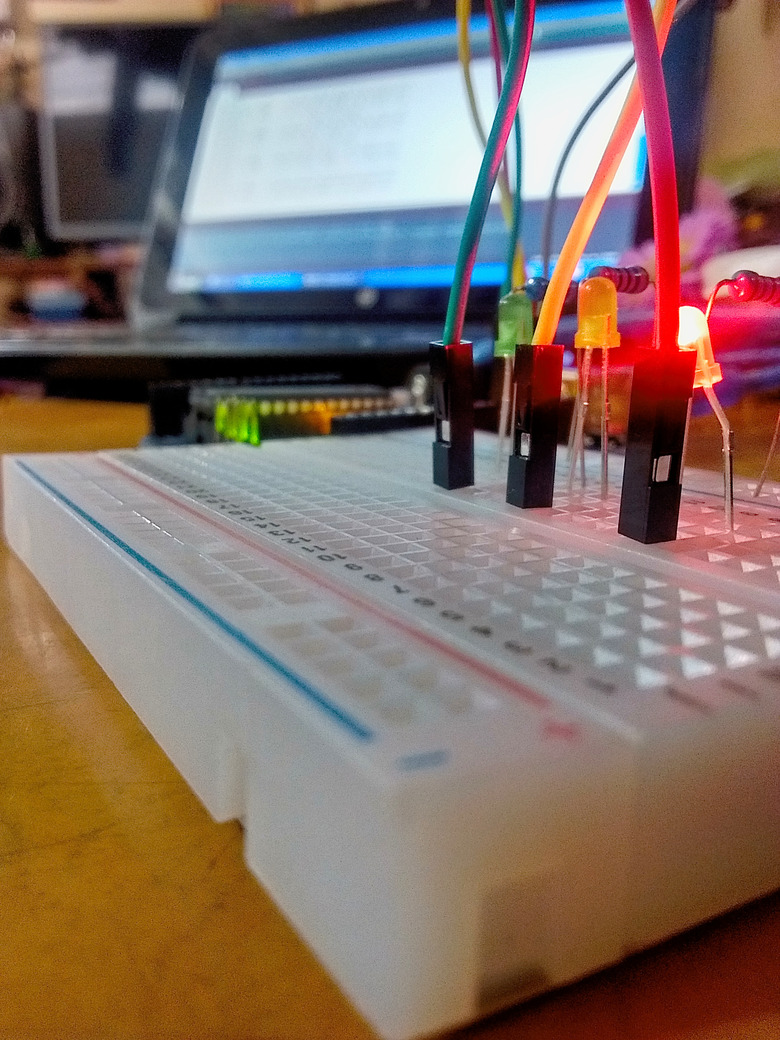
One of the simplest and easiest Arduino projects is the LED flasher. In this project, you use the Arduino to turn a standard LED indicator light on and off in a cycle that repeats as long as the microcontroller remains on. You plug the anode lead of the LED into one of the Arduino's digital outputs and the cathode into the Arduino's ground connection. Typically, you use LEDs with a current-limiting resistor, but you can get away with a "naked" LED. The Arduino board puts out only modest amounts of current that can't fry the LED. This easy project will familiarize you with the Arduino IDE, uploading programs to the Arduino with a USB cable, and the basics of coding. The success of seeing the light blink builds your confidence for more challenging projects.
Pushing Your Buttons
Although the Arduino can work without sensors, as in the light blinker project, it's more useful when it acts on data from the real world. A momentary-action pushbutton switch is one of the simplest ways to control the Arduino. However, to make it work correctly, you need to connect a 10K ohm resistor to the switch in a "pull-down" configuration. Wire one of the resistor leads to the Arduino's positive 5-volt pin and the other resistor lead to the digital pin you want to control. Wire one side of the switch to the same digital pin and the other side of the switch to the Arduino's ground pin. The pull-down resistor forces the digital pin to either a high or low voltage so it never "floats" at an ambiguous value in between. In your program code, use the digitalRead() statement to read the value of the switch. Use another digital pin to blink an LED or perform some other action when you press the switch.
Light and Other Sensors
Light and Other Sensors
In addition to switches, some of the simpler sensors available to the Arduino include those for light, temperature and magnetism. Variable resistors are another way to control an Arduino. The board has a set of analog input pins that let you control the Arduino with signals that vary continuously in addition to the on-off nature of the digital pin.
Tones, Tunes and Noises
Tones, Tunes and Noises
The Arduino's digital output pins can drive a small palm-sized speaker. By setting a digital pin to high and low values at audio rates (about a hundred times per second), your programs can produce tones in the speaker. To create an audio signal, create a repeating loop that sets the pin high, delays for 5 milliseconds, and then sets the pin low and performs another 5-millisecond delay. With a total cycle time of 10 milliseconds, the speaker will produce a tone of 100 hertz. With the right programming, you can create musical scales and play tunes. With different programming, you can make a buzzer or siren.
Passing Data: Serial Monitor
Passing Data: Serial Monitor
The Arduino IDE that runs on your computer includes a serial monitor window that receives and displays data from the microcontroller. For more complex programs, the serial monitor can be a lifesaver because you can display program values to track down program bugs. A simple program that sends data to the serial monitor helps you become familiar with this important feature.
Cite This Article
MLA
Papiewski, John. "5 Arduino Project Ideas" sciencing.com, https://www.sciencing.com/5-arduino-project-ideas-13710528/. 14 March 2018.
APA
Papiewski, John. (2018, March 14). 5 Arduino Project Ideas. sciencing.com. Retrieved from https://www.sciencing.com/5-arduino-project-ideas-13710528/
Chicago
Papiewski, John. 5 Arduino Project Ideas last modified March 24, 2022. https://www.sciencing.com/5-arduino-project-ideas-13710528/