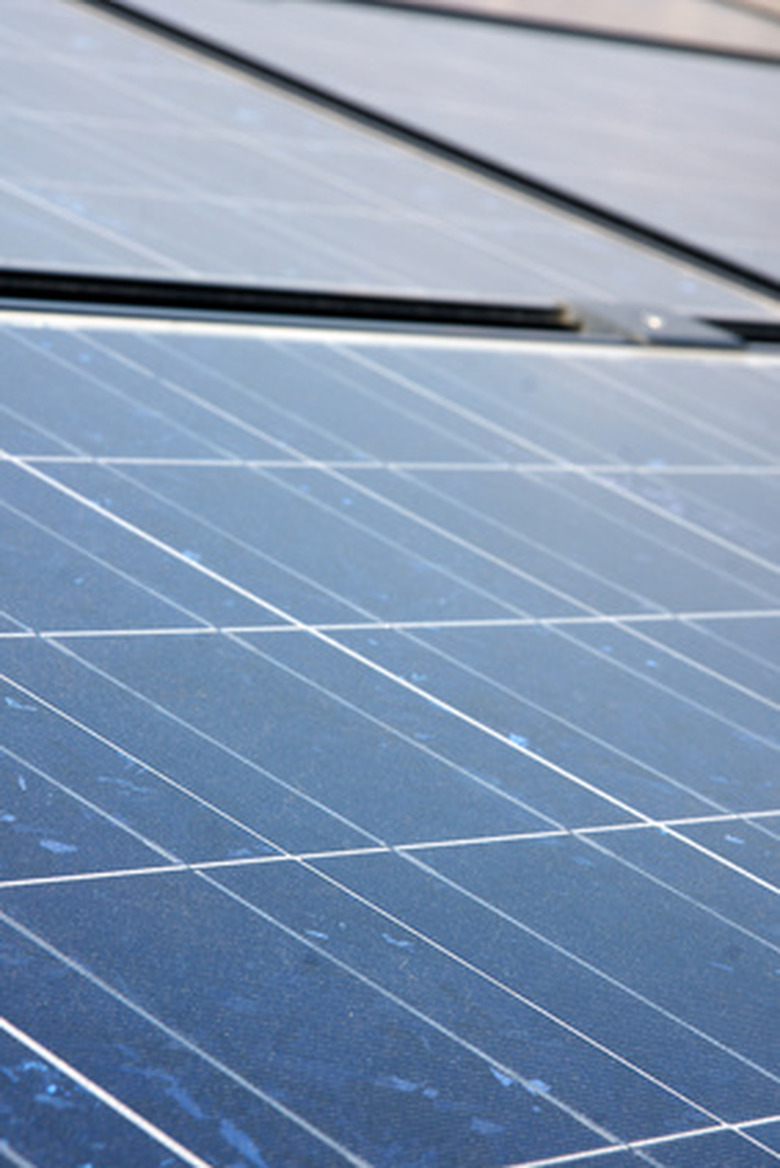
How To Build A 110 Volt Solar Panel
Solar power has many advantages when considered as an alternative source of energy. Sunlight is free and can be found everywhere. It doesn't pollute. It comes in an unending supply. The biggest drawback to using solar power for many people is the cost of the solar panels. This price can be significantly reduced by purchasing small individual solar cells and wiring them together into a solar panel.
Step 1
Cut a square out of the plywood. It should be as wide as five solar cells are wide, plus twice the width of the wooden strips, plus five inches. It should be as tall as eight solar cells are tall, plus twice the width of the wooden strips, plus eight inches.
Step 2
Glue the solar cells onto the wooden panel with the electrical glue. Place the glass-side up. Put five cells side-by-side in a row, with about an inch between them. Leave a wide border on both sides. Do not connect the glue from one cell to the glue of any others. Leave a small line of glue protruding from the top of each cell. These lines connect to the positive terminals of the cells. Make eight of these rows. The last row will have only two cells.
Step 3
Remove approximately two inches of insulation from one end of each of the five-inch wires, using the wire strippers. Remove about half an inch from the other ends. Glue the long exposed sections to the tops of the solar cells with the conductive glue. These wires attach to the positive terminals of the solar cells. Try not to cover too much of the tops of the cells with the glue.
Step 4
Remove about a ½ inch of insulation from both ends of the six-inch wires. Glue one of these wires to the positive connection of the first cell. (The line of conductive glue is the positive connection.) Twist and tape the other end of the six-inch wire to the negative wire terminal of the next cell. Repeat this process until each cell is connected to the next. You should be left with one unconnected negative terminal on the first cell and one unconnected terminal on the last.
Step 5
Strip about one inch of insulation from each end of both of the foot-long wires. Glue one to the positive terminal of the last cell. Twist and tape the other to the negative wire of the first cell. Glue the wooden strips around the border of the plywood using regular glue. Let the two-foot -long wires stick out between the strips of wood. These form the positive and negative terminals of your solar panel.
Step 6
Cut the Plexiglas into the same-size panel as the plywood, using the saw. Glue it to the strips of wood. It will protect the panel from rain and dropped objects. Seal all the joints with caulk.
Things Needed
- Wire strippers
- 2 1-foot wires
- 36 6-inch wires
- 37 5-inch wires
- Sheet of plywood
- Sheet of Plexiglas
- Saw
- Several narrow wooden strips, each as long as an edge of the plywood
- 37 3-volt solar cells
- Electrically conductive glue
- Regular glue
- Silicon caulk
Warning
Do not put pressure on the solar cells at any time. They are extremely fragile.
Cite This Article
MLA
Thompson, Jason. "How To Build A 110 Volt Solar Panel" sciencing.com, https://www.sciencing.com/build-110-volt-solar-panel-6751173/. 24 April 2017.
APA
Thompson, Jason. (2017, April 24). How To Build A 110 Volt Solar Panel. sciencing.com. Retrieved from https://www.sciencing.com/build-110-volt-solar-panel-6751173/
Chicago
Thompson, Jason. How To Build A 110 Volt Solar Panel last modified March 24, 2022. https://www.sciencing.com/build-110-volt-solar-panel-6751173/
