How To Build A 3D Model Of The Solar System
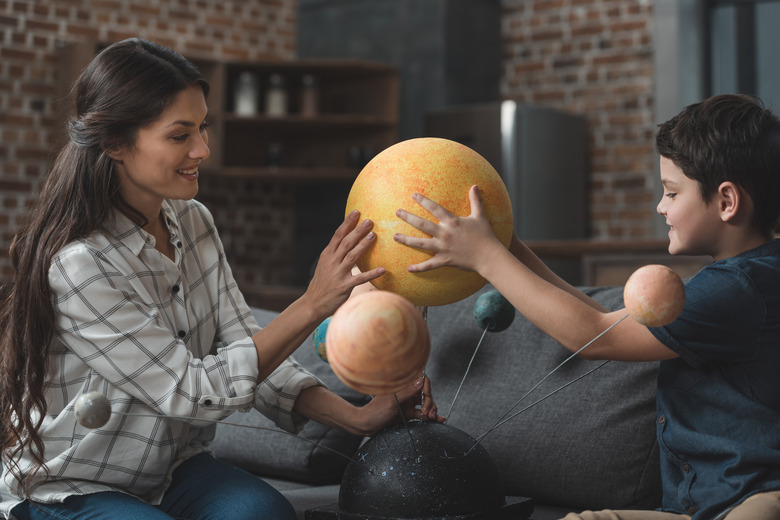
Three-dimensional solar system models provide a visual representation of planets for students of all ages. Varying the size of the planet models helps kids understand the size relationship between the different planets. Styrofoam balls are a logical option for representing the planets because they come in a variety of sizes and are easy to work with. Encourage the kids to use realistic colors and sizes for the planets for the most accurate solar system model.
Step 1
Paint the cardboard square a dark blue color to represent outer space. This will serve as the base for the solar system model. The cardboard base should be at least 36 inches by 36 inches to accommodate all of the planets.
Step 2
Label each styrofoam ball so you know which planet each one represents. The 6 inch ball is the sun, Mercury is a 1 inch ball, Venus and Earth are both 1 1/2 inch balls, Mars is the 1 1/4 inch ball, Jupiter is represented by the 4 inch ball, the 3 inch ball is for Saturn, Uranus is the 2 1/2 inch ball, Neptune is a 2 inch ball and Pluto is made from the remaining 1 1/4 inch ball. These dimensions will give you a close representation of the planets' relative size.
Step 3
Paint each planet to get close to its actual color. Paint the sun with yellow, Mercury with orange, Venus a yellowish-white, Earth in blue and green, Mars with red, Jupiter with orange, Saturn with a light yellow, Uranus and Neptune both a light blue, and Pluto in light brown. Allow the paint to dry fully.
Step 4
Roll the modeling clay into a long snake to use for Saturn's rings. Place a bead of hot glue around the perimeter of Saturn, and press the modeling clay into the glue.
Step 5
Apply a bead of glue from a hot glue gun on a low heat setting to the bottom of the sun model to affix it to the middle of the cardboard square.
Step 6
Draw in the planets' orbital paths around the sun. The orbits of all planets closely resemble a circle with the exception of Pluto, which is a more elongated ellipse and crosses the orbit of Neptune. Start by drawing the orbit of Mercury, which is closest to the sun. Work outward, drawing all nine orbital patterns. Paint over the lines with white paint once you have them the way you want them.
Step 7
Glue each planet model onto its corresponding orbital path using the hot glue gun. Glue Mercury onto the orbit closest to the sun followed by Venus, Earth, Mars, Jupiter, Saturn, Uranus, Neptune and Pluto in order as the orbits get further from the sun. For a more realistic look, space the planets out around the orbits rather than lining them up in a row.
Step 8
Create labels for each planet. Place the labels next to each 3-D planet on the cardboard base.
Things Needed
- Cardboard square
- Styrofoam balls (1 inch, 2 inch, 2 1/2 inch, 3 inch, 4 inch, 6 inch, and 2 each of 1 1/4 inch and 1 1/2 inch)
- Acrylic paint
- Paintbrush
- Modeling clay
- Hot glue gun
References
Cite This Article
MLA
Frost, Shelley. "How To Build A 3D Model Of The Solar System" sciencing.com, https://www.sciencing.com/build-3d-model-solar-system-5869901/. 9 March 2018.
APA
Frost, Shelley. (2018, March 9). How To Build A 3D Model Of The Solar System. sciencing.com. Retrieved from https://www.sciencing.com/build-3d-model-solar-system-5869901/
Chicago
Frost, Shelley. How To Build A 3D Model Of The Solar System last modified August 30, 2022. https://www.sciencing.com/build-3d-model-solar-system-5869901/