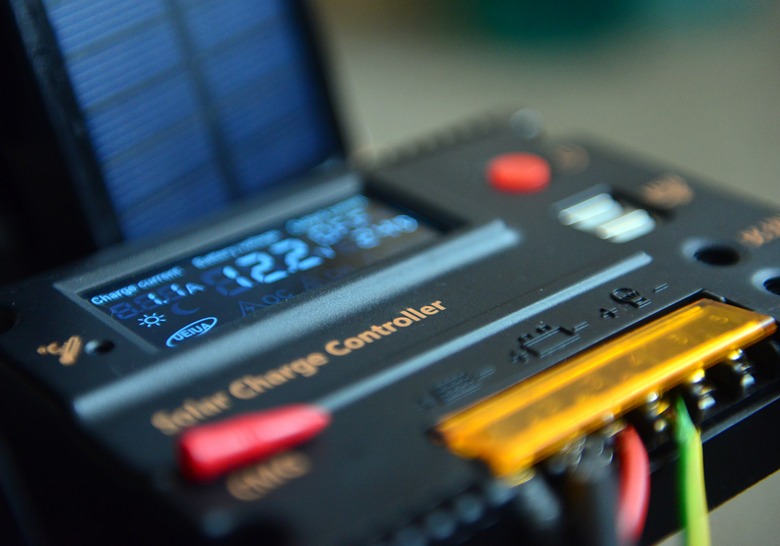
How To Build DC To AC Power Inverters
Power inverter circuits convert direct current (DC) electrical energy into alternating current (AC) electrical energy. Most power inverters manufactured for North America convert a 12-volt DC input source into 120 volts at the inverter outlet.
Many power inverters are manufactured for home or automobile use. In fact, you can construct a simple homemade power inverter from a few electronic components.
Step 1
Cut eight pieces of wire. Remove 1/2 inch of insulating material from the ends of each wire. Solder one end of the first wire to one of the end terminals on the center-tap side of the transformer. Solder one end of the second wire to the remaining end terminal on the center-tap side.
Step 2
Twist together the negative capacitor lead, which is indicated by a "–" sign on the component case, with one of the leads from the first 800-ohm resistor, the free end of the first wire, and the collector lead from the first transistor. Solder the connection.
Step 3
Twist together the positive capacitor lead with one of the leads from the second 800-ohm resistor, the free end of the second wire, and the collector lead from the second transistor. Solder the connection.
Step 4
Solder one end of the third wire to the center-tap on the transformer. Loosen the top screw on the first battery clamp terminal, and attach the free end of the third wire to the screw. Tighten the screw so that it holds the wire to the battery clamp terminal. Solder the wire to the terminal.
Step 5
Twist together one end of the fourth wire with one of the leads from the first 80-ohm resistor, one of the leads from the second 80-ohm resistor, and the two transistor collector leads. Solder the electrical joint. Loosen the top screw on the second battery clamp terminal, and attach the wire to the screw. Tighten the screw so that it holds the wire to the battery clamp terminal. Solder the wire to the terminal.
Step 6
Twist together one end of the fifth wire to the free end of the first 800-ohm resistor, and solder the connection. Twist together the free end of the fifth wire to the free end of the first 80-ohm resistor, and with the base lead on the second transistor. Solder the connection.
Step 7
Twist together one end of the sixth wire to the free end of the second 80-ohm resistor, and with the base lead on the first transistor. Solder the connection. Twist together the free end of the sixth wire with the free lead from the second 800-ohm resistor, and solder the twisted wire pair.
Step 8
Solder one end of the seventh wire to one of the end terminals on the transformer side lacking a center-tap. Slip a ring terminal over the free end of the seventh wire, and solder the wire to the terminal. Solder one end of the eighth wire to the remaining transformer terminal. Place the last ring terminal over the free end of the eighth wire, and solder the terminal to the wire.
Step 9
Connect the battery clamp that is wired to the center tap to the negative battery terminal. Connect the remaining battery clamp to the positive battery terminal.
Things Needed
- 2 bipolar junction (PNP) transistors
- 2 80-ohm resistors
- 2 800-ohm resistors
- 12-volt battery
- 24-volt, center-tapped transformer
- 2 battery clamp terminals
- 2 ring terminals
- 0.47 Microfarad electrolytic (polarized) capacitor
- Screwdriver
- Electrical wire
- Electrical pliers
- Electronic solder
Cite This Article
MLA
Sandoval, David. "How To Build DC To AC Power Inverters" sciencing.com, https://www.sciencing.com/build-dc-ac-power-inverters-6454650/. 13 March 2018.
APA
Sandoval, David. (2018, March 13). How To Build DC To AC Power Inverters. sciencing.com. Retrieved from https://www.sciencing.com/build-dc-ac-power-inverters-6454650/
Chicago
Sandoval, David. How To Build DC To AC Power Inverters last modified March 24, 2022. https://www.sciencing.com/build-dc-ac-power-inverters-6454650/
