How To Build A Knee School Project
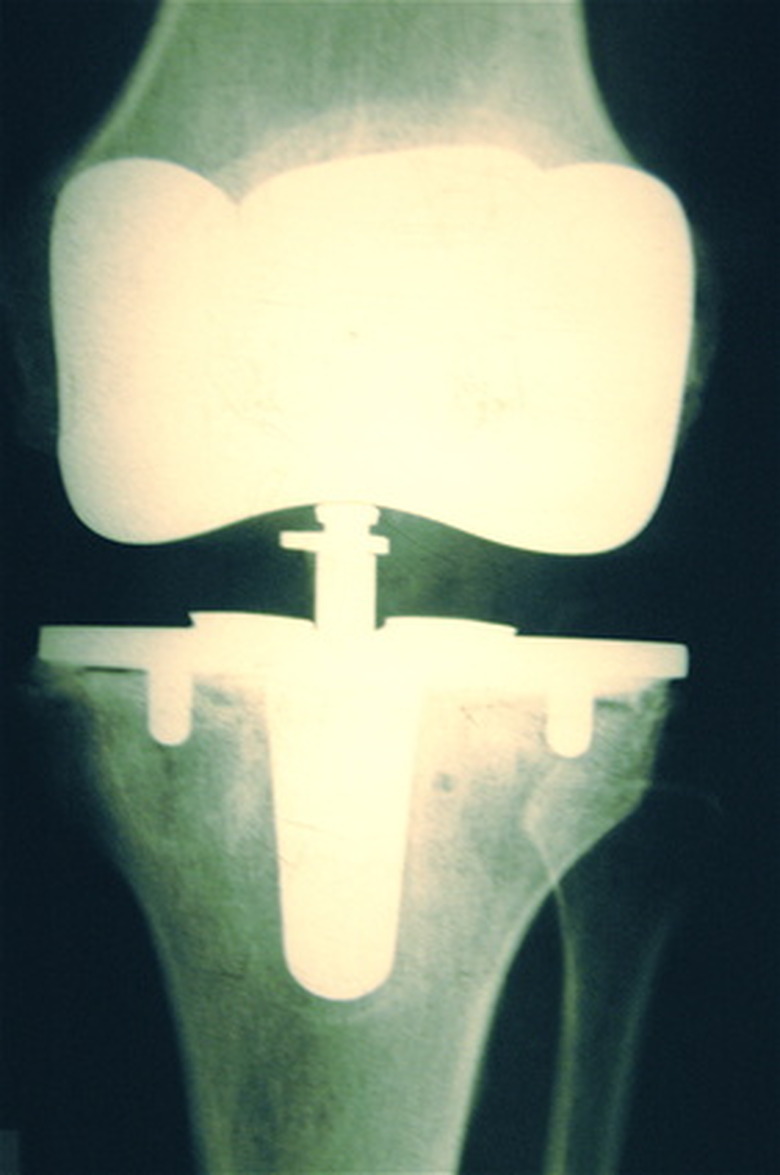
The knee is one of the most complex joints in the body. It must bend, extend and rotate in addition to supporting the full weight of the body. The knee has only three bones but many tendons and ligaments that control the movements. Friction between bones during movement is prevented with pads in between the bones called meniscus. A model knee can become complex if all of the parts are included. A simple model may contain the bones, meniscus and a few of the major ligaments.
Step 1
Form the white clay into the three bones of the knee, tibia, femur and patella, according to a knee diagram. (A link to a sample diagram is listed in "Resources.") Glue a flat magnet to the femur in the socket area. The socket should be formed to allow the steel ball to be inserted into the tibia.
Step 2
Cut the scouring pad into a circle that will fit into the socket area of the tibia. Glue the scouring pad onto the tibia. This will represent one of the meniscus.
Step 3
Insert the steel ball above the scouring pad. Glue in place. The steel ball will allow the joint to extend and flex. Glue the patella onto the front of the femur so that it hangs over the joint of the femur and tibia. Do not glue to the tibia, as that will prevent the knee from moving.
Step 4
Lay the tibia and femur down on a flat surface with the front of the bones facing in the same direction and the patella overlapping the femur. The bones should be in a straight line with each other. Cut three elastic strips long enough to stretch from the tibia over the front of the patella and attach to the femur. Choose one elastic strip and staple the end to the femur just above the knee joint. Staple the bottom end to the tibia just below the knee joint. The elastic should not be stretched when the joint is in this position.
Step 5
Attach an elastic strip to each side of the knee from the femur to the tibia. Flex and bend the joint to verify the elastic and the steel ball stay in place. If the elastic does not hold, glue each end in place.
Things Needed
- Knee diagram
- White clay or molding foam
- Glue
- Flat magnet
- Scissors
- Scouring pad
- Steel ball
- 3 elastic strips
- Stapler
TL;DR (Too Long; Didn't Read)
The magnet and steel ball should form a bond that allows the joint to move freely but still stay firmly together. If a steel ball is not available, utilize a ping-pong ball instead. Use scissors to cut the flat magnet to fit into the socket area if necessary.
References
Cite This Article
MLA
Marcotte, Dawn. "How To Build A Knee School Project" sciencing.com, https://www.sciencing.com/build-knee-school-project-5986029/. 24 April 2017.
APA
Marcotte, Dawn. (2017, April 24). How To Build A Knee School Project. sciencing.com. Retrieved from https://www.sciencing.com/build-knee-school-project-5986029/
Chicago
Marcotte, Dawn. How To Build A Knee School Project last modified March 24, 2022. https://www.sciencing.com/build-knee-school-project-5986029/
