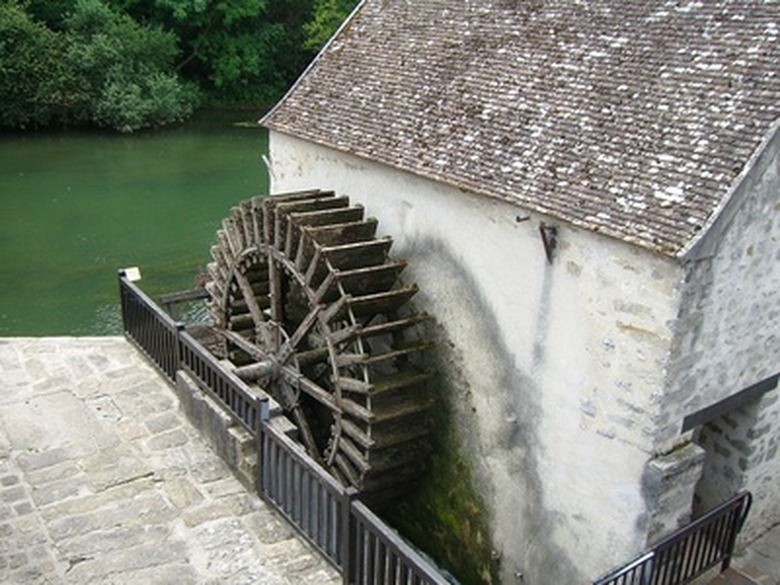
How To Build A Micro-Hydro Turbine Generator
Generation of electricity from renewable energy sources is becoming increasingly popular as people try to reduce their dependence on fossil fuels and reduce the money they spend on utilities. A small experiment in home hydroelectric power can be instructive in seeing how the process works.
A micro-hydro turbine generator can be built to produce electricity on a small scale. Larger scale hydroelectricity generation projects often use man-made structures, such as dams, to alter the flow of water to increase efficiency.
For building a homemade water turbine electric generator, a small river or fast-flowing stream should suffice. You will need all of the elements of a water wheel generator kit, listed below.
Step 1
Locate a suitable place to install the water wheel. The turbine generator will generate more electricity if it can be built using a more efficient type of water wheel structure.
- Ideally, the water wheel will be placed underneath a small drop or fall in the water, using the force of gravity to turn the wheel more; this is known as a "breastshot" wheel. Or the wheel can simply be turned by the flow of the water; this is known as an undershot wheel.
Step 2
Assemble the wheel using waterproofed plywood. The main body of the wheel will consist of two large discs, each with a hole drilled through the center. To connect these two discs, attach several flat paddles made from waterproofed plywood and screwed onto each disc.
Angle the paddles slightly toward the flow of water to increase the surface area that will be in contact with the water, thus increasing the efficiency of the wheel.
Step 3
Make a base to support the wheel and allow it to turn. Make a triangular shape for each side of the wheel using waterproofed wooden rods. The base of the triangle should be slightly longer than the diameter of the wheel and the height should be a few inches more than the radius of the wheel (the distance to the wheel's center).
Connect the corresponding corners of both triangles using more rods; the rod that connects the top corners should run through the holes in the center of the wheels. Ensure that the wheel can rotate freely on its stand.
Step 4
Place the water wheel in its location. Make sure that it is stable on its base and that the water turns the wheel well.
Step 5
Attach the motor with a rod to the center of the wheel to convert the rotation of the wheel into rotation within the motor. This rotation within the motor can then be converted into electrical energy. Increased efficiency in the conversion from the turns of the wheel to the turns within the motor can be achieved by using gears.
Run the rod from the wheel to the side of the motor. To the end of the rod, attach a large gear, and to the end of the motor, attach a smaller gear. Join the two gears so that each turn of the larger gear results in more turns of the smaller one attached to the motor.
Step 6
Wire the motor to a battery, connecting the positive and negative wires to the corresponding electrodes on the battery. The electricity can be stored until use.
Step 7
Cover the motor, gears if used and the battery with plastic sheeting or some other kind of protection from the weather.
Things Needed
- Waterproofed plywood
- Waterproofed wooden rods
- Motor
- Gears (optional)
- Battery
- Plastic sheeting
Cite This Article
MLA
Smith, Jess. "How To Build A Micro-Hydro Turbine Generator" sciencing.com, https://www.sciencing.com/build-microhydro-turbine-generator-7515309/. 17 July 2019.
APA
Smith, Jess. (2019, July 17). How To Build A Micro-Hydro Turbine Generator. sciencing.com. Retrieved from https://www.sciencing.com/build-microhydro-turbine-generator-7515309/
Chicago
Smith, Jess. How To Build A Micro-Hydro Turbine Generator last modified March 24, 2022. https://www.sciencing.com/build-microhydro-turbine-generator-7515309/
