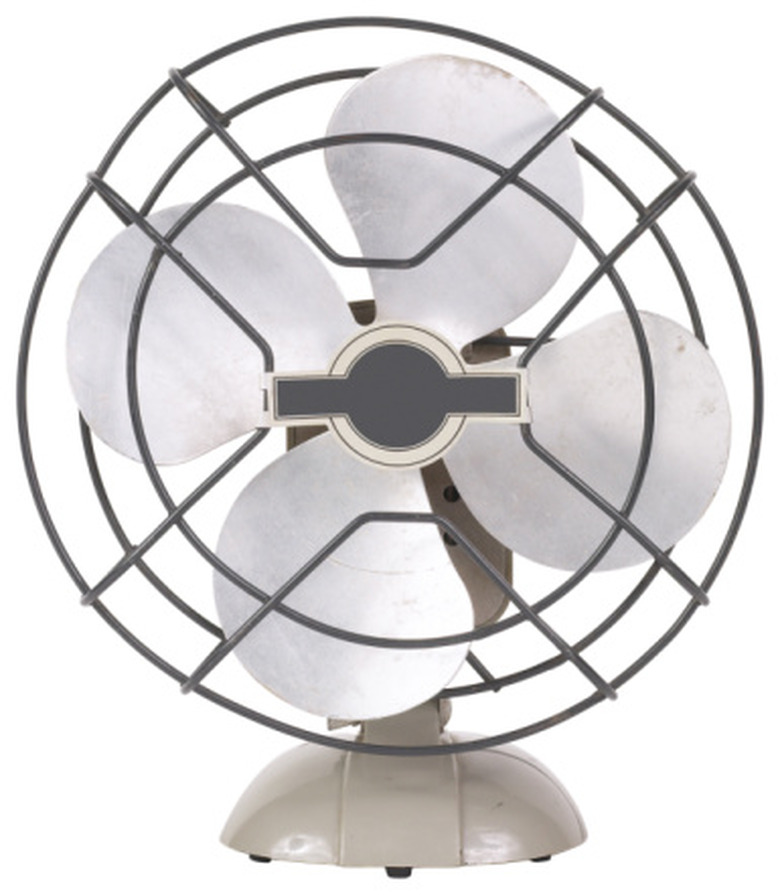
How To Build A Mini Fan
Using a fan in warm weather can make even a long day at the desk or on the porch almost bearable, even with plenty of beverages on hand. However, you don't always have one available to you, or you may not have batteries.
Fortunately, a fan is a relatively easy machine to make, as it is just a motor attached to a power source with some kind of blade attached to the motor. It also helps to have some kind of stand. You can make a homemade fan out of nearly anything you may already have on hand.
For reference, a mini fan is really no more than a mini vacuum cleaner with the air directed the other way owing to the orientation of the curve of the fan blades in relation to its direction of rotation. Nevertheless, the invention of the electric fan preceded the invention of the vacuum cleaner in its more-or-less present form by a number of years.
Step 1
Build a set of fan blades which attaches to the armature on your motor. For example, cut a piece of cardboard so that it has symmetrical blades, or make a CD blade as outlined in the "CD Blades" section, or find a fan blade template online. Make a hole you can attach to the armature on the motor.
Step 2
Build a small stand out of wood or coat hanger so that you can mount the fan blade and point it toward you when in use. Mount the motor on top of the stand.
Step 3
Glue or tape the fan blades to the armature of the motor.
Step 4
Attach wires to the positive and negative terminals of the motor. Push the bare ends of the wires through the terminals on the motors, then twist the bare wires back around themselves.
Step 5
Attach the wires to a power source. Tape or glue them to batteries, with the positive terminal on the positive end of the battery, and vice-versa. Alternately, strip the USB wires with the male end, then cut off all except for the black and red wires. Attach the red wire to the positive terminal on the motor, the black to the negative.
CD Fan Blades
Step 1
Cut eight lines into the CD at regular intervals, cutting only the shiny part, but not the clear plastic ring in the middle.
Step 2
Light the candle and hold the clear plastic ring over it. This will warm up the CD allowing you to bend and twist it. Bend all of the blades to about a 30-degree angle. Don't hole it over too long or it will melt completely. You may need to spin the CD over the candle a few times to successfully make the shape. Hold the CD and let it cool for a few minutes.
Step 3
Piece the center of the cork with a needle to create a hole for the armature. Use a needle about the same size as the motor's armature.
Step 4
Push the cork into the hole in the center of the CD. Glue the cork into place, and you now have a device you can attach to your motor.
Things Needed
- Cardboard, old CD or material for a fan blade
- Motor
- Wood or wire coat hanger for a stand
- Electrical tape
- Glue
- Wires
- Power source such as batteries or USB cable
- Wire cutters
- Scissors
- Candle
- Cork
- Needle
- Switch
TL;DR (Too Long; Didn't Read)
You may want to add a switch to the fan, especially if you are using batteries, so that you can turn the device on or off as needed.
Warning
Don't operate on electrical equipment when there are any exposed wires, or they are attached to power sources. Remove batteries or USB cables before making any changes to your fan.
References
Cite This Article
MLA
Turner, Grahame. "How To Build A Mini Fan" sciencing.com, https://www.sciencing.com/build-mini-fan-7475664/. 25 September 2019.
APA
Turner, Grahame. (2019, September 25). How To Build A Mini Fan. sciencing.com. Retrieved from https://www.sciencing.com/build-mini-fan-7475664/
Chicago
Turner, Grahame. How To Build A Mini Fan last modified March 24, 2022. https://www.sciencing.com/build-mini-fan-7475664/
