How To Build A Mummy Diorama For A Sixth-Grade Project
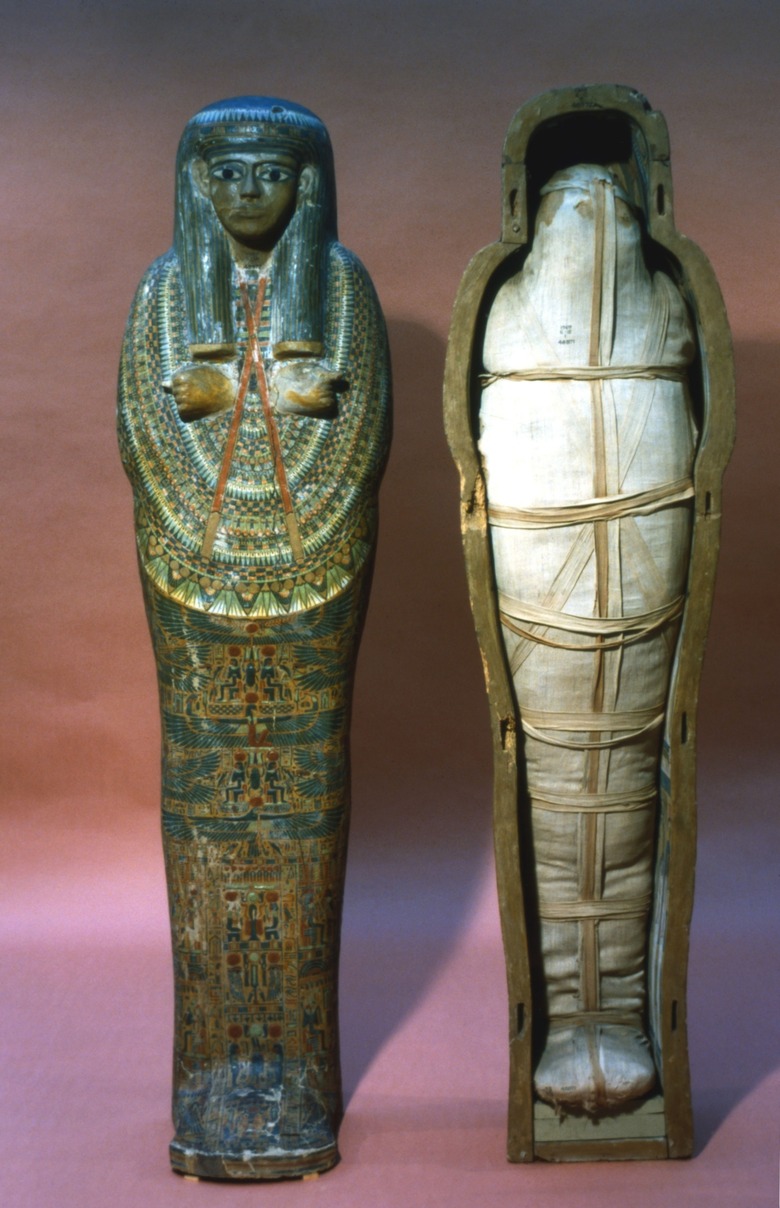
If your assignment is to make a mummy diorama for a class project, your teacher is probably not looking for a horror movie scene, but expects one that shows your knowledge of Egyptian history. A diorama is a creative way to tell a story about the ancient custom of mummification, and may display a scene that explains the process, shows rituals associated with it, or stars the most famous mummy of all, King Tut.
Step 1
Research facts and scenes about mummies and Egyptian life through books and online sources. Ideas to consider for your scene include a mummy resting in its tomb or being carried to its burial place in a shrine pulled by oxen. Demonstrate the religious rituals performed on mummies, such as priests anointing them with oil or draping them with garlands of flowers. Present an example of what ancient Egyptians believed about the afterlife, and why mummification was important to it.
Step 2
Decide on the background for your diorama. Pyramids, the Great Sphinx, Egyptian soldiers, pharaohs, hieroglyphics, camels, the Nile River, the inside of a tomb or people mourning their loved one are examples of background scenes that represent ancient Egypt.
Step 3
Begin the foundation of your background with printer or construction paper. Choose plain or colored paper depending on what is needed for your background plans. Cover the inside back and sides of the shoe box with craft glue and press the paper inside, carefully molding it to the inside of the box and trimming the edges to make a tight fit.
Step 4
Create pictures and designs on the background using colored pencils, markers or paint. Construct a 3-D effect by gluing die cuts of Egyptian people, symbols and structures to the background. Locate die cuts in the scrapbooking section of craft stores or through online sources that sell scrapbooking supplies. Make die cuts by drawing pictures or shapes on construction paper and cutting them out, or by finding pictures and illustrations online that can be printed on card stock paper and cut out.
Step 5
Build your scene using different materials. While toy Egyptian figurines are sold online, they can be expensive. Working with modeling clay is economical and an easy material to shape the mummy case from. Etch facial features and Egyptian symbols into the clay case using a toothpick, and stick gold and silver craft beads around the head area to represent the ornate masks that were often placed on them. Clay also can be used to mold furniture, buildings and other structures. Die cuts can be worked into the scene as well, especially those of people and animals. Make a die cut stand up by sticking its bottom edge into a base that you shape from clay.
Step 6
Give your diorama an air of ancient mystery by leaving the cover of the shoebox on, but cutting an observation hole into it that viewers must peek through to see your scene. Add light, and even more intrigue by placing a couple of miniature flashlights into the box and spotlighting the mummy with one of them.
Things Needed
- Shoe box
- Printer Paper
- Construction Paper
- Craft glue
- Scissors
- Colored pencils and markers
- Egyptian die cuts
- Card stock paper (optional)
- Modeling clay
- Toothpick
- Gold and silver rafts beads
- 2 Miniature flashlights
Cite This Article
MLA
Morton, Donna G.. "How To Build A Mummy Diorama For A Sixth-Grade Project" sciencing.com, https://www.sciencing.com/build-mummy-diorama-sixthgrade-project-12142702/. 24 April 2017.
APA
Morton, Donna G.. (2017, April 24). How To Build A Mummy Diorama For A Sixth-Grade Project. sciencing.com. Retrieved from https://www.sciencing.com/build-mummy-diorama-sixthgrade-project-12142702/
Chicago
Morton, Donna G.. How To Build A Mummy Diorama For A Sixth-Grade Project last modified March 24, 2022. https://www.sciencing.com/build-mummy-diorama-sixthgrade-project-12142702/
