How To Build A Portable Solar Panel System
Solar power is great, and I am really trying to figure out how to use it at home. I noticed some of the construction warning lights on the highway were using solar power to run them throughout the day, and wondered how they connected it all up. I stopped and took a look and noticed that they had the solar panel running into an orange cooler with wires running back to the light. This gave me an idea to create a portable solar power generator. It is not an original idea, and I found a ton of sites online that show you how to make one. This thing can be used to provide power on a boat, to a shed, in a cabin, on an RV, while camping, or even in emergencies. Here is how to do it!
Step 1
The first thing to do is purchase all of the parts. Although Solar Power is great, solar panels are still very expensive and the components used to set up a system are also expensive. Luckily though these components are not that delicate so they are easy to set up. The system I describe here costs anywhere from $700 – $1,000 depending on how you want to set it up. I have included links to the items for sale in the resources section, so check that out first. Do not get turned off by the price though – you can build this in phases by starting with only one solar panel and one deep cycle battery at first to get the concept, then expand later. This unit is great because it is expandable!
Step 2
Once you have looked into all of the components for sale and decided that you want to do this, it is worthwhile to determine the power usage that you are going to be using at your cabin, RV, or in an emergency to help guide you in the purchase of your solar panels, batteries, and power inverter. Say for instance that you are only going to be operating a radio, a TV, a light, and a laptop – then you have to add up all of the Watts those units consume in an hour. This will help you to determine how many solar panels you need. Lets say that all of that only takes 50 watts to drive – then you will want to have 4 15 watt panels (60 watts). Also, if you are going to run them all at the same time, you may only need a 500 watt power inverter. It all depends on your usage, but I would build the system I describe here to give you plenty of options. To keep it easy though, you can start with one 15 watt solar panel, one deep cycle battery, and a 75 watt power inverter. The advantage with this system is that it is expandable.
Step 3
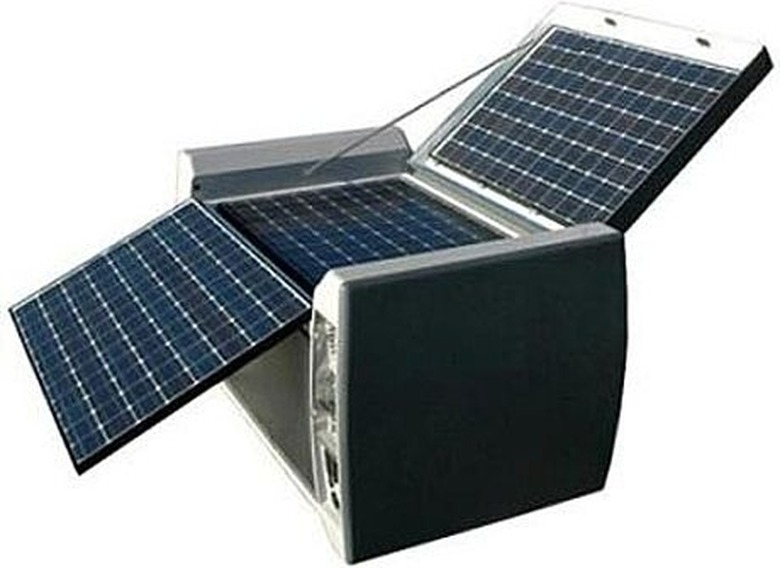
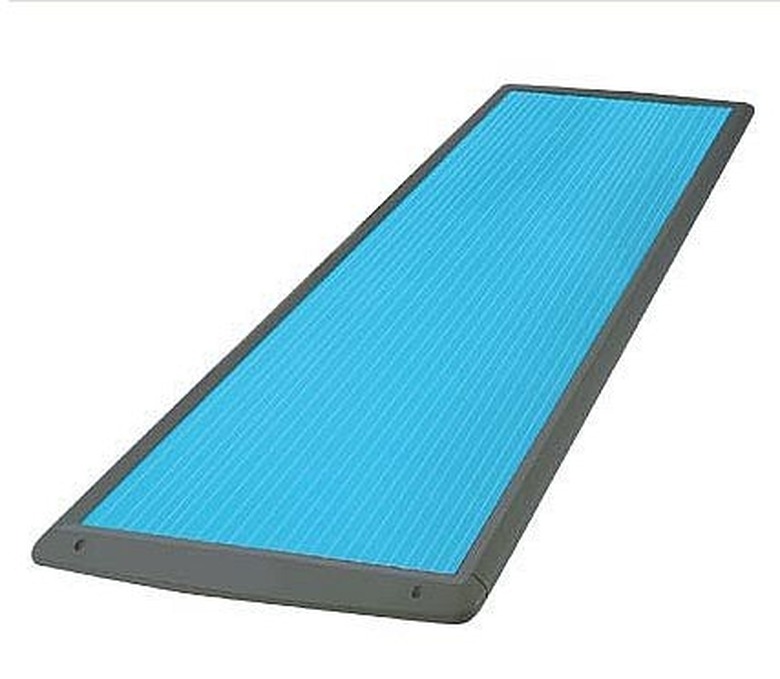
Once you have determined how may solar panels you need, purchase the 15 watt panel(s) that you can run in a series to increase your power. See the image below, and also see the resource link for where to purchase.
Step 4
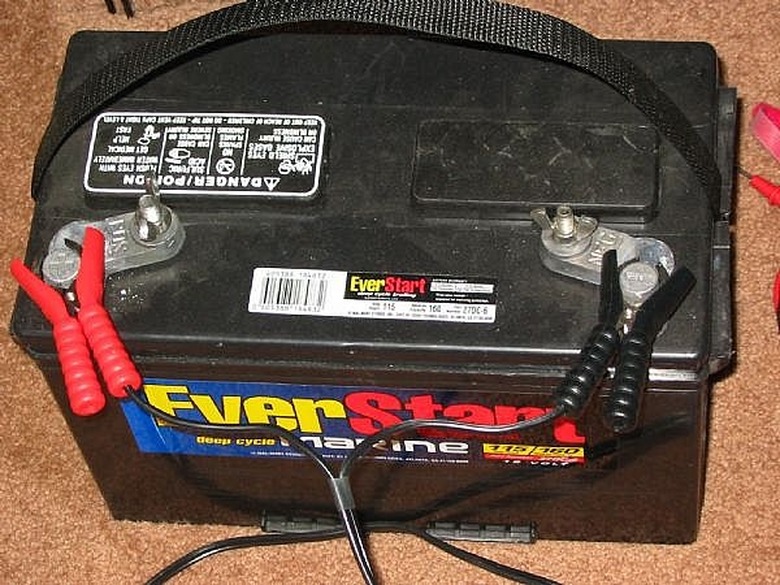
Now you will need to purchase your deep cycle marine batteries. Be sure to get the highest amount of Amp hours your can find. You can find them from 125 – 160 amps, and lower. Start off with one, and expand it later to meet your power demands. I am up to using three now and will probably expand it to more batteries later. You can buy these from Meijer, WalMart, an auto store, a marina, or a discount battery store. Make sure that you pick up a deep cycle marine battery!
Step 5
Once you have the batteries, connect them up to your battery charger and fully charge them. They will not come to you fully charged, and you need to charge them before using them or you will kill them and waste a lot of money. This is a common practice for any new battery you purchase – charge them first!
Step 6
Alright, get the 30 gallon Rubber maid Tote or giant cooler, and place your batteries into this as a battery bank. You can use any container that a single deep cycle marine battery will fit in comfortably, or a container that will hold at least three deep cycle batteries. The size of the container is up to you. I recommend that you get a 30 gallon cooler or Rubber maid tote so that you can expand the unit later. Make sure that whatever container you use – it is watertight, tough, and portable. When you put the batteries into the tote, put all of the positives in a line, and put all of the negatives in a line – this makes them easier to connect in parallel.
Step 7
Now we want to take our copper mechanical lugs and our 2 AWG gable to make jumpers to connect the batteries positive and negative terminals together. We need 8 total lugs altogether, and 1 red 2AWG wire, and 1 black 2AWG wire. WE ARE NOT GOING TO CONNECT THE POSITIVE TO THE NEGATIVES, but we are going to connect the positive of one battery to the positive of the second battery, and the positive of the third battery to the positive of the second. We are going to then do the same for the negatives – one negative terminal of one battery to the negative terminal of another, and then to the third. This is called connecting the batteries in parallel. See next pictures for parts and how to do this. For more explanation take a look at my instructions about connecting batteris in parallel here:
http://www.ehow.com/how_4448303_extend-runtime-solar-battery-bank.html
Step 8
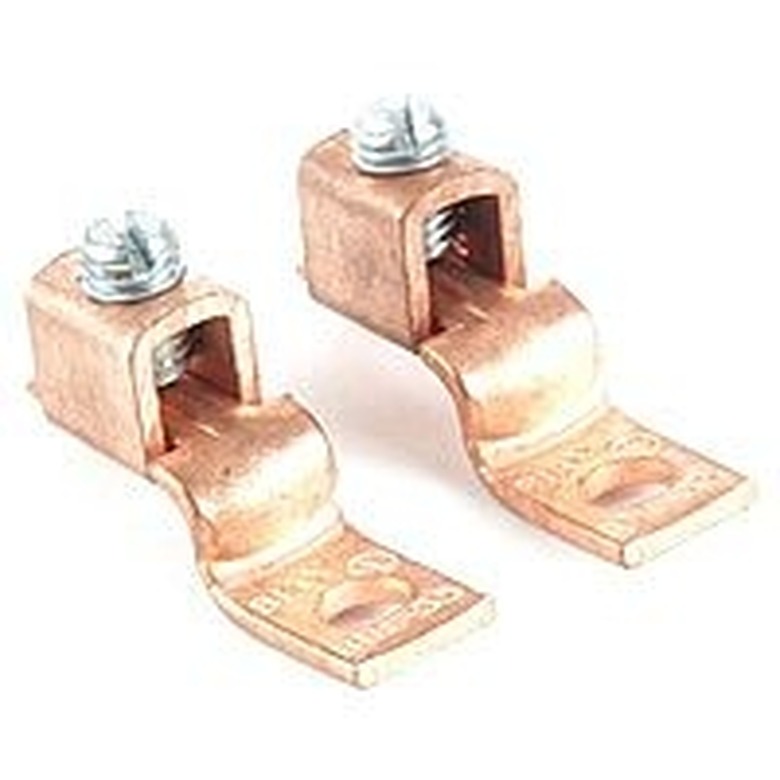
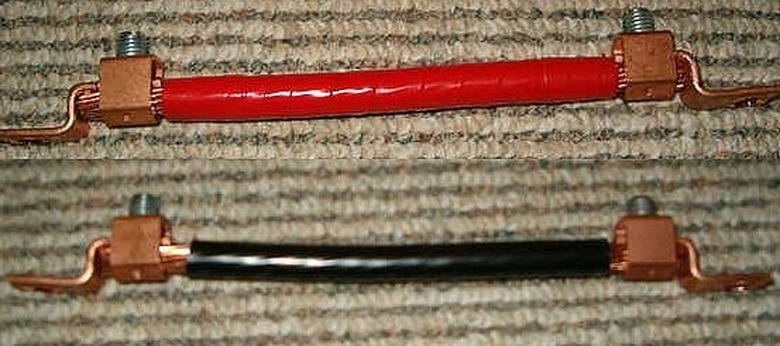
Here are your mechanical lugs (purchase these from an automotive store, Home depot, or Lowes)
Step 9
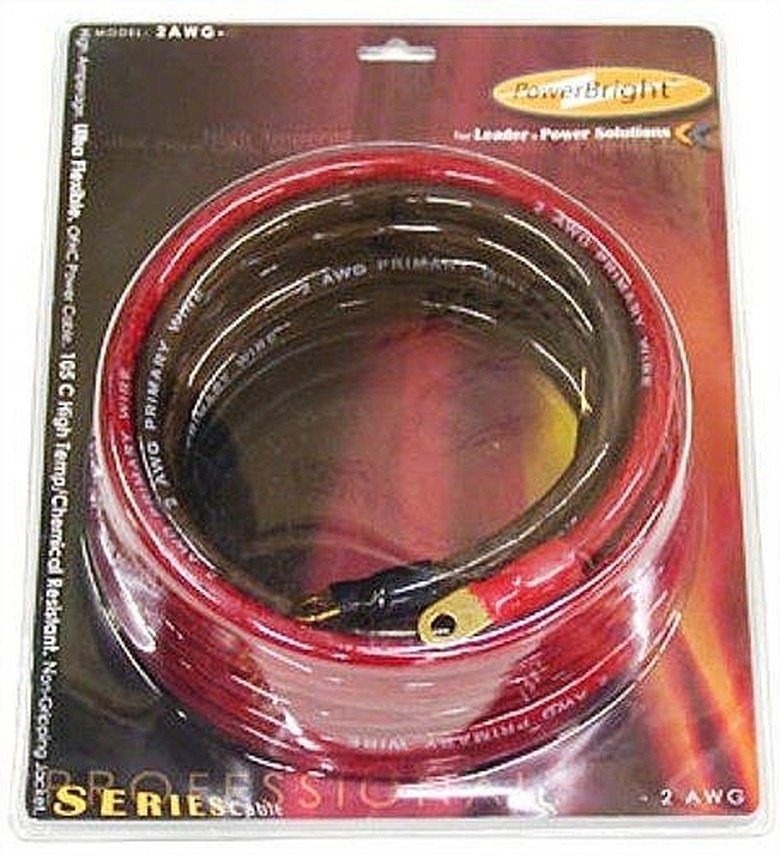
Here is the 2 AWG cable – red and black. ( you can get this from radio shack, Walmart, Meijer, an automotive store, or
Step 10
Cut the AWG wires to length between the battery terminal, and then install the mechanical lugs onto both ends of the wires. This will make a jumper. Do this for the black and red wires. See the finished jumpers in the image below.
Step 11
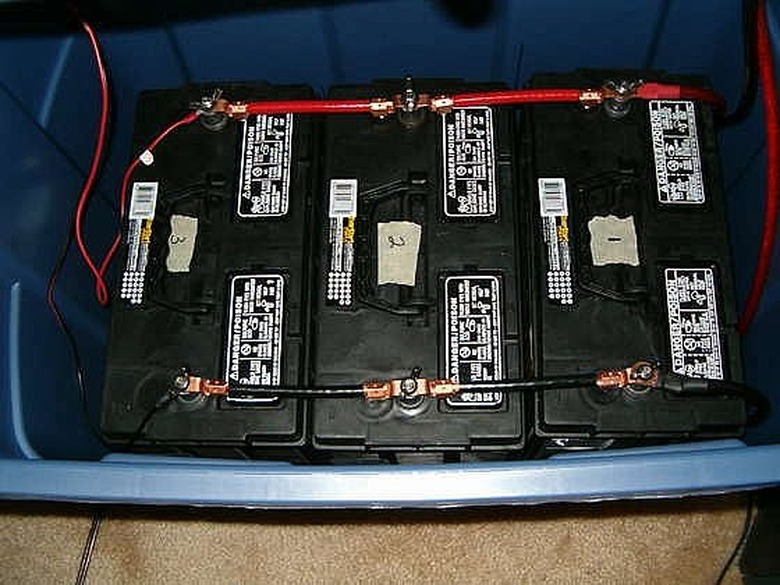
Here is what the battery bank will look like now inside of the Rubber maid container. Notice that the battery positives are all connected, and the battery negatives are all connected by the jumpers. This is conencting the batteris in parallel to make a battery bank.
Step 12
Now we simply connect the charge controller to one side of the batteries and then to the solar panels. This is important because we do not want to overcharge the batteries.
Step 13
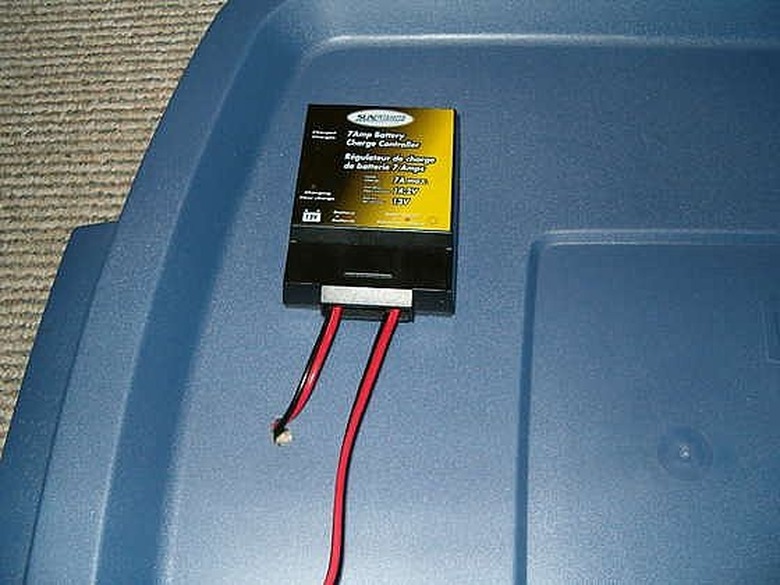
Here is a picture of the charge controller connected to one end of the batteries. Consider this the "Power IN" part of the system.
Step 14
Then connect the power inverter to the other side of the batteries. Consider this the "Power Out" section of the system.
Step 15
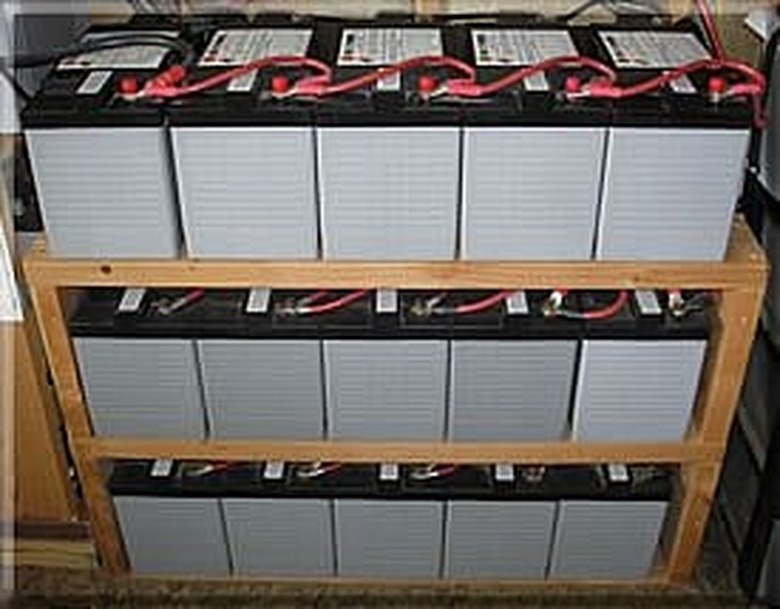
Now all you have to do is set the solar panel up outside, turn on the power inverter and run whatever stuff off of the system that you want! Be sure the test it to see how many hours you can get out of running the system. The cool thing about this is that it is expandable! You can add more batteries to the system to make a very large battery bank that can store a lot of energy! You would have to expand the solar panel array that you are using, but you can grow your system with your needs. Here is a picture of a huge battery bank I found online that is part of someones solar / wind system.
Step 16
Visit my Solar Power Blog for more information:
http://solarpowerprojects.blogspot.com/
Things Needed
- 4-6 15 watt solar panels
- 7 amp charge controller
- 3-6 12volt deep cycle marine batteries (125 amp hours) with wing nut terminals
- mechanical lugs (cooper brand)
- electrical tape
- 2 AWG wire
- Wire Strippers
- 4 gauge battery cables
- 1500 watt (or higher) power inverter
- battery charger
- 30 gallon Rubbermaid Brute Tote or giant cooler
TL;DR (Too Long; Didn't Read)
http://solarpowerprojects.blogspot.com/
Cite This Article
MLA
Contributor, . "How To Build A Portable Solar Panel System" sciencing.com, https://www.sciencing.com/build-portable-solar-panel-system-4435110/. 24 April 2017.
APA
Contributor, . (2017, April 24). How To Build A Portable Solar Panel System. sciencing.com. Retrieved from https://www.sciencing.com/build-portable-solar-panel-system-4435110/
Chicago
Contributor, . How To Build A Portable Solar Panel System last modified March 24, 2022. https://www.sciencing.com/build-portable-solar-panel-system-4435110/
