How To Build A Miniature San Fernando Rey Mission
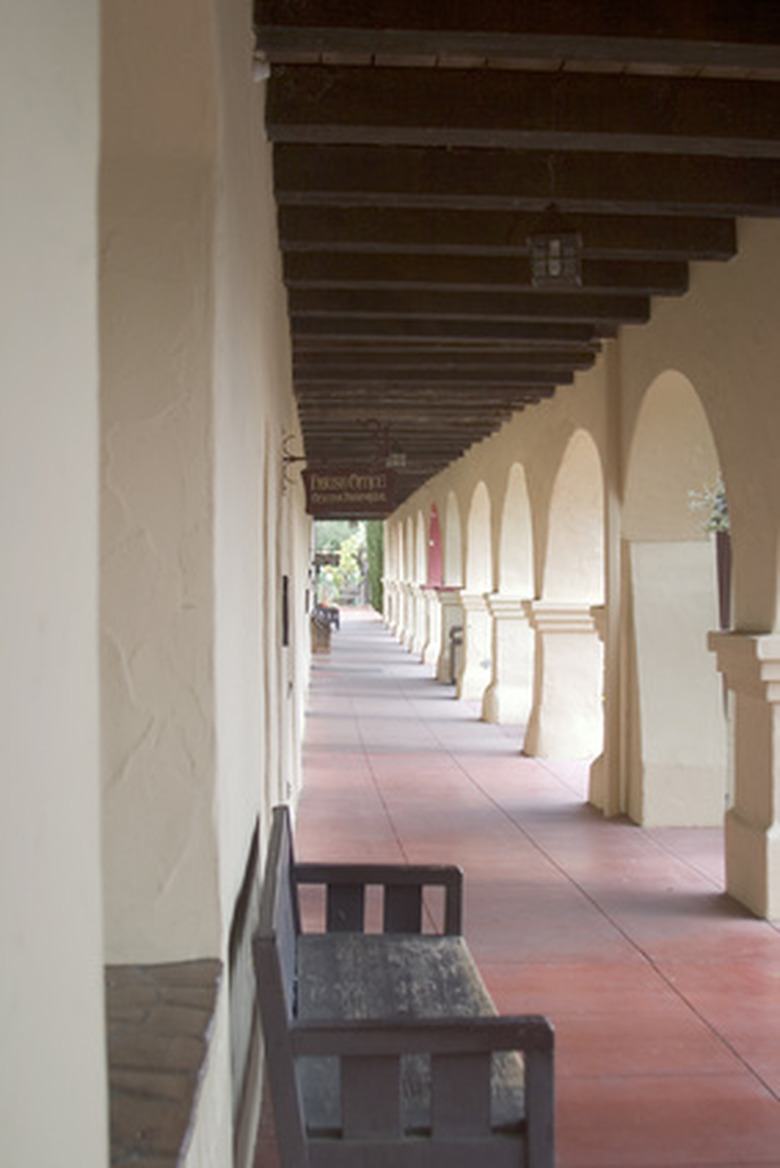
San Fernando Rey de España is the 17th of 21 missions founded in Alta—or upper—California. Established in 1797, its distinguishing feature is a long building to the rear of the mission complex called the "convento," famous for its beautiful archways. The model detailed in this article includes the main chapel, the colonnade beside the chapel, the workshop behind the chapel and the detached convento building. It does not include the gift shop or archival center.
Prep Work
Step 1
Acquire a large piece of cardboard and spray-paint it green. This is the base to which you'll attach all the mission's buildings. It can be square or rectangular, but it should provide 4 square feet of surface.
Step 2
Paint all the poster board beige, the color of the adobe bricks used to build the mission. Each piece of poster board will build one of four buildings: the chapel, the chapel colonnade, the workshop and the convento.
Step 3
Paint the dry lasagna with the terra-cotta-colored paint. You'll use these for the mission roof.
Construct the Buildings
Step 1
Sketch the following dimensions onto poster board and cut them out: four pieces that measure 5 inches long by 10 inches tall, four pieces that measure 10 inches long by 5 inches tall, and seven pieces that measure 5 inches wide by 5 inches tall.
Step 2
Use the layout of San Fernando Rey de España's buildings pictured on the California Missions Resource Center website to sketch out where your buildings will be placed on your cardboard base.
Step 3
Build the church using four pieces of poster board 5 inches long by 10 inches tall. Tape the pieces together on the inside—the tape won't show once you put the roof on. Cut an arched doorway in the front left-hand side of the building. Cut three windows into the upper half of the building, two on the front and one on the right-hand wall. Glue painted lasagna to the top of the structure for a roof and glue the completed structure to your base cardboard.
Step 4
Build the colonnade using three pieces of poster board 5 inches long by 5 inches tall. You don't need a western wall because the colonnade touches the chapel on that side. Tape the pieces together on the inside. Glue the three-sided structure onto the base cardboard to the immediate right of the chapel.
Step 5
Add the front columns to the colonnade. Cut five strips of poster board that measure 5 inches tall by 2 inches long. Roll them into a tube and tape them shut. Glue each column along the base cardboard in front the colonnade building at one-inch intervals. Glue on the lasagna roof, making sure it extends forward to cover the columns.
Step 6
Build the long, skinny workshop found behind the chapel with two pieces of poster board 10 inches long by 5 inches tall and two pieces 5 inches tall by 5 inches wide. Tape the pieces together on the inside. Glue the workshop to the base cardboard and glue on a lasagna roof.
Step 7
Build the convento with two pieces of poster board 10 inches long by 5 inches tall and two pieces 5 inches tall by 5 inches wide. Tape the pieces together on the inside. Cut a series of archways that fill the length of the front side of the building. Glue the building to the rear of your cardboard base, to the left of the chapel, and glue on a lasagna roof.
Things Needed
- Cardboard, at least 2 feet by 2 feet.
- Green spray paint
- 4 pieces of poster board
- Beige spray paint
- Package of dry lasagna pasta
- Terra cotta spray paint
- Pencil
- Scissors
- Tape
- Craft glue
Cite This Article
MLA
Wiltz, Jenni. "How To Build A Miniature San Fernando Rey Mission" sciencing.com, https://www.sciencing.com/build-san-fernando-rey-mission-6552646/. 24 April 2017.
APA
Wiltz, Jenni. (2017, April 24). How To Build A Miniature San Fernando Rey Mission. sciencing.com. Retrieved from https://www.sciencing.com/build-san-fernando-rey-mission-6552646/
Chicago
Wiltz, Jenni. How To Build A Miniature San Fernando Rey Mission last modified March 24, 2022. https://www.sciencing.com/build-san-fernando-rey-mission-6552646/
