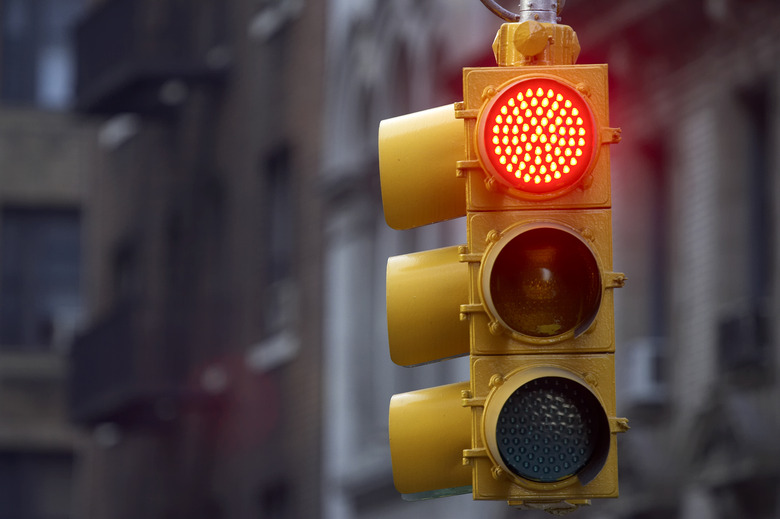
How To Build A Traffic Light Science Project
Traffic lights are important to safety on the roads for both vehicles and pedestrians. Building a traffic light for a science fair or class project does not need to be complicated. Simple items from around the home can be used to make a functioning light. Purchase supplies to control the light sequence to upgrade the following model. Build more than one and add them to a street sequence to demonstrate the importance of traffic control.
Simple Stoplight Model
1. Prepare the Milk Carton
Draw three holes in the half-gallon milk carton with the compass. The holes should be 3 inches wide and at least one inch apart. Center the circles from left to right and top to bottom on the carton.
2. Grab a Pair of Scissors
Cut out the holes carefully with the box cutter. Open the top of the milk carton. Cut a small slit one inch tall on the bottom of the cardboard roll.
3. Time to Paint it Yellow
Paint the milk carton with the black spray paint inside and outside and set aside to dry. Paint the cardboard tube gray or yellow and set aside to dry.
4. Red, Amber and Green
Cut a circle from each color of cellophane that is slightly larger than the holes in the milk carton. A standard stoplight needs one red, one amber (orange) and one green circle.
5. Glue the Different Parts
Draw a thin line of glue around each circle on the inside of the milk carton. Glue the red circle inside the top circle, the yellow in the middle and the green in the bottom circle. Set aside to dry. The open end of the milk carton will be the bottom.
6. Test the Lights
Lay the milk carton down on the work surface with the 'lights' up. Place the holiday light string inside so that one light is behind each circle. Test the lights to ensure they light in sequence to mimic a real traffic light. Allow the rest of the string to dangle down out of the milk carton. Use masking tape to secure the string of lights in place.
7. Turn On and Play
String the excess lights through the cardboard tube with the slit at the bottom. Thread the end of the light string through the slit on the bottom of the tube so the plug is outside the tube. Use the tape to secure the tube end inside of the milk carton. Glue the end of the tube to a secure base and allow to dry. Plug lights into electricity source to turn on the traffic light.
Things Needed
- ½ Gallon milk carton (a shoe or empty tissue box work too)
- Box cutter
- Compass
- Black spray paint
- Gray or yellow spray paint
- Red cellophane
- Yellow or orange cellophane
- Green cellophane
- Scissors
- Glue
- Small 10-light holiday white light string
- Cardboard tube from paper towel roll
- Wood base
TL;DR (Too Long; Didn't Read)
Upgrade this model with an additional turn signal. To add a turn signal, cut a fourth hole and place black construction paper with an arrow cut out over the green cellophane. Purchase a signal control at a local hobby shop or online to upgrade the traffic light.
Cite This Article
MLA
Marcotte, Dawn. "How To Build A Traffic Light Science Project" sciencing.com, https://www.sciencing.com/build-traffic-light-science-project-5886727/. 11 May 2018.
APA
Marcotte, Dawn. (2018, May 11). How To Build A Traffic Light Science Project. sciencing.com. Retrieved from https://www.sciencing.com/build-traffic-light-science-project-5886727/
Chicago
Marcotte, Dawn. How To Build A Traffic Light Science Project last modified August 30, 2022. https://www.sciencing.com/build-traffic-light-science-project-5886727/
