How To Build Weather Instruments For Kids
Meteorologists use a range of tools to provide a forecast each day. With a few handy household items, kids can make and use their own barometers, anemometers and more.
Barometer
Barometer
A barometer is used to determine the current air pressure, which can be used to forecast upcoming weather. To make a simple barometer, cut the neck off a balloon and stretch it over the mouth of a glass jar. Use a rubber band to keep the balloon attached to the jar. Tape a pin to the end of a straw and then glue the other end of the straw to the balloon so that it lies parallel to the top of the jar. Tape a piece of paper to the wall and then put the jar in front of the paper. Mark a line at the level the needle currently points to on the paper. Write "high" above the line and "low" below that line. Check the barometer every few hours to see any changes in air pressure.
Anemometer
Anemometer
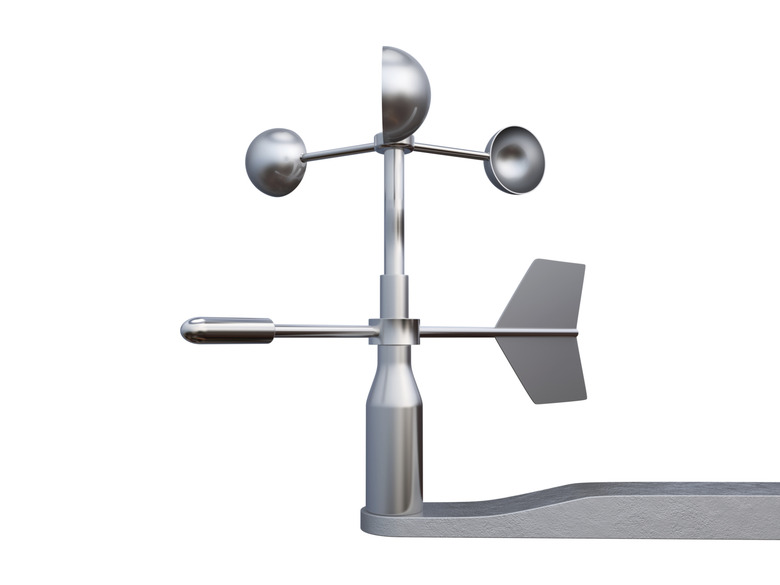
Probably one of the more iconic weather instruments, an anemometer measures how fast the wind is blowing. First, cut off the top half of four paper cups and color the outside of one of the now-smaller cups red. Attach two identically sized rectangular pieces of cardboard to one another so that they form a "plus" symbol. Staple the cups to the ends of the strips so that they all face the same direction, clockwise or counter-clockwise. Find the exact center of the "plus" by using a ruler and a pencil to draw lines connecting the opposite corners of the "plus" where the cardboard strips come together. Stick a pin through the cardboard where the pencil lines cross and then stick the pin into the eraser of a pencil. Finally, stick the lead end of the pencil in a mound of modeling clay and make adjustments to the instrument so that it rotates freely when you blow on it.
Weather Vane
Weather Vane
Another iconic weather instrument, the weather vane shows what direction a prevailing wind is blowing. To make a simple weather vane, cut out a triangle and a circle from a piece of paper. Mark compass points at four opposite points of the circle. Then cut a drinking straw down to a length a little shorter than a pin. Next, slip a pin through the straw and stick the pin into the eraser of a pencil. Tape the paper triangle to the straw. Finally, take the compass and weather vane outside, place the compass down with "north" facing true north and put the weather vane on top of the compass to see which way the wind is blowing.
Rain Gauge
Rain Gauge
A rain gauge is used to determine the amount of precipitation that has falling over a certain time period. To make one, cut the top off a one-liter soda bottle. Then place the top, upside down, on top of the mouth of a jar. Next, fasten a ruler to the jar using rubber bands. Finally, take the rain gauge outside and place it on the ground beneath open sky. After any precipitation event, go outside and record the inches of precipitation.
Cite This Article
MLA
Smith, Brett. "How To Build Weather Instruments For Kids" sciencing.com, https://www.sciencing.com/build-weather-instruments-kids-4779859/. 24 April 2017.
APA
Smith, Brett. (2017, April 24). How To Build Weather Instruments For Kids. sciencing.com. Retrieved from https://www.sciencing.com/build-weather-instruments-kids-4779859/
Chicago
Smith, Brett. How To Build Weather Instruments For Kids last modified March 24, 2022. https://www.sciencing.com/build-weather-instruments-kids-4779859/
