How Can I Build An Igloo For A School Project?
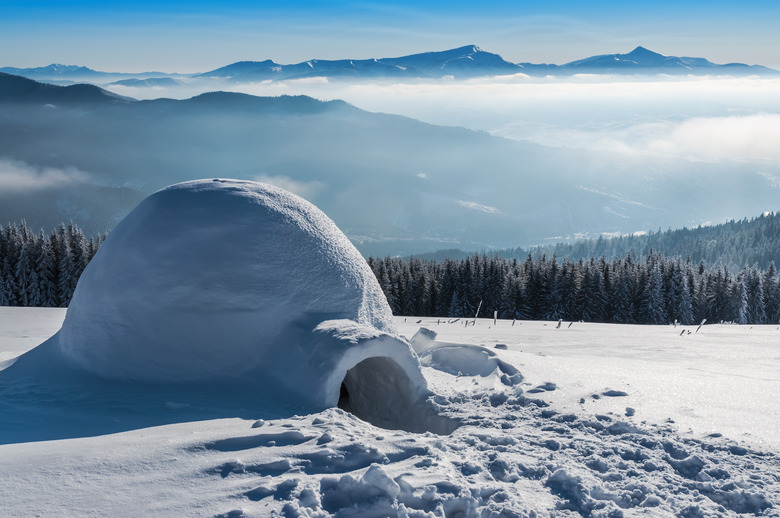
Though Eskimos and igloos are often pictured together, the igloo actually served as a temporary travel shelter rather than as year-round housing. Blocks of ice stacked in progressively smaller circles make up the igloo's dome shape. Smaller chunks of ice and snow fill the gaps between the ice block to create a smooth, air-tight surface, protecting the travelers from the winds and snow. Some igloo craft projects use marshmallows, ice cubes or sugar cubes, but these methods don't provide a lasting structure. (See References 1) Create an igloo for a school project out of common household and craft items.
Step 1
Mix 1/4 cup of glue with 1/4 cup of water.
Step 2
Tear white paper width-wise in 1-inch wide strips.
Step 3
Dip a paper strip in the glue mixture. Pull the paper strip between your fingers to squeeze off excess glue.
Step 4
Beginning at the middle of an inflated balloon, apply the paper strip. Repeat Step 3 and cover the top half of the balloon to create the igloo's dome. Place some strips of paper lengthwise over the top of the balloon and other strips of paper horizontally around the balloon to create a strong igloo. Allow the paper to dry before adding another layer. You will need to make at least four layers of paper.
Step 5
Paint a 15 inch by 18 inch piece of cardboard white and allow the paint to dry for at least a half an hour.
Step 6
Pop the balloon once the igloo is dry. Carefully remove the balloon from the igloo by pulling it off of the paper.
Step 7
Place the igloo upside down. Have an adult carefully cut a hole at least 1 1/2 inch wide in the top of the igloo. This is done to represent the ventilation hole that allows fresh air to enter a real igloo.
Step 8
Apply glue to the bottom edge of the igloo with a cotton swab. Press the igloo down onto the middle of the white cardboard. If you want to add more igloos, people or animals to create a scene with the igloo, place the igloo closer to one end of the cardboard to leave room for the structures or figures you want to add. Hold the igloo down gently for a slow count of 20.
Step 9
Cut the toilet paper tube, if needed, so that it is one-third the width of the igloo. For example, if the igloo is 12 inches in diameter, cut the toilet tube so it's 4 inches long. Look at pictures of igloos for reference; the tunnel entrance helps to protect the inside of the shelter from wind and snow.
Step 10
Make two creases in the toilet paper tube. The creases should run parallel one inch apart, so that it stays round on the top and becomes flat on the bottom. This creates the igloo tunnel.
Step 11
Apply glue to one end of the toilet paper tube and along the flattened bottom. Glue it to the igloo and the cardboard. Hold it in place for a slow count of 20.
Step 12
Paint the igloo tunnel white.
Step 13
Spread a thin layer of glue on the cardboard base, igloo and igloo tunnel with a foam brush. Sprinkle the entire igloo project with white glitter. Tilt the project from side to side to help spread the glitter evenly.
Things Needed
- 9 to 14-inch round balloon
- White paper, such as recycled computer paper
- Large bottle of white glue
- Water
- Bowl
- Paint stick or old spoon
- Cotton swab
- Toilet paper tube
- Scissors
- Utility knife, for adult to use
- Piece of strong cardboard, at least 15 by 18 inches
- White paint
- Foam paint brushes
- White glitter
Cite This Article
MLA
Adams, Gryphon. "How Can I Build An Igloo For A School Project?" sciencing.com, https://www.sciencing.com/can-build-igloo-school-project-6566773/. 13 March 2018.
APA
Adams, Gryphon. (2018, March 13). How Can I Build An Igloo For A School Project?. sciencing.com. Retrieved from https://www.sciencing.com/can-build-igloo-school-project-6566773/
Chicago
Adams, Gryphon. How Can I Build An Igloo For A School Project? last modified March 24, 2022. https://www.sciencing.com/can-build-igloo-school-project-6566773/
