How To Check LEDs
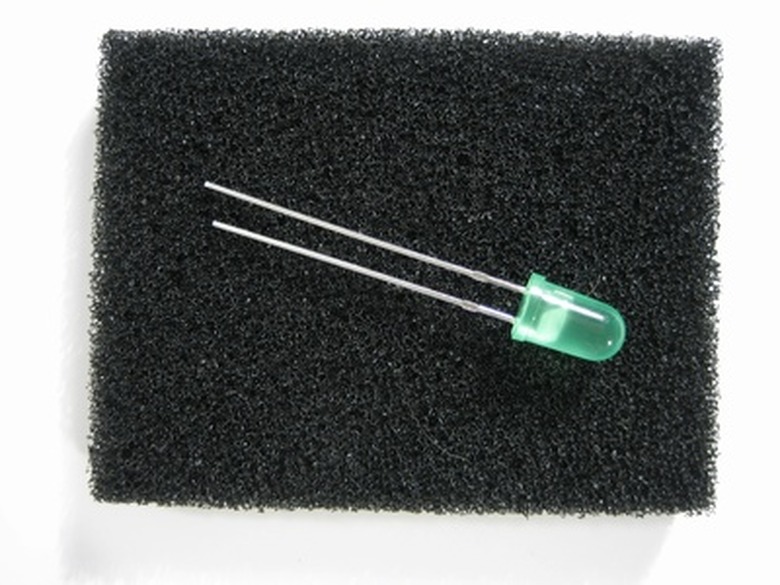
LED's, or Light Emitting Diodes, are one of the most commonly used electronics components, as they are cheap, low-power, reliable and have a long life. LED's belong to the diode family, so they only allow current to flow in one direction, and block it in the other direction. This means they are polarized, and will only work in the correct orientation. As LED's are simple devices, they are easy to test by applying a power source, either using a battery or a multimeter.
Checking LED's Using a Battery
Step 1
Clip a test lead to the positive lead, known as the "anode," of the LED. The anode lead is the longest lead on the LED. If both LED leads have been cut to the same length, attach the test lead to either one of the leads. If this turns out to be incorrect the leads can be swapped around. Clip the other end of the test lead to the lead of a 1K resistor. This will limit current to the LED and stop it from burning out.
Step 2
Clip the end of another test lead to the negative lead on the LED, which is the shortest lead and known as the "cathode." The other end of the test lead should be clipped to the negative terminal on the 9 volt battery.
Step 3
Attach one end of the final test lead to the other lead on the resistor. Touch the other end of the lead to the positive terminal of the battery. The LED should light up, demonstrating it's working. If the LED doesn't light, swap the connections attached to the LED's leads, and reconnect the test lead connected to the resistor to the positive terminal on the battery. If the LED still doesn't light up it means the LED is faulty.
Checking LED's Using a Multimeter
Step 1
Switch the multimeter to the diode test setting if available. If your multimeter does not have this facility, you can set it to the lowest value in the range for testing resistance. You do not need to note the figures on the multimeter's display for this test, as LED's can give different readings to normal diodes. In this case the multimeter is being used as a simple power source.
Step 2
Connect the positive lead from the multimeter to the anode (positive) lead on the LED. If the LED is unused, this will be the longest lead. If you are unsure, connect the positive lead to any lead on the LED, as they can be swapped later.
Step 3
Connect the negative lead from the multimeter to the cathode (negative) lead on the LED. The LED should glow dimly, indicating it's working. If the LED does not light, swap the connection to the LED leads. The LED should now light, if not the LED is faulty.
Things Needed
- LED
- 1K resistor
- 9 volt battery
- Three test leads with crocodile clips
- Multimeter
TL;DR (Too Long; Didn't Read)
Some higher-end multimeters have a dedicated LED test facility, with a socket in which the LED can be inserted. If this facility is present on your multimeter, it should be used to test the LED, as it can show extra useful information about the LED such as the voltage drop.
Warning
Do not connect the battery directly to the LED without a current limiting resistor of a suitable value. Connecting the battery directly will destroy the LED.
Cite This Article
MLA
Downes-Powell, Gareth. "How To Check LEDs" sciencing.com, https://www.sciencing.com/check-leds-7568498/. 24 April 2017.
APA
Downes-Powell, Gareth. (2017, April 24). How To Check LEDs. sciencing.com. Retrieved from https://www.sciencing.com/check-leds-7568498/
Chicago
Downes-Powell, Gareth. How To Check LEDs last modified March 24, 2022. https://www.sciencing.com/check-leds-7568498/