Chemistry Labs For High School Students
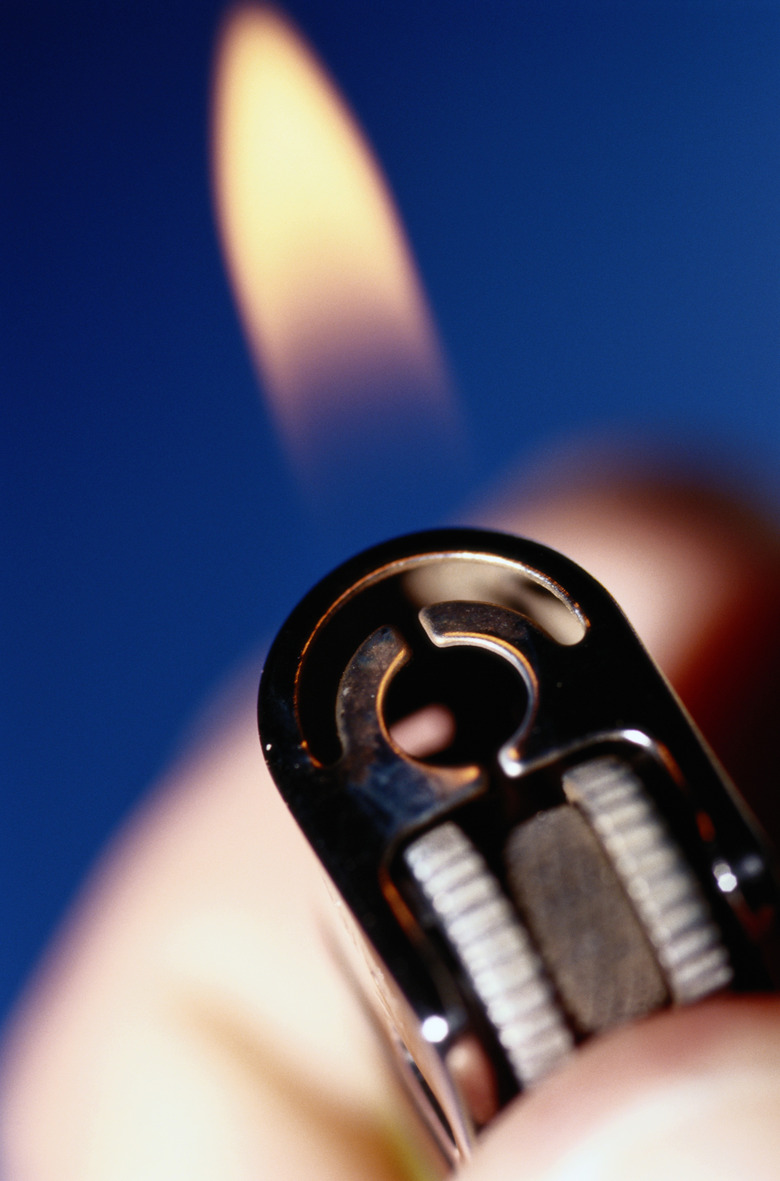
The best chemistry labs are as entertaining as they are informative. They should simultaneously demonstrate the lesson and pique student interest in the laws that govern chemical change. While they are by no means the only way to entrance your students, labs involving fire are often the most exciting, as they display the different ways certain elements can impact a flame's color and intensity.
Combusti-Bubbles: Materials
Combusti-Bubbles: Materials
Flame-retardant surface Plastic safety glasses Latex safety gloves Latex safety apron Fire extinguisher 3 grams dish soap 97 grams water 1 small plastic weighing dish 1 bottle of silicone oil 1 60-milliliter plastic syringe with a Luer-Lok fitting 1 latex Luer-Lok syringe cap 1 plastic vial cap 0.05 grams magnesium ribbon 3-5 milliliters 2-Molar aqueous hydrochloric acid 1 250-milliliter clear plastic cup 5 milliliters water 1 candle 1 butane lighter 1 gram glycerin
Combusti-Bubbles: Procedure
Combusti-Bubbles: Procedure
In this lab, students will consider the chemical process behind hydrogen combustion and how to maximize hydrogen combustibility. Instruct the students as follows:
Gently mix water with dish soap and glycerin in a weighing dish.
Disassemble the syringe. Place the magnesium ribbon in a vial cap.
Lubricate the syringe plunger with a small drop of silicon oil. Fill the body of the syringe with water, sealing the end with a finger.
Float the vial cap in the water. Remove finger. Allow the cap to sink into the syringe. Replace plunger.
Draw up 5 milliliters of aqueous HCl. Cap syringe. Shake. Pull plunger back gently to give the hydrogen gas space. Point syringe upwards and remove the cap, pointing away from your face and from other students.
Tip the syringe until the liquid is at the opening. Press plunger down to expel all liquid into the plastic cup.
Draw up 5 milliliters of water. Cap and shake. Expel water into the plastic cup. Cover syringe tip.
Light the candle.
Place syringe tip in soap solution. Expel half of the hydrogen to create bubbles. Cap syringe. Ignite the bubbles with the candle. Record results.
Remove syringe cap. Pull back plunger to add air.
Expel contents into soap solution to create bubbles. Ignite the bubbles with the candle. Record results, noting any differences from the first bubble test and offering suggestions as to why air impacted combustion so dramatically.
The Fire Spectrum: Materials
The Fire Spectrum: Materials
Flame-retardant surface Plastic safety goggles Latex safety gloves Latex safety aprons Fire extinguisher 1 butane lighter OR 1 piezo lighter 8 clean, dry glass petri dishes 75 milliliters methyl alcohol 1 20 milliliter graduated cylinder 10 grams cupric chloride 10 grams potassium chloride 10 grams strontium chloride 10 grams sodium chloride 10 grams lithium chloride 10 grams barium chloride 10 grams calcium chloride 1 600-milliliter beaker 1 color coded flame test chart OR flame test table
The Fire Spectrum: Procedure
The Fire Spectrum: Procedure
Do not let students know which salts they are using, as they will determine this based on the flame test charts. Be sure to turn the lights down when the students are ready to light the samples. Give students the following instructions:
Line the petri dishes up across the flame retardant surface. Measure 15 milliliters of methyl alcohol and pour in the first petri dish. Apply flame, take notes on the color.
Smother the flame with the 600-milliliter glass beaker.
Pour each salt sample into its own petri dish.
Measure and pour 15 milliliters of methyl alcohol into each petri dish.
Light each sample and observe the colors. Take photos or video footage if desired. Extinguish the flames with the 600-milliliter glass beaker.
Use the flame test chart to guess which salts were used.
Cite This Article
MLA
Awana, Momi. "Chemistry Labs For High School Students" sciencing.com, https://www.sciencing.com/chemistry-labs-high-school-students-12318750/. 24 April 2017.
APA
Awana, Momi. (2017, April 24). Chemistry Labs For High School Students. sciencing.com. Retrieved from https://www.sciencing.com/chemistry-labs-high-school-students-12318750/
Chicago
Awana, Momi. Chemistry Labs For High School Students last modified August 30, 2022. https://www.sciencing.com/chemistry-labs-high-school-students-12318750/
