Color-Changing Liquid Experiments
Some of the most interesting and visually exciting science fair experiments are those that feature a wide array of moving colors. Color-changing liquid experiments are especially well-suited for younger students, as the chemicals and supplies needed for the projects are easy-to-access and, for the most part, relatively safe. Some ideas include experimenting with food coloring and water, milk of magnesia and vinegar, as well as the compounded color-changing effects of various other substances.
Food Coloring and Water
Food Coloring and Water
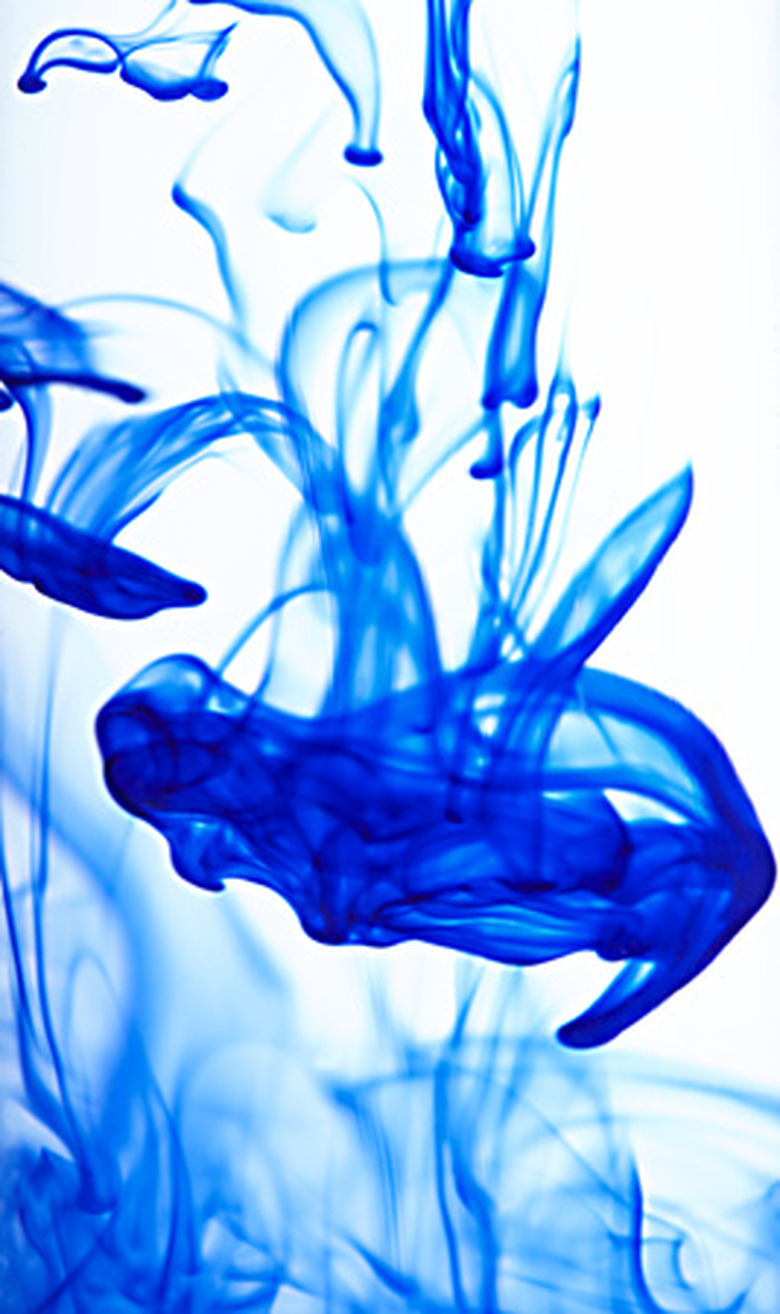
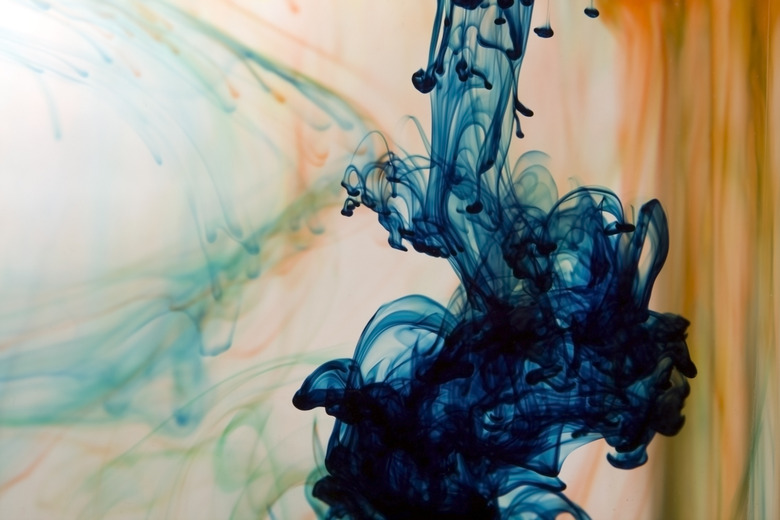
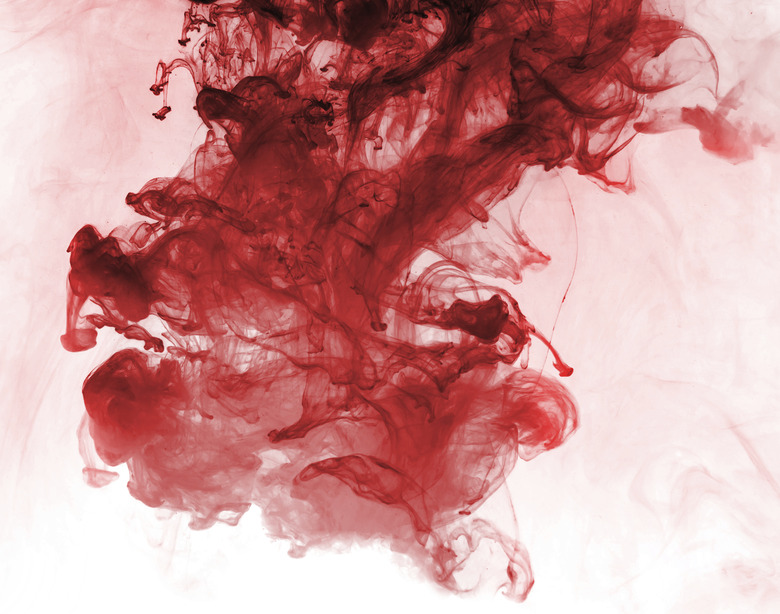
This experiment is designed to teach students about surface tension and Brownian motion, which concerns the effects of density on motion. According to AtoZTeacherStuff.com, to perform this experiment, you need a bowl of water, a spoon and some food coloring. After giving the water a gentle stir, add in one drop of food coloring, and observe. While you might expect the dye to disperse and dissolve rapidly in the water, quite the opposite is true. You may notice that it takes awhile for the dye to penetrate through the surface of the water, which is caused by surface tension, a web-like interconnection of surface water molecules. Also, because the food coloring molecules are denser than water molecules, it takes awhile for the "weaker" water molecules to shift around the "stronger" food coloring molecules and effectively disperse them.
Milk of Magnesia and Vinegar
Milk of Magnesia and Vinegar
Milk of magnesia is a white solution that consists of hydrated magnesium carbonate suspended in water. It is used as both an antacid and a laxative. According to SteveSpanglerScience.com, for this experiment, you need to pour 100 milliliters (mL) of milk of magnesia into a 500 mL beaker, and then add water, until the beaker is filled to approximately halfway. You then need to add in 10 mL of universal indicator–which is a chemical commonly used in pool kits to check pH levels–and stir. Because the milk of magnesia is an alkaline compound, you should notice the solution taking on a bluish hint. However, if you then add in 10 to 20 mL of vinegar into the solution (while stirring), you will notice something remarkable: The bluish solution will rapidly change to red. This is caused by the vinegar neutralizing the alkaline magnesium carbonate, which drastically increases the solution's acidity.
Multiple Chemicals and Color Changes
Multiple Chemicals and Color Changes
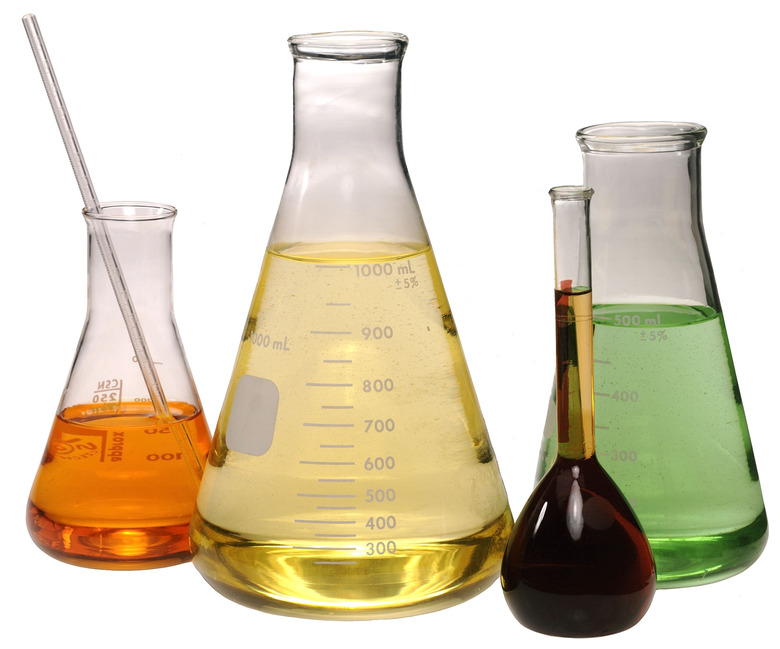
Unlike the above-mentioned experiment, this experiment moves beyond simply changing a solution from alkaline to acidic. Instead, it seeks to determine the precise amount of specific chemicals that are needed to cause these changes. According to HomeTrainingTools.com, you should start by filling one flask or beaker with 25 drops of universal indicator and approximately 200 mL of water. Then, put a dropper full of vinegar in a second beaker, a dropper full of ammonia in a third beaker, and–finally–100 mL of vinegar in a fourth beaker. You then need to pour the contents of each beaker sequentially into the next, and observe the colors produced (so, pour the first into the second, the second into the third, and so on). While the vinegar will initially turn the solution red, the alkaline ammonia should neutralize it and change the solution to blue. If there is enough vinegar in the final beaker, the solution should turn back to red. You will need to experiment with the quantities to determine the precise amounts necessary to cause each change.
Cite This Article
MLA
Devaney, Erik. "Color-Changing Liquid Experiments" sciencing.com, https://www.sciencing.com/colorchanging-liquid-experiments-6038950/. 24 April 2017.
APA
Devaney, Erik. (2017, April 24). Color-Changing Liquid Experiments. sciencing.com. Retrieved from https://www.sciencing.com/colorchanging-liquid-experiments-6038950/
Chicago
Devaney, Erik. Color-Changing Liquid Experiments last modified August 30, 2022. https://www.sciencing.com/colorchanging-liquid-experiments-6038950/


