How To Connect An Ammeter
To measure electrical current through a wire, the ammeter is used. You can use it to measure very small electrical currents or very large ones. However, if you are a beginner, only use it to measure small currents. Large electrical currents can be dangerous.
Connecting an ammeter to measure current only takes a few minutes or less. However, sometimes people get confused and think it's too simple. For example, they might just attach the two probes to the wire. The key to connecting an ammeter correctly is remembering that the connection is such that current will flow through the ammeter, as if it was a wire.
Step 1
Set the current type switch. Ammeters can be used to measure direct current or alternating current, also known as DC or AC current. If your circuit is a battery, the current will be direct current. If you power your circuit with a power supply, the type of current will depend on your power supply. There are DC and AC power supplies as well as power supplies that let you select DC or AC voltage. So if your power supply is set to AC, set the ammeter to AC. If it is a DC power supply, set the ammeter to DC.
Step 2
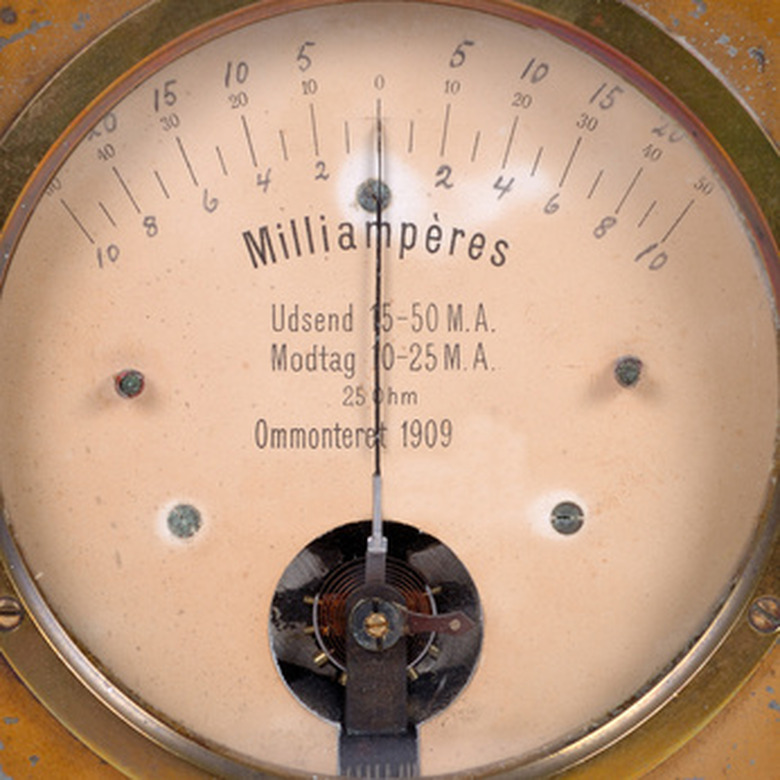
Examine the ammeter-calibrated scale. When current flows through an ammeter, the needle on the meter will move across the calibrated scale. The marking on the scale that the needle settles over will correspond to the current that is flowing through your ammeter. The number on the far-right end of the meter corresponds to the maximum current reading for the specific range that the ammeter is set for. This maximum number is often referred to as a full-scale reading.
Step 3
Set the range multiplier switch to its highest value. Examine the different ranges that your ammeter has. One range could be for amperes, another milliamperes and another microamperes. However, remember different ammeters will have different ranges, so check your owner's manual. Set the range multiplier switch to the highest range. For this case select the ampere range. And that's because amperes are a thousand times larger than milliamperes, and milliamperes are a thousand times larger than microamperes.
Step 4
Determine the full-scale reading for the range set. Multiply the setting on the range multiplier by the full-scale number on the meter. The full-scale number on the meter is the number on the meter that is on the far-right end of the calibrated scale. It may be 1, 2 or 5 or any other number. Next, multiply the full-scale number by the range multiplier setting. If your full-scale number was 1.5, and your range multiplier was set to milliamperes, the maximum current you could measure with your ammeter would be 1.5 milliamperes, or 0.0015 amperes, since dividing milliamperes by 1,000 gives the current in terms of milliamperes.
Step 5
Connect a simple circuit so that the current will flow through the ammeter. Connect the positive probe of the ammeter to the positive terminal of the power supply. Connect the negative probe of the ammeter to one end of a resistor. Finally connect the other end of the resistor to the negative terminal of the power supply. The ammeter is now connected so that the current that flows through the resistor will also flow through the ammeter, also know as an in-series connection.
Things Needed
- Ammeter
- Owners manual
- Resistor
- Power supply
Cite This Article
MLA
Stansberry, Mark. "How To Connect An Ammeter" sciencing.com, https://www.sciencing.com/connect-ammeter-6029800/. 24 April 2017.
APA
Stansberry, Mark. (2017, April 24). How To Connect An Ammeter. sciencing.com. Retrieved from https://www.sciencing.com/connect-ammeter-6029800/
Chicago
Stansberry, Mark. How To Connect An Ammeter last modified March 24, 2022. https://www.sciencing.com/connect-ammeter-6029800/
