Convection Experiments For Kids
Convection is the cycle of transferring heat. It is a fascinating topic to tackle when attempting scientific experiments with kids, because it's something that occurs in liquid and the air on a daily basis. Convection is also something that can be tested and understood without using expensive laboratory equipment and tools.
Convection Snake
Convection Snake
To perform the convection snake experiment, you will need a piece of paper and scissors. Using the scissors, cut the piece of paper into a spiral shape that is 6 cm long. Attach one end of a 15-cm piece of yarn to the middle of the spiral using clear tape. Take a table lamp and hang the paper spiral about 10 cm above the table lamp. You will notice that the heat from the lamp causes the spiral to twirl. This is due to a convection current. The energy from the lamp's light source warms up the air above it. Because hot air is lighter than cool air, as the air heats up and the hot air rises above the lamp, colder air moves where the warmer air was previously.
Convection Currents Experiment: Materials
Convection Currents Experiment: Materials
If you watch the news, you see weather forecasters talking about natural weather phenomena such as El Nino and La Nina. El Nino and La Nina are caused by convection, because convection currents form when warm and cold air come together in the atmosphere. This creates warm water currents in the ocean. To create your own convection current, you will need four plastic soda bottles that are the same size, two different colors of food coloring, warm and cold water and an index card.
Convection Currents Experiment: Procedure and Results
Convection Currents Experiment: Procedure and Results
Completely fill two of the soda bottles with cold water and the other two bottles with warm water. Use the food coloring to color the cold water one color and the warm water the other color. Put your index card over the top of one of the bottles of warm water. Holding the index card in place, inverse the bottle and put it on top of one of the bottles of cold water. Slide the index card from in between the bottles. You will see that the cold water, which is heavier, stays in the bottom bottle and the warm water stays in the top bottle. However, if you perform the experiment placing the bottle of cold water on top and the bottle of warm water on the bottom, the warm water would rise to the top and the cold water would move to the bottom bottle.
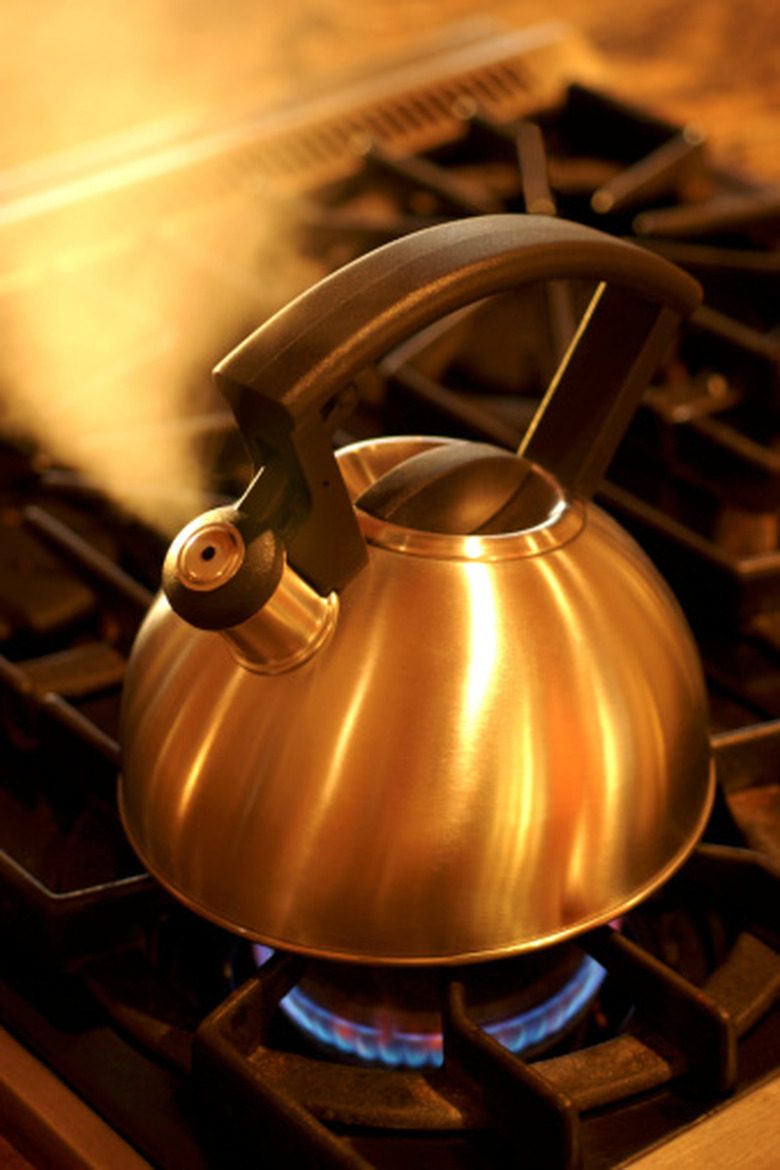
Boiling Water
Boiling Water
A simple illustration of convection is a pot or kettle of boiling water. When you boil water to make beverages or cook meals, though you start off with cool water, as the water is warmed by an external heating source, it begins to expand. As the hotter water rises, colder water in other parts of the pot or kettle moves in to replace the warmer water. As this process continues, the water gets hot and the convection currents cause the liquid to move in a circular fashion. Eventually, the action becomes very strong and the water begins to boil.
Cite This Article
MLA
Jones, Mike. "Convection Experiments For Kids" sciencing.com, https://www.sciencing.com/convection-experiments-kids-8618343/. 22 November 2019.
APA
Jones, Mike. (2019, November 22). Convection Experiments For Kids. sciencing.com. Retrieved from https://www.sciencing.com/convection-experiments-kids-8618343/
Chicago
Jones, Mike. Convection Experiments For Kids last modified March 24, 2022. https://www.sciencing.com/convection-experiments-kids-8618343/