How To Estimate Ra From Rz
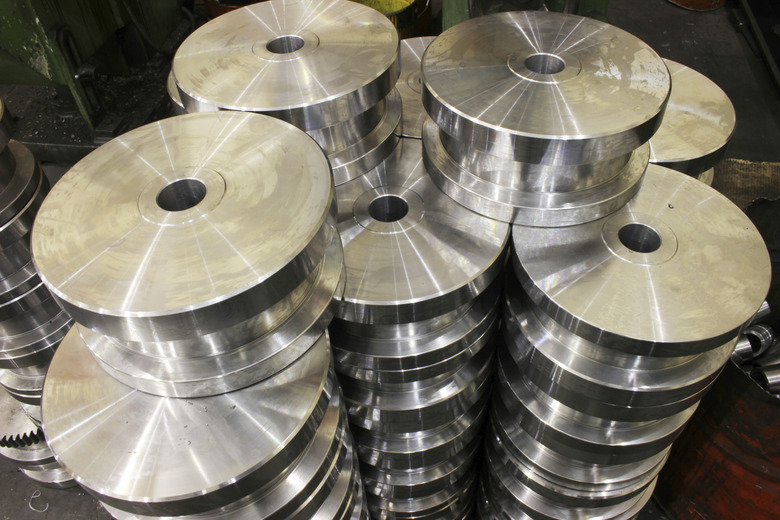
Machined metal parts may appear smooth, but they always have some amount of roughness due to any of several causes like vibration in the milling equipment, or worn cutting bits. Specifications will set an acceptable degree of roughness, but there's more than one way to measure the surface, and more than one way to quantify the measurement results. Two common measurements are Ra, or average roughness, and Rz, or mean roughness depth. When one shop uses Rz and another uses Ra, a conversion method must be agreed upon.
Designed Roughness
Designed Roughness
Under microscopic inspection, the roughness of a machined surface can resemble a jagged mountain range where the peaks are burrs and the valleys are scratches. These features are created by the cutting or grinding tools. This texture is necessary for some applications like the cylinder walls of an internal combustion engine, where the surface should be smooth enough for the piston rings to seal, but rough enough to hold a film of oil for lubrication.
Differences in Methods and Results
Differences in Methods and Results
The difference in method and results between Rz and Ra comes into play when the surface has some exceptionally high peaks or low valleys. If the surface has uniform variations in height, the averaging method of Ra yields similar results to the mean calculation of Rz. Because Ra averages all measurements within a given sample, extreme points are blended into the average, and the method doesn't identify them. In contrast, Rz selects the highest and lowest points in five sample sections, and derives a value by averaging among them, so they play a greater role in evaluating the surface.
Estimating Ra from Rz
Estimating Ra from Rz
While Ra smooths all measurements into one average and Rz averages only the greatest deviations, there isn't just one simple way to derive Ra from Rz. Rather, general estimates are applied, often assuming that the Ra value will be 1/4 to 1/9 of the Rz value. This variability depends on the machining method, ranging from slot milling, to water-jet cutting, to grinding or polishing.
Advantages and Shortcomings of Ra and Rz as Measurements
Advantages and Shortcomings of Ra and Rz as Measurements
Ra offers a quick way to measure average deviation from the expected mean surface, as determined by simple tools, but it won't indicate whether the variations from the designed mean are peaks or valleys. This average is only one parameter of measurement. Rz also averages readings, but it doesn't provide specific values for the individual deviations. Rz and Ra are not the only parameters for measuring a surface. Others like Rmax pick out the difference between the highest and lowest points, without averaging. Rv indicates the lowest valleys, and Rp indicates the highest peaks.
References
- Modern Machine Shop: Surface Finish: A Machinist's Tool. A Design Necessity.
- Modern Machine Shop: Surface Texture from Ra to Rz
- forgacsolaskutatas.hu: Interpretation of "Rz = 4×Ra" and Other Roughness Parameters in the Evaluation of Machined Surfaces
- Quality Magazine: Quality 101: Surface Finish Measurement Basics
Cite This Article
MLA
Silbajoris, Alex. "How To Estimate Ra From Rz" sciencing.com, https://www.sciencing.com/convert-rz-ra-7454083/. 24 April 2017.
APA
Silbajoris, Alex. (2017, April 24). How To Estimate Ra From Rz. sciencing.com. Retrieved from https://www.sciencing.com/convert-rz-ra-7454083/
Chicago
Silbajoris, Alex. How To Estimate Ra From Rz last modified March 24, 2022. https://www.sciencing.com/convert-rz-ra-7454083/
