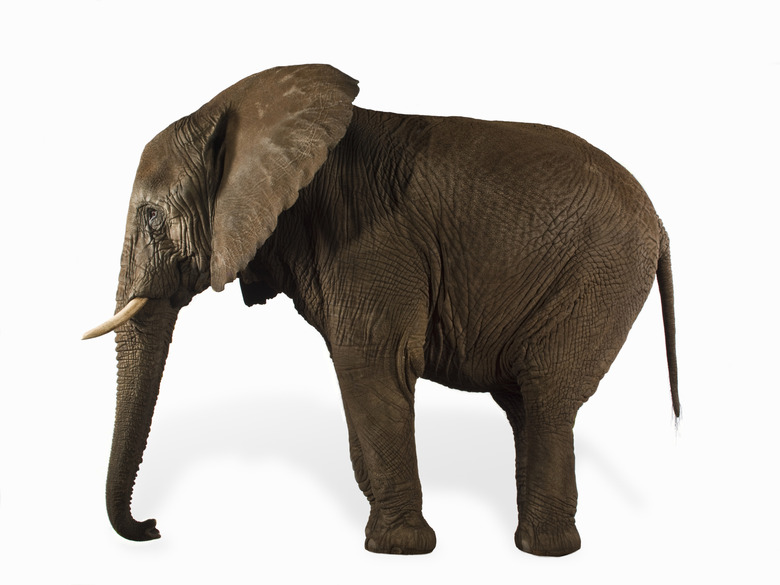
How To Create An Elephant Tessellation
Tessellations are tile shapes that are combined to form patterns. The patterns are formed when the shapes are stacked in rows and columns. Commonly used tiles include squares, hexagons and triangles. The patterns can have pictures inside of them, such as elephants.
Step 1
Create a tile. Draw a 2-by-2-inch square on a white sheet of paper. Cut out the square with a pair of scissors.
Step 2
Draw a half-circle on the right side of the tile, with the arc facing inward. The circle must be as tall as the square, and should have a diameter that is no more than a half-inch. Use a compass or protractor to make sure the shape is even.
Step 3
Cut out the half-circle and attach it to the tile's left side. The shapes must be flush, straight edge to straight edge, with no space between them. Tape or glue the pieces together.
Step 4
Draw an elephant head on the shape with a pencil. The picture will face left. The head should be an oval at the top. The entire left side should be a trunk that curves inward about half an inch. The trunk can curve upward to the right to help form a triangle that will be an open mouth.
Step 5
Draw a neck that extends from the back of the open mouth. Beginning at the upper right-hand side of the tile, draw an ear that curves and extends to the curve on the right. Add an eye above the mouth.
Step 6
Outline the entire tile with a black marker. The design should be clearly seen from both sides.
Step 7
Lay a sheet of tracing paper on a flat surface. If necessary, use a ruler to draw several rows of guidelines that are 2 inches apart. Place the paper over the elephant tile. Trace the object repeatedly so that it covers one row.
Step 8
Move the tile down to the next row. Reverse the drawing so that the elephant faces right. Again, trace it repeatedly for the length of the row.
Step 9
Fill the sheet of paper with the tile, repeatedly alternating the direction of the elephant to the left and to the right.
Step 10
Color the patterns with markers. Tape the finished work to a sheet of cardboard or construction paper.
Things Needed
- Paper
- Pencil
- Construction paper
- Compass or protractor
- Scissors
- Tape or glue
- Markers
- Tracing paper
- Cardboard sheet
TL;DR (Too Long; Didn't Read)
You can create the drawing with a graphics software program instead of pencil and paper.
Cite This Article
MLA
Lewis, Kim. "How To Create An Elephant Tessellation" sciencing.com, https://www.sciencing.com/create-elephant-tessellation-12074201/. 24 April 2017.
APA
Lewis, Kim. (2017, April 24). How To Create An Elephant Tessellation. sciencing.com. Retrieved from https://www.sciencing.com/create-elephant-tessellation-12074201/
Chicago
Lewis, Kim. How To Create An Elephant Tessellation last modified March 24, 2022. https://www.sciencing.com/create-elephant-tessellation-12074201/
