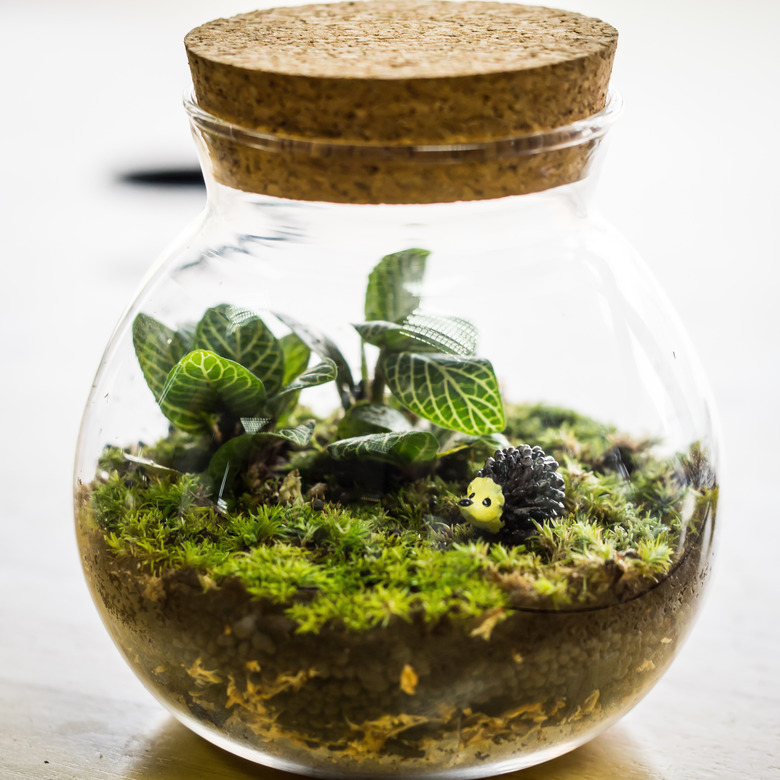
How To Create A Habitat For A School Project
Create a habitat project for school in a shoebox or plastic container. A habitat is an area with a specific climate and ecosystem. Desert, forest, grassland, wetlands and tundra are the main habitats found around the world. Each habitat has its own landscape and wildlife. Use small plastic animals to portray the wildlife in the area. Buy plastic animals from toy stores. Buy plastic trees at hobby or toy stores.
Desert
Step 1
Fill a shoe box or plastic container a fourth of the way with sand. Make the sand's surface uneven. Make sand dunes and ditches by moving the sand around with your hand.
Step 2
Scatter a few rocks in the box.
Step 3
Place plastic snakes and lizards in the sand.
Step 4
Add two or three pieces of greenery. Cacti live in the desert because they can hold water.
Forest
Step 1
Fill a shoebox or plastic container halfway with dirt.
Step 2
Put plastic trees in the dirt. Maple, oak and walnut trees are commonly found in forests.
Step 3
Cut a piece of blue plastic wrap and set it on the dirt. This acts as the water.
Step 4
Add plastic animals. Deer, raccoons, birds, snakes, rabbits, foxes and squirrels are some animals found in forests.
Grasslands
Step 1
Cut out a piece of plastic turf. Lay it in the shoebox or plastic container.
Step 2
Add plastic bushes.
Step 3
Add plastic animals like lions, bison, giraffe and zebra.
Step 4
Cut a blue piece of plastic wrap for a body of water. Set it in the habitat.
Wetlands
Step 1
Cut a piece of foam to fit most of the container. Paint it blue.
Step 2
Put the dry foam in the container.
Step 3
Glue water-dwelling animals, like alligators, to the foam.
Step 4
Glue or tape birds onto toothpicks and insert them into the foam.
Step 5
Fill the rest of the box with dirt. Add a few trees.
Tundra
Step 1
Place a piece of foam in the container.
Step 2
Glue packing peanuts on the foam to make hills and dunes.
Step 3
Add plastic animals such as polar bears and penguins.
Step 4
Cut a piece of blue plastic wrap and glue it along the edge of the foam for water.
Step 5
Add evergreen trees and bushes.
Things Needed
- Shoe box or plastic container
- Sand
- Small, quarter-size rocks
- Plastic greenery
- Small plastic animals
- Dirt
- Foam
- Blue paint
- Paintbrush
- Tape
- Blue plastic wrap
- Scissors
- Toothpicks
TL;DR (Too Long; Didn't Read)
If you have a lot of time to do the project, grow your own grass for the grassland and forest by planting seeds in the dirt several weeks before the project is due.
References
Cite This Article
MLA
, Racheal Ambrose. "How To Create A Habitat For A School Project" sciencing.com, https://www.sciencing.com/create-habitat-school-project-5796051/. 13 March 2018.
APA
, Racheal Ambrose. (2018, March 13). How To Create A Habitat For A School Project. sciencing.com. Retrieved from https://www.sciencing.com/create-habitat-school-project-5796051/
Chicago
, Racheal Ambrose. How To Create A Habitat For A School Project last modified March 24, 2022. https://www.sciencing.com/create-habitat-school-project-5796051/
