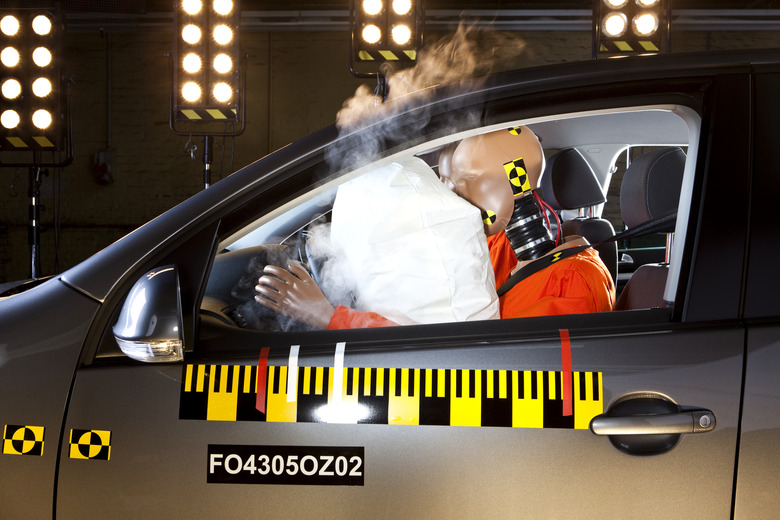
How To Create A Vehicle Crash Test Project
This project will allow students of any age, to construct a vehicle for crash testing. Vehicles will contain a raw egg that will survive the crash test or will crack and splatter. Crash test is conducted from an 8ft long, 40 degree incline plan test trak, into a solid brick.
Criteria and constraints for crash test vehicle project
Step 1
1. Vehicle body design must have a front end crumple zone 2. Body design must approximate a car or truck design
Step 2
1. Body design may only use materials from materials list provided in things you need column 2. Body design must have front end crumple zone 3. Body design must include a seat design to support the raw egg, cut to fit vehicle platform
Step 3
Objectives: 1. Design a crash test vehicle body that will protect one raw egg in shell restrained on vehicle seat attached to pre-made vehicle platform with attached axles and wheels 2. Test body design by running crash test vehicle down 8ft track set on 40 degree angle into solid brick 3. Successful design will allow egg to survive test without damage
Step 4
Vehicle must not exceed length and width of pre-made vehicle platform. Plastic wheels and axles can be bought at your local hobby shop. Vehicle body design should be glued to vehicle platform and axles should be secured to vehicle platform one inch from each end. Model glue works the best at holding axles in place.
Step 5
Once vehicle is assembled, axles secured to bottom of vehicle platform, plastic wheels attached to axles, vehicle body glued to vehicle platform, raw egg secured in vehicle, use test track to test your design. if egg survives uncracked, your design is succesfull. If egg cracks, determine what part of the vehicle needs re-enforcing and modify design. Test on track until egg survives testing.
Things Needed
- 1\. cardboard (for vehicle body construction)
- 2\. toothpicks
- 3\. Popsicle sticks
- 4\. cotton balls
- 5\. rubber bands
- 6\. bubble wrap
- 7\. packing peanuts
- 8\. tape (only for vehicle body construction, not to
- secure egg)
- 9\. staples (only for body construction)
- 10\. glue (only for vehicle body construction
- not to secure egg)
- 11\. one raw egg in shell (small)
- 12\. 6 inch x 4 inch balsa wood platform
- 13\. 4 small plastic wheels with axles 6 inches long
- 14\. 8ft long x 5inch wide re-enforced vehicle test
- track with 40 degree incline (plywood works
- best)
- 15\. support test track with 4 wood struts 2 to a
- side.
- Tools you will need:
- 1\. box cutter
- 2\. small hobby knife
- 3\. permanent markers of several colors ( for
- putting your personal touch on vehicle body)
- 4\. large scissors
- 5\. rotary saw (for track construction)
- 6\. claw hammer and nails to attach struts
TL;DR (Too Long; Didn't Read)
Be very careful when using cutting tools. Make sure they are sharp to make cuts easier. Never use a dull cutting tool. Children under 14, should be supervised when they are using cutting tools as well as construction the test track.
Warning
Model glue should be applied with adult supervision and kept stored in a secure place. Cutting tools should be kept in a secure place when not in use.
Cite This Article
MLA
Vaughn, Paul. "How To Create A Vehicle Crash Test Project" sciencing.com, https://www.sciencing.com/create-vehicle-crash-test-project-2309394/. 30 May 2008.
APA
Vaughn, Paul. (2008, May 30). How To Create A Vehicle Crash Test Project. sciencing.com. Retrieved from https://www.sciencing.com/create-vehicle-crash-test-project-2309394/
Chicago
Vaughn, Paul. How To Create A Vehicle Crash Test Project last modified March 24, 2022. https://www.sciencing.com/create-vehicle-crash-test-project-2309394/
