How To Draw Geometric Shapes
With nothing but compass, ruler, paper, and pencil, you can draw extremely precise figures using basic principles of geometry. The number of shapes you can draw by hand is limitless, but each is more difficult and requires more steps than the last.
Step 1
Open your compass to the desired radius. Put one end at the end of the ruler and open it until the other end is at the point that corresponds to the radius of the circle you want to draw. For example, if you want to draw a circle that is five inches in radius,
Step 2
Put the spike of the compass, the metal tip,in the middle of the paper. Make sure that the distance to the nearest side is greater than the distance from the compass
Step 3
Rest the pencil lightly on the paper while keeping the spike in place.
Step 4
Taking care not to push down too hard, trace a circle around the spike. Leave the spike in place and rotate the pencil around it.
Step 5
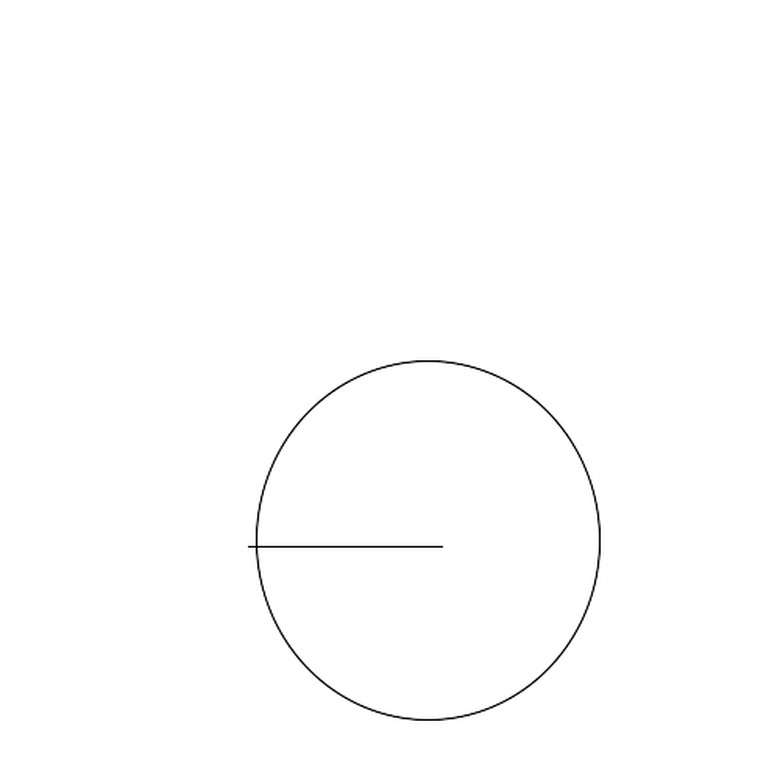
Draw a base line the desired length of the triangle. Draw the base along the ruler to make sure that it is a straight line of the correct length.
Step 6
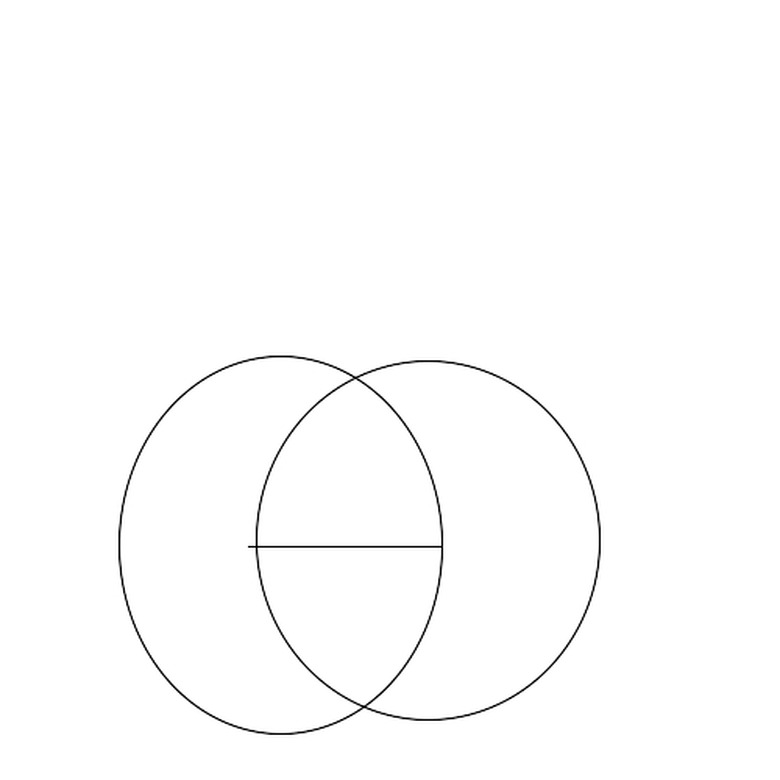
Open the compass to the length of the base. Open it until the spike sits at one end of the base line and the pencil tip sits at the other.
Step 7
Keeping the spike in place and without adjusting the compass, draw a circle.
Step 8
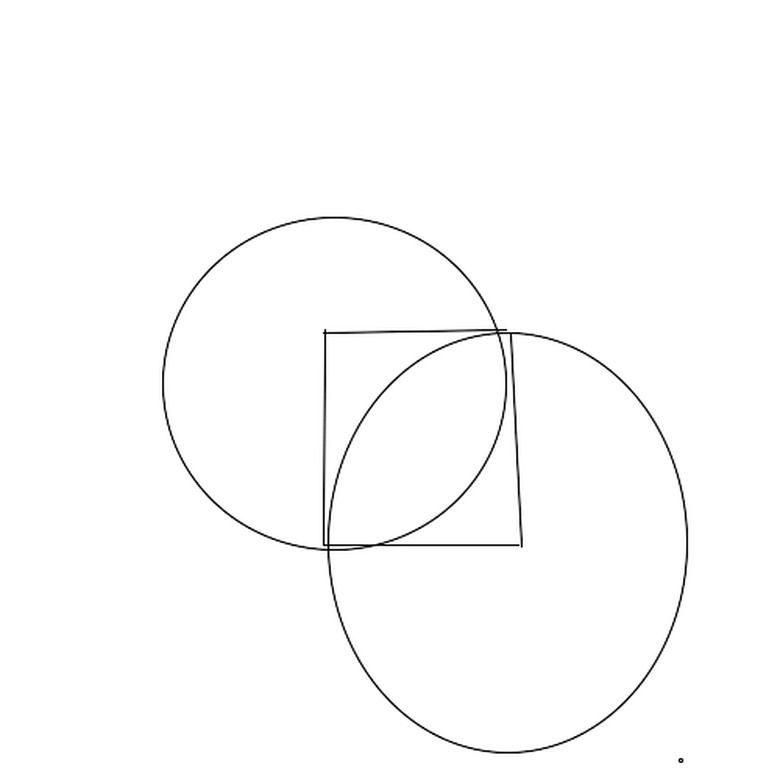
Draw another circle with the same diameter from the other endpoint of the base. You will now have two circles that meet in two points.
Step 9
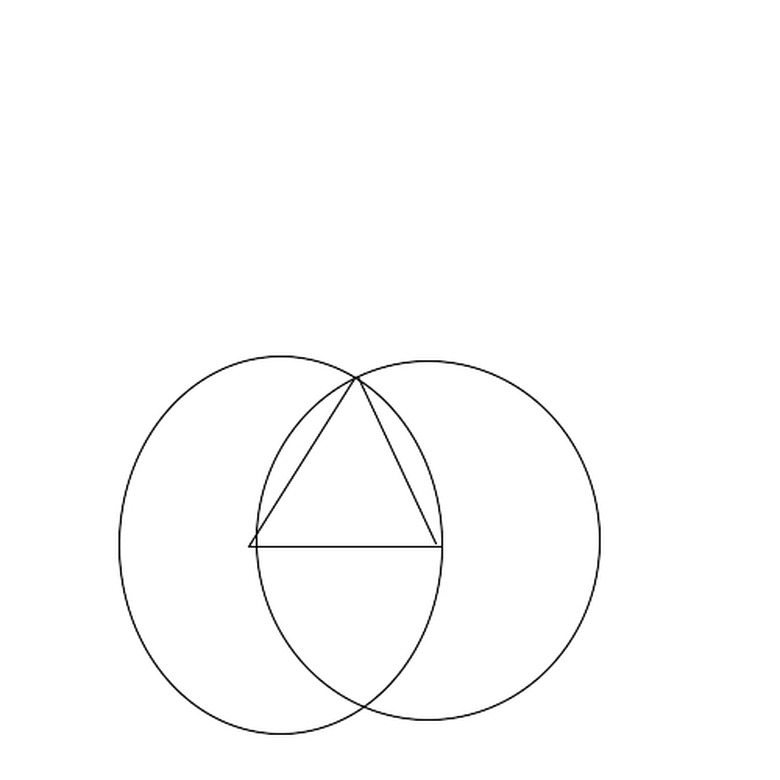
Draw lines from both of the endpoints to the place where the circles meet.
Step 10
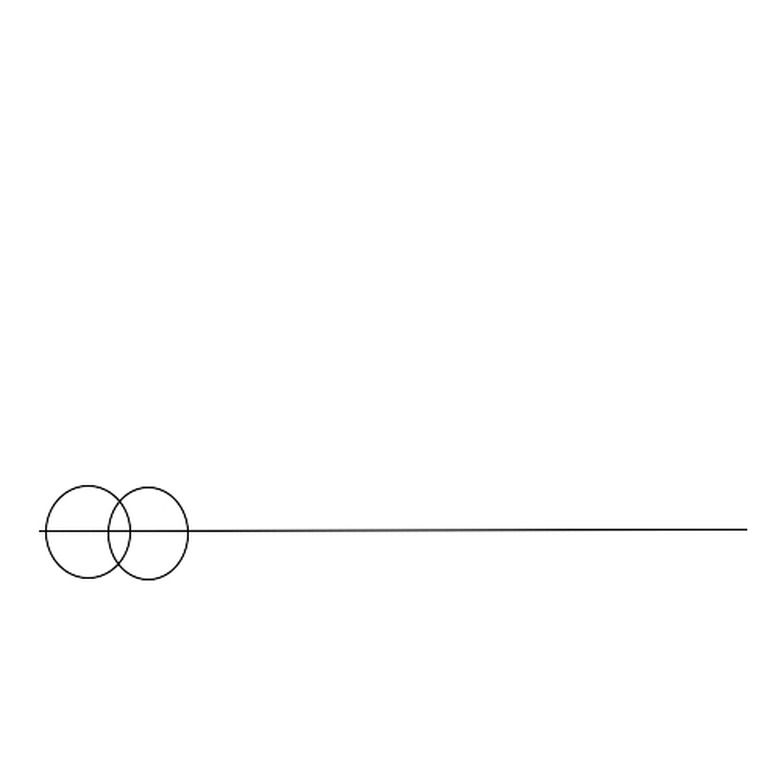
Draw a base line. It should be several inches longer than the desired length of the square.
Step 11
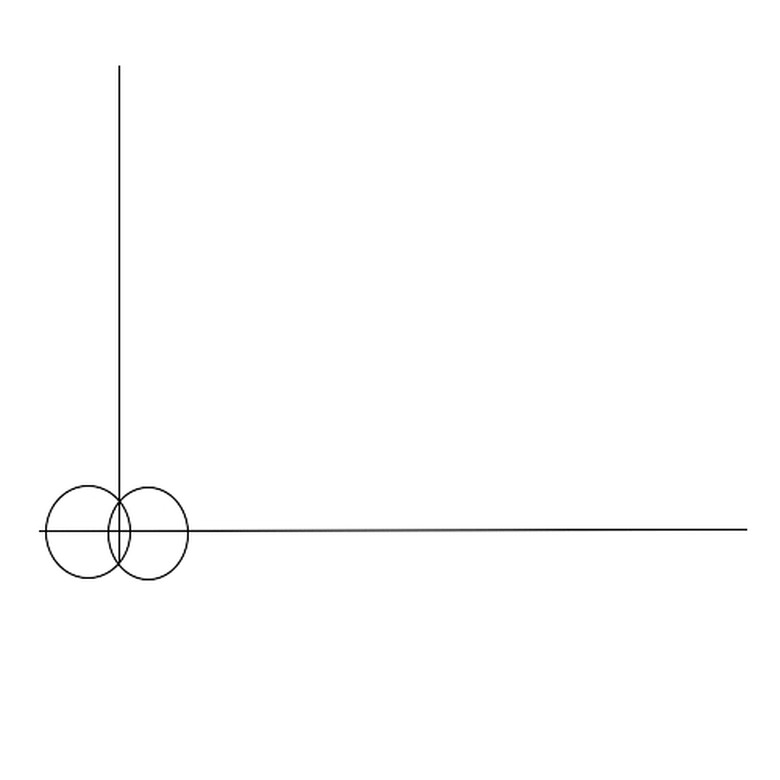
Draw two small circles of the same radius near one edge of the line. Each circle should be on the line, and the radius should be a bit more than half the distance between them. They should meet in two places, as in the illustration.
Step 12
Draw a line connecting the two points and extending above them. This line will be perpendicular to the first line you drew.
Step 13
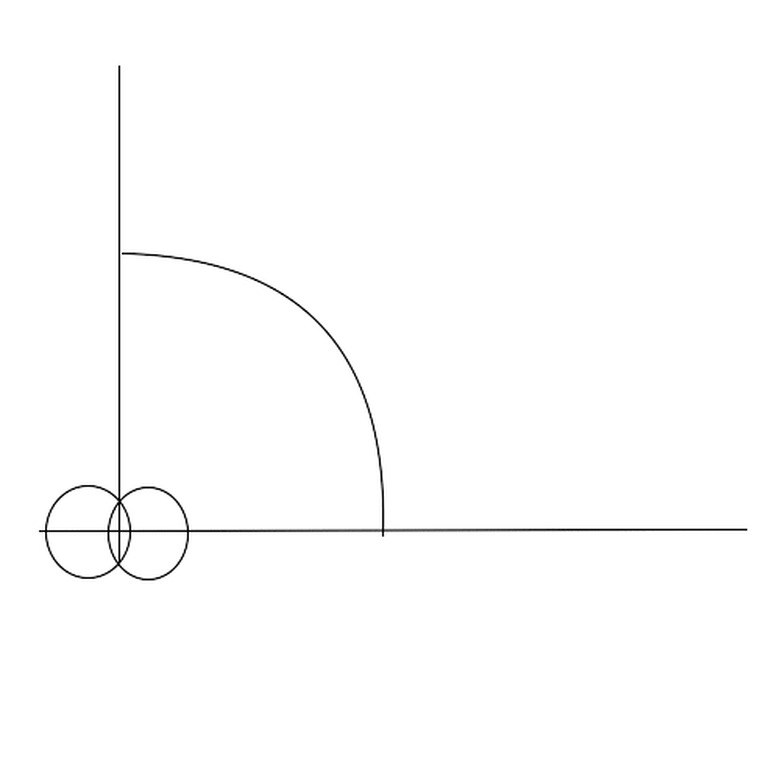
Decide on the length of your square and open your compass to that length. The length should be smaller than the distance from the point where the two lines intersect to the end of the smaller line.
Step 14
Put the spike of your compass at the point where the two lines intersect.
Step 15
Draw an arc with the compass that intersects the two lines. The radius of the arc is equal to the length of one side of the square, and the places where the circle crosses the lines are their endpoints.
Step 16
Put the point of the compass at the end of one of the lines.
Step 17
Draw a circle.
Step 18
Repeat steps 7 and 8 from the other endpoint.
Step 19
Connect the ends of the lines to the point where the circles connect. You now have a square.
Things Needed
- Paper
- Compass
- Ruler
- Pencil
TL;DR (Too Long; Didn't Read)
The diameter is twice the length of the radius. Therefore, a circle that is 4 inches in diameter needs to have a radius of 2 inches.
Warning
The drawings are not to scale. They are simply meant to illustrate the principles, not to provide perfect examples of equilateral triangles and squares. Do not adjust the compass between steps unless you are told to.
Cite This Article
MLA
David, Isaiah. "How To Draw Geometric Shapes" sciencing.com, https://www.sciencing.com/draw-geometric-shapes-2358309/. 24 April 2017.
APA
David, Isaiah. (2017, April 24). How To Draw Geometric Shapes. sciencing.com. Retrieved from https://www.sciencing.com/draw-geometric-shapes-2358309/
Chicago
David, Isaiah. How To Draw Geometric Shapes last modified March 24, 2022. https://www.sciencing.com/draw-geometric-shapes-2358309/
