Easy Homemade Weather Instruments For Kids
Weather is something every child experiences first hand. Empower kids to take charge of their own learning process with easy homemade weather instruments. Simplicity is the key to a successful weather station to introduce kids to temperature readings, rainfall, atmospheric pressure and wind speed and direction.
Thermometer
Thermometer
Fill a one-liter clear bottle with 8 oz. of water and 8 oz. of rubbing alcohol. Mix in a few drops of food coloring. Seal the neck with clay. Push a straw through the clay and mold it to hold the straw in place just above the water level. Try warming and cooling your thermometer to see the liquid rise and fall. Check current temperatures and mark water level and degrees to give your thermometer a scale that corresponds to real thermometer readings.
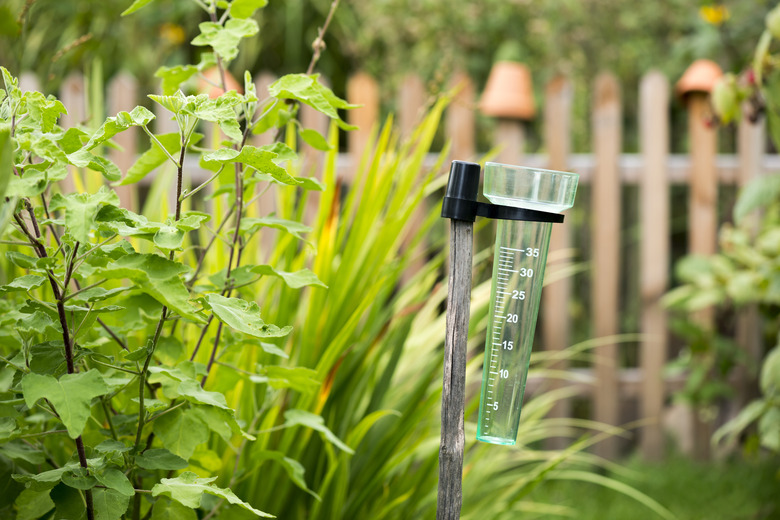
Rain Gauge
Rain Gauge
Affix a piece of masking tape from the upper rim to the base of a clear, straight edge jar. Use a ruler to mark off measures in quarter-inches or centimeters on the tape. Set the jar outside and wait for it to rain. After a storm, check your rain gauge to see how many inches of rainfall you received.
Barometer
Barometer
Stretch a rubber balloon over the opening of a clear quart jar and secure it with several rubber bands, being careful not to tear or puncture the balloon. Tape a toothpick pointer to the end of a straw or chopstick and tape the chopstick perpendicular to the jar from the center of the balloon cover. Write high on the top of an index card and low at the bottom. Set the jar on a shelf or window sill next to a beam, post or frame where you can affix the card so that the toothpick pointer points to the halfway point. Check the barometer daily to see the needle rise for good weather predictions and fall for stormy predictions Compare the barometer's movement with the weather that develops in the next two to five days.
Anemometer
Anemometer
Insert a new pencil eraser end up into a ball of clay for a weighted base. Staple two equally-sized wide strips of heavy cardboard in a cross shape. Staple a paper cup to the underside of each cross arm, making sure the opening of the cups opposite each other face in opposite directions. If you make one of the cups a different color, it will help you keep track of rotations when calculating wind speed. Poke a large push pin through the center of the cardboard cross and into the pencil eraser. Check to be sure it spins freely. Set it outside and watch the speed of rotation to determine wind speed.
Wind Vane
Wind Vane
Fill a heavy paper plate with small rocks or other weights. Invert another paper plate on top and tape or glue the edges together to make a base stand. Mark north, south, east and west on the top plate. Insert a new pencil into the center of the base, eraser end up. Attach paper arrows to either end of a drinking straw. Push a straight pin through the straw's center point and into the pencil eraser. Set the wind vane in a safe place outdoors with the north marking facing north. Watch the movement for signs of wind direction.
Cite This Article
MLA
Hooser, Tamara Christine Van. "Easy Homemade Weather Instruments For Kids" sciencing.com, https://www.sciencing.com/easy-homemade-weather-instruments-kids-7974126/. 13 March 2018.
APA
Hooser, Tamara Christine Van. (2018, March 13). Easy Homemade Weather Instruments For Kids. sciencing.com. Retrieved from https://www.sciencing.com/easy-homemade-weather-instruments-kids-7974126/
Chicago
Hooser, Tamara Christine Van. Easy Homemade Weather Instruments For Kids last modified March 24, 2022. https://www.sciencing.com/easy-homemade-weather-instruments-kids-7974126/