Freezing Point Explanation For Kids
Children enjoy learning about the science behind ice, steam, snow and related topics. While they can read about the science in a book, it's much better to demonstrate the principles while explaining them. Kids are much more likely to remember lessons that are hands-on rather than abstract. Teaching kids about the freezing point is no exception, it's better to show than tell. Kids are much more likely to understand the explanation of the freezing point when the information is given to them alongside a demonstration.
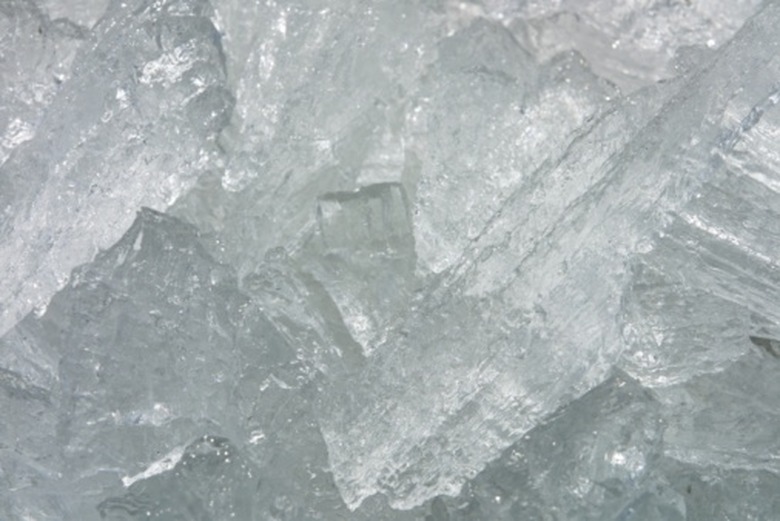
Freezing Point
Freezing Point
Prior to doing an experiment, provide kids with some background. First explain that temperature is actually a measurement of how fast molecules are moving around. When it's cooler, the temperature is lower because the molecules slow down. If the water is not pure, particles get in the way of molecules linking up so water will not freeze as quickly. When temperatures are low enough and the molecules can link up and not break apart, then they freeze. The freezing point of pure water is 32 degrees Fahrenheit, which is coincidentally the same as the melting temperature for ice.
Temperature Taking
Temperature Taking
For this activity, introduce children to a thermometer and its part. Place the thermometer outside, and each day record the temperature on a graph. Make a red line on the graph at 32 degrees Fahrenheit, and record how many days during the winter the temperature drops to freezing or below. Also discuss with children the impact the freezing point has on weather. Note the days when snow or sleet falls and see what the temperature was on those days.
Salt and Freezing Point
Salt and Freezing Point
Let children discover the effect salt has on water's freezing point with this project. Take a cup filled to the top with crushed ice and measure the temperature with a thermometer. Mix five spoonfuls of salt into the ice. Using a stopwatch, check the temperature every minute for the next five minutes. Graph the temperatures from before the salt was added until five minutes after adding salt and let the children draw some conclusions about salt's effect on ice.
Ice Cube Magic Trick
Ice Cube Magic Trick
Of course it's science not magic, but kids will be similarly amused. Place two ice cubes in a bowl of water and put a strong thin thread on both ice cubes. Try to lift the ice cubes from the water. They will stay in the bowl, however. Now replace the thread on the cubes, but this time sprinkle salt on the thread and the ice. Leave everything alone for a few moments. Try to lift the cubes with the string again. This time will be successful because the salt lowered the temperature of the water making the water near the ice cube and the thread freeze.
Cite This Article
MLA
Joy, Katlyn. "Freezing Point Explanation For Kids" sciencing.com, https://www.sciencing.com/freezing-point-explanation-kids-8539395/. 24 April 2017.
APA
Joy, Katlyn. (2017, April 24). Freezing Point Explanation For Kids. sciencing.com. Retrieved from https://www.sciencing.com/freezing-point-explanation-kids-8539395/
Chicago
Joy, Katlyn. Freezing Point Explanation For Kids last modified August 30, 2022. https://www.sciencing.com/freezing-point-explanation-kids-8539395/