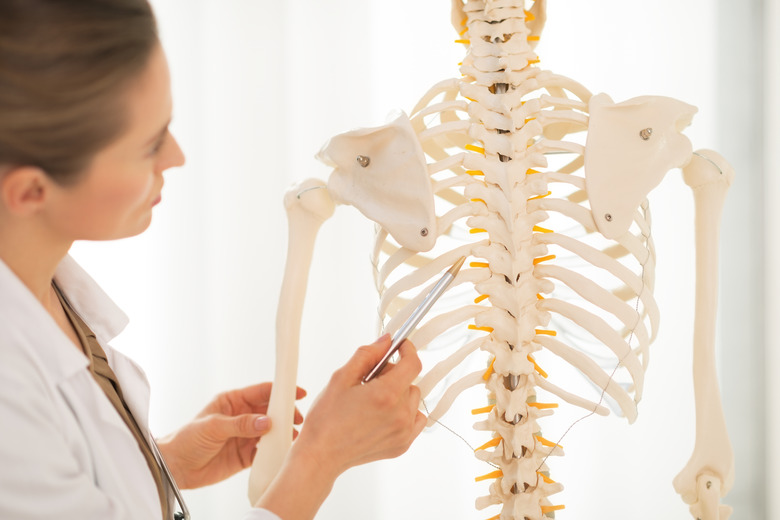
Homemade Skeleton Model
The human skeleton is literally the backbone and frame of our bodies. We need it to keep our bodies upright; without it we would be a puddle on the ground. Have fun with your kids and educate them about the human skeleton by making any of these six models. These models can be made in the classrooms, at home school or for a fun craft on a rainy afternoon. Each can be as simple or as complicated as you want it to be, depending on the amount of detail you put in.
Cotton Swab Skeleton Model
Cotton Swab Skeleton Model
For young children or a quick skeleton model, try making one with cotton swabs or macaroni. Both start with a paper template. For the cotton swab skeleton, draw the skull on black paper. Using the cotton swabs, add in as many bones as you want. The cotton ends can represent the joints and the sticks are the bones.Help young children to trim the cotton ends or cut the cotton swabs in pieces to make shorter bones such as fingers.
Pasta Skeleton Model
Pasta Skeleton Model
For the pasta skeleton, have fun finding as many different pasta shapes as you can, Choose pasta shapes to match bone shapes as closely as possible, such as tubini or ziti for larger bones, spaghetti or fettucini for ribs and two elbow macaroni to form the pelvis.
Chenille Stem Skeleton Model
Chenille Stem Skeleton Model
For children with a little more dexterity, try a chenille stem skeleton. Twist white chenille stems, available at craft or department stores, into a skeleton shape with as much detail as you want. Add a wooden bead or white pom pom for a skull. To make your chenille stem skeleton sturdy enough to pose, wrap white self-adhesive bandages around each stem.
Paper Skeleton Model
Paper Skeleton Model
Make a paper skeleton by drawing bones on sturdy card stock. Cut out the bones and attach to each other at the joints with metal brads. This will allow you to pose your skeleton in a variety of positions. Another idea is to trace and cut the bones of the skeleton from white foam craft sheets. Draw as many details and label the bones as you wish. Using string or fishing line, tie the ends of the bones together to form a finished moving skeleton.
Milk Jug Skeleton Model
Milk Jug Skeleton Model
Using nine clean, recycled milk jugs, some string, a glue gun, scissors and a hole punch, you can have a skeleton in a little over an hour. Glue the spouts of two bottles together with hot glue. Trim one bottle to become the rib cage. Add a half bottle at the bottom of the ribs for the pelvic bone. Cut bones from the rest of the jugs, hole punch the ends and tie together to make a completed skeleton. You can also make a similar skeleton using painted wooden spools and white wooden beads to be the joints. This particular skeleton can be quite time-consuming, so you might want to just try a section of a skeleton, like a hand.
Skeleton Bodysuit
Skeleton Bodysuit
Purchase a black sweatsuit, black gloves and socks and white knitted cap. There are many ways to add a skeleton to the sweatsuit, such as painting directly onto the suit with white fabric paint, sewing fabric bones onto the suit or using a bonding material to stick fabric bones on the suit. You can also use white electrical tape or medical tape to make the bones. Add as much detail as you wish, including the hand and foot bones on the gloves and socks. Children can watch how bones move by performing actions while wearing the sweatsuit or watching each other move.
Cite This Article
MLA
King, Susan. "Homemade Skeleton Model" sciencing.com, https://www.sciencing.com/homemade-skeleton-model-5545448/. 13 March 2018.
APA
King, Susan. (2018, March 13). Homemade Skeleton Model. sciencing.com. Retrieved from https://www.sciencing.com/homemade-skeleton-model-5545448/
Chicago
King, Susan. Homemade Skeleton Model last modified March 24, 2022. https://www.sciencing.com/homemade-skeleton-model-5545448/
