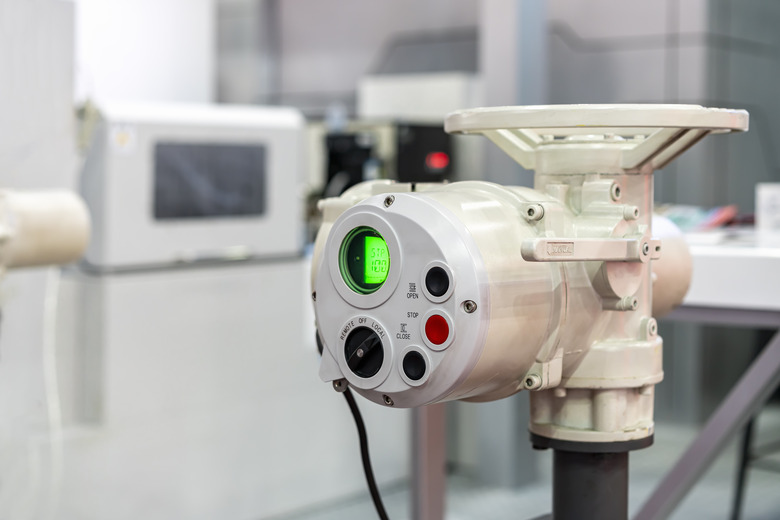
How To Calibrate Pressure Switches
Things Needed
- Pressure switch
- Continuously monitoring gas detector
- Hand pressure regulator
- Test gauge
- Digital multimeter or Ohmmeter
- Paper
- Writing utensil
Pressure switches monitor a process's pressure by applying the pressure to a piston or diaphragm (the sensing element), which generates a force. This force is then compared to the force of a pre-compressed range spring. The pressure switch is supposed to provide an outpoint when it reaches its setpoint, a set pressure previously established. Each type of pressure switch is slightly different, but there are enough commonalities in how they should be calibrated. Switches are calibrated so they can be returned to their original settings after the switch has tripped.
Step 1
Find out the setpoint of the pressure switch. The setpoint is the pressure switch's required operating pressure, usually set as a gauge pressure point that takes into consideration atmospheric pressure. Some require absolute pressure standpoints that work from a pressure point of absolute zero. This is found on different places for different models.
Step 2
Investigate the reset or dead-band setting differential. This will tell you how much pressure is required to return the switch to its original state, and is calculated by the difference in the pressure switch's rising and falling pressures. The maximum number the switch is capable of can be found on the nameplate of the switch.
Step 3
Depressurize and isolate the power switch from the rest of the process. Follow all safety procedures for the plant you are in. If you are in an environment with explosive gases, monitor the presence of the gases with a continuously monitoring gas detector.
Step 4
Attach a hand-pressure regulator and test gauge to the pressure switch. This will provide a pressure source from the air supply.
Step 5
Check to see that the switch contacts NO (normally open) and NC (normally close) are properly opened or closed. Verify this using a digital multimeter (DMM) or Ohmmeter set to the switch's continuity range.
Step 6
Plug the DMM or Ohmmeter into the NO slot and the common terminal (C) switch and make sure the meter reads "open circuit."
Step 7
Add pressure to the pressure switch's setpoint using the hand pressure regulator. Stop when the meter reads "short circuit."
Step 8
Write down the pressure reading on the DMM or Ohmmeter, which is the switch setpoint for rising pressure.
Step 9
Add pressure until the meter tells you it has hit its maximum pressure. Then, incrementally decrease the pressure until the switch changes back to NO.
Step 10
Copy down the pressure reading, which is the switch setpoint for falling pressure.
Step 11
Subtract the rising pressure from the falling pressure setting. The two readings determine the current dead-band of the switch. Compare this number to the manufacturer's dead-band. If your number is larger than the manufacturer's, the switch is not serviceable.
Cite This Article
MLA
Zeske, Mateo. "How To Calibrate Pressure Switches" sciencing.com, https://www.sciencing.com/how-10014469-calibrate-pressure-switches/. 31 July 2011.
APA
Zeske, Mateo. (2011, July 31). How To Calibrate Pressure Switches. sciencing.com. Retrieved from https://www.sciencing.com/how-10014469-calibrate-pressure-switches/
Chicago
Zeske, Mateo. How To Calibrate Pressure Switches last modified March 24, 2022. https://www.sciencing.com/how-10014469-calibrate-pressure-switches/
