How To Check The Direction Of A Diode
Things Needed
- Schematic diagram of circuit being reviewed
- Magnifying glass (optional)
- Multimeter (alternate method)
Electronic circuits are designed to work with other circuits to form a unit which completes a designated task. Many circuits, such as power regulation circuits, need to be protected from power "spikes" and accidental polarity reversal. The diode is an electronic component that only permits electricity to flow in one direction while preventing potentially harmful reversals from reaching the sensitive circuit. The electricity flows into the "cathode" (negative side) of the diode and then out the "anode" (positive side) toward the protected circuit. Knowledge of electronics standards is a must when installing a diode.
Step 1
Obtain the schematic diagram for the circuit. Trace the electrical polarity as it flows to the circuit up to the point where the cathode (negative side) of the diode is to be soldered onto the board. Note that a diode glyph in a schematic has a vertical line on one side and a solid black arrow that points to that line. The vertical line represents the cathode of the diode. That end of the diode must face the direction from which the negative current flow is coming.
Step 2
Look at your diode closely, using a magnifying glass if necessary. Every diode has either a colored dot or a band printed on the cathode (negative) end of the component. Black plastic diodes will have a white band painted on the cathode end and glass diodes will have either a white or a black band.
Step 3
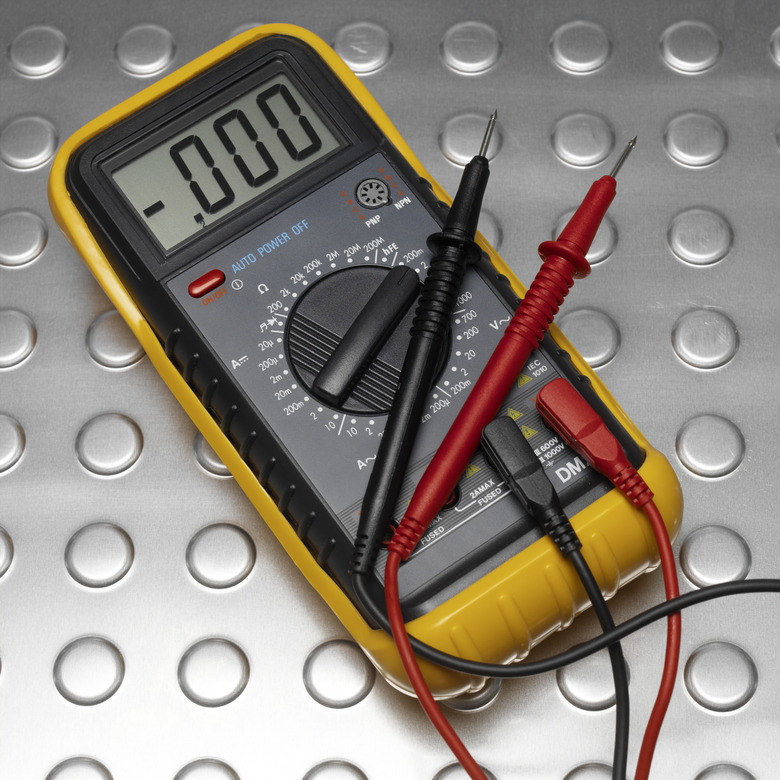
Use a digital multimeter to test the polarity of a diode in the event the polarity markings are absent or missing. Simply turn the meter unit on and turn the dial to measure "Ohms." Hold the black (negative) test probe to one metal leg of the diode and the red (positive) test probe to the other metal leg. If you see no reading, or just a "1" displaying on the meter, reverse the probes. When you get an actual reading in ohms on the display, note the side the negative (black) probe is on. That is the cathode (negative) side of the diode.
TL;DR (Too Long; Didn't Read)
It may be difficult to see the small white band on the cathode side of a glass diode. If necessary, lay the glass diode onto a dark piece of paper or fabric to make the white band move visible.
There are some variations to band colors on some types of diodes, but never the positioning. The band is always on the cathode side of a diode. The color of the band has no relevance.
On some specialty diodes, such as Zener diodes, additional bands signify tolerance and voltage values. Even then, the first band on the end is the polarity band.
Cite This Article
MLA
Schanaman, Kurt. "How To Check The Direction Of A Diode" sciencing.com, https://www.sciencing.com/how-5877369-check-direction-diode/. 7 August 2017.
APA
Schanaman, Kurt. (2017, August 7). How To Check The Direction Of A Diode. sciencing.com. Retrieved from https://www.sciencing.com/how-5877369-check-direction-diode/
Chicago
Schanaman, Kurt. How To Check The Direction Of A Diode last modified March 24, 2022. https://www.sciencing.com/how-5877369-check-direction-diode/
