How To Make A Constellation Project
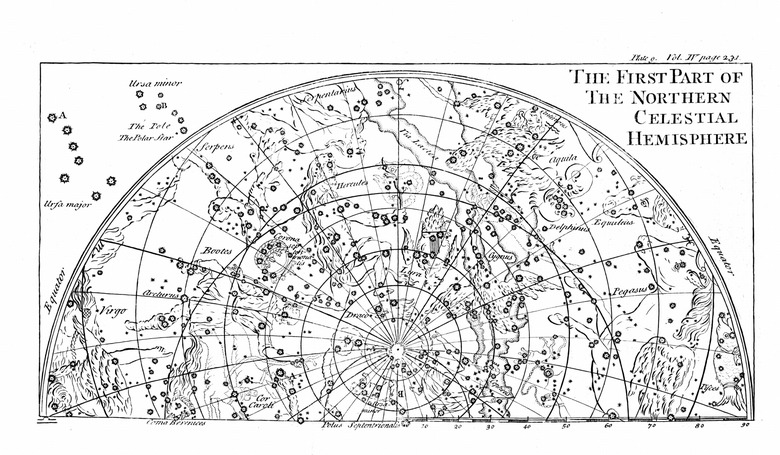
Ancient peoples looked up into the night sky and saw pictures in the stars. They used the constellations to navigate and the star patterns helped them find the correct navigational stars. Astronomers identify 88 different constellations found in eight different star families, according to Students for the Exploration and Development of Space. Depending on the state curriculum standards, third or fourth grade astronomy includes mapping the constellations and identifying the stars that make up each star group. Students completing a constellation project use star charts to locate important constellations in the night sky.
Step 1
Research your assigned or chosen constellation to determine how many major stars make up the star group and where to find it in the sky. Make a map of the constellation on a 5-inch diameter — or larger — piece of black construction paper using chalk to mark the stars. Use appropriate colors of chalk when placing your stars. For example, use yellow chalk for a dwarf yellow star and red for the red super giants. Make the map relative to scale, using resource materials from planetariums or astrological societies. Use a large needle to poke holes in the construction paper in the center of each star to make a template for displaying your constellation on the ceiling using a desk lamp, if desired.
Step 2
Label the major stars on your diagram. Write on labels and stick them on the chart or carefully print the information in white or silver ink on the black construction paper. Give information about the star size, type, luminosity and temperature. For example, astronomers classify the sun as a "G2V yellow dwarf, main sequence star." Include a legend with your project to explain the classification information.
Step 3
Provide documentation about the constellation mythology. Explain which culture named the constellation and details about the story. Include incidental information if parts of your constellation also appear in a different constellation.
Step 4
Explain where and how to find your constellation in the night sky. Include best times of the year to see it, best time to view it and the general direction in which to look. When possible, use information that is relevant to your geographic location. Include a panoramic picture of the night sky with your constellation marked. Mark additional location information on the picture, such as where your constellation lies in relation to the North Star, the Big and Little Dippers or other familiar astrological landmarks.
Step 5
Use a presentation board to display your information. Type and print out your mythology report and constellation location information, bibliography and reference documents, and adhere them to the board.
Things Needed
- Construction paper
- Chalk
- Adhesive labels
- Pen
- Presentation board
- Star maps
- Needle
Cite This Article
MLA
Barr, Kathryn Rateliff. "How To Make A Constellation Project" sciencing.com, https://www.sciencing.com/how-to-make-a-constellation-project-12750779/. 29 August 2011.
APA
Barr, Kathryn Rateliff. (2011, August 29). How To Make A Constellation Project. sciencing.com. Retrieved from https://www.sciencing.com/how-to-make-a-constellation-project-12750779/
Chicago
Barr, Kathryn Rateliff. How To Make A Constellation Project last modified March 24, 2022. https://www.sciencing.com/how-to-make-a-constellation-project-12750779/
