How To Make A Super Power Electromagnet
Things Needed
- 22-gauge copper wire
- Ferrite rod
- Iron nail
- Railroad spike
- DC power supply
- Fabric tape
- Hot glue
- Duct tape
- Electrical tape
- General-purpose glue
- Wire strippers
- Wire cutters
TL;DR (Too Long; Didn't Read)
Be sure to get soft ferrite. Hard ferrite will stay magnetized, even after you turn off the current. Try using an adjustable power supply. Turn up the power slowly until the magnet starts to get hot. Then turn it down until it cools slightly. This will give you the most powerful magnet you can make.
Warning
Be careful to insulate your electrical connections properly. You do NOT want to have 2 amps of current running through your body. Never adjust the connection to the power supply with the circuit plugged in. Do not let kids build or use this electromagnet unsupervised. The power supply contains enough amperage to stop a heart.
Building a super-power electromagnet is really no different than building a simple nail-and-copper-wire kind. The difference is that you want a better core, more power and more dense windings. To that end, this project uses a ferrite rod instead of an iron nail, a power supply instead of a battery, and a double winding of wire.
Step 1
Get a magnetic core. A large iron nail or a railroad spike will do, but a soft ferrite rod will work better. If you are using a nail, make sure it is at least 6" long. With ferrite, buy the longest core you can afford.
Step 2
Strip the coating from one end of a length of 22-gauge, single-strand, insulated copper wire. Strip away about 1".
Step 3
Leaving at least 4" of wire to work with, attach one end of the wire to one end of your magnetic core. Duct tape, a drop of hot glue, or any other general-purpose adhesive you happen to have around should do the trick.
Step 4
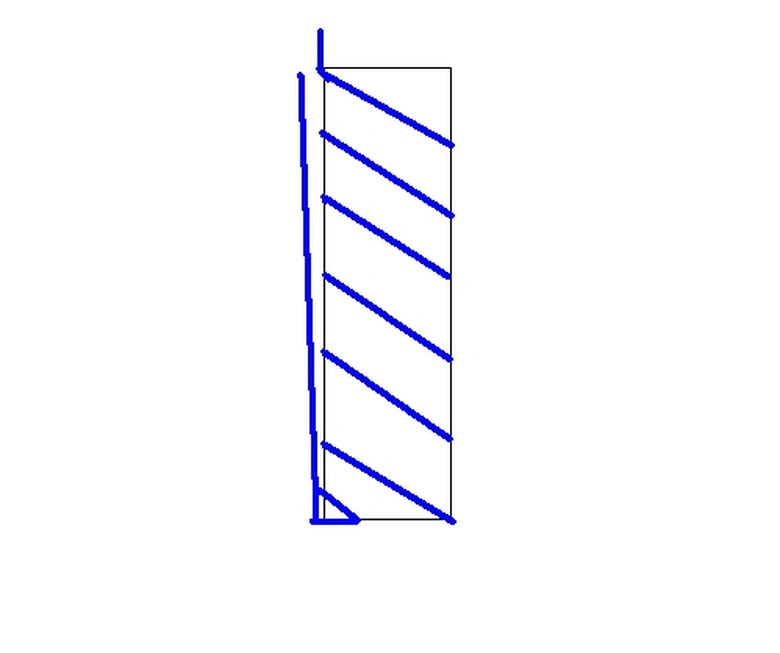
Wrap the wire from one end all the way to the other. Wrap it around and around the core as tightly as you can, without overlapping or going back over the previous winding.
Step 5
Once you reach the far end, attach the wire to the coil. Again, any general-purpose adhesive should work fairly well.
Step 6
Run the wire back up to the top and secure it on top of the wrapping you have already done.
Step 7
Start wrapping the wire again on top of the other wrapping, in the same direction you did before. For example, if you wound it clockwise before, wind it clockwise again. When you get to the bottom again, tape or glue it down.
Step 8
Run the wire up the side again and attach it to the top.
Step 9
Leaving at least 4" to work with, cut the wire off at the top. Strip away about an inch of it.
Step 10
Wrap the whole magnet in fabric tape. This will secure it, stop it from coming apart and keep out dirt.
Step 11
Attach the two wires to the outputs of a DC power supply. The power supply should be about 10 volts and 2 amps or less. The more power, the stronger the magnet. Too much current, however, and you risk starting a fire.
Step 12
Cover up any exposed wires. Wrap your connections in electrical tape.
Step 13
Plug it in to activate your super-power electromagnet.
Cite This Article
MLA
David, Isaiah. "How To Make A Super Power Electromagnet" sciencing.com, https://www.sciencing.com/how-to-make-a-super-power-electromagnet-13406623/. 21 July 2017.
APA
David, Isaiah. (2017, July 21). How To Make A Super Power Electromagnet. sciencing.com. Retrieved from https://www.sciencing.com/how-to-make-a-super-power-electromagnet-13406623/
Chicago
David, Isaiah. How To Make A Super Power Electromagnet last modified March 24, 2022. https://www.sciencing.com/how-to-make-a-super-power-electromagnet-13406623/
