How To Simulate A Tsunami For A Science Project
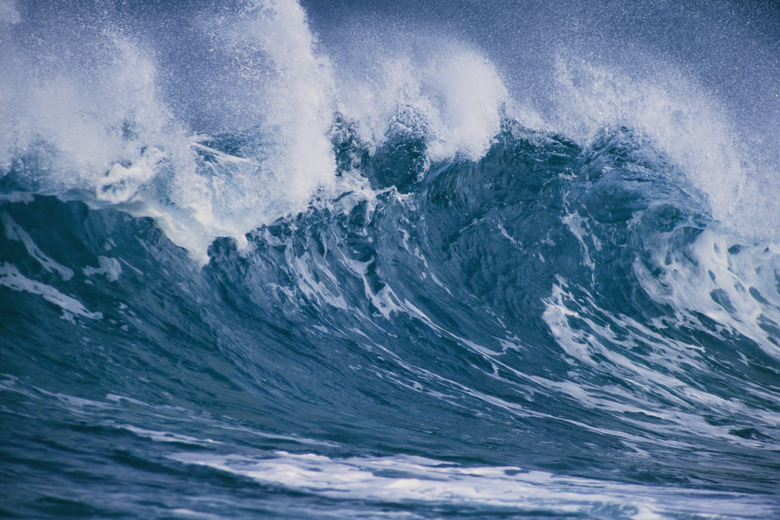
A tsunami is a series of waves that generally result from large movements of the sea floor, such as an earthquake or a landslide. As the waves reach the shore, they can propagate inland, resulting in destruction and loss of life. The height, velocity and frequency of the waves depend on the magnitude of the event and the depth of the sea bed where it occurs. While it is impossible to replicate such a massive event, you can simulate a tsunami and the effects when it reaches land in your home or classroom.
Assembling and Operating the Tsunami Tank
Step 1
Place the 8-centimeter-by-92-centimeter (3-inch-by-36-inch) piece of Lucite on your work surface. Attach the 15-centimeter-by-92-centimeter (6-inch-by-36-inch) pieces of Lucite to each side and the 8-centimeter-by-15-centimeter (3-inch-by-6-inch) pieces of Lucite to the ends using aquarium glue. Use enough glue to create a watertight seal. When finished, you will have a clear box with an open top. Allow the glue to dry.
Step 2
Assemble the impeller flap to create your tsunami. On one end of the tank, glue a washer into each corner. This will keep the flap from creating a strong suction with the bottom of the tank. Glue one side of the hinge 16 centimeters (6.5 inches) from the end of the tank, facing the opening toward the washers, and then glue the 5-centimeter-by-15-centimeter (2-inch-by-6-inch) piece of Lucite to the other side, creating a hinged flap. Glue the string to the unhinged end of the Lucite.
Step 3
Create your beach. At this point you will want to place your tank where you will be doing your demonstration. Putting it on white paper will help you see the action of the waves. Create a sloping beach on the end of the tank opposite the flap, using pebbles and/or sand. The beach should be approximately 30 centimeters (12 inches) long and slope at a constant angle. You can add toy houses or people to your beach for more realism.
Step 4
Fill your tank. Adding blue food coloring to the water makes your demonstration easier to see. Add water gently to the center of the tank. You can experiment with how different depths affect the waves you create, but you might want to start with a water depth of 2.5 centimeters (1 inch).
Step 5
Simulate a tsunami. Lift gently on the string, raising and lowering the flap. This will simulate sea floor movements that can create a tsunami, creating a set of waves that will then move toward your beach. The waves will hit the beach and then move back and forth in the tank, much like a real tsunami.
Things Needed
- 2 pieces of Lucite, 15 centimeters by 92 centimeters (6 inches by 36 inches)
- 2 pieces of Lucite, 15 centimeters by 8 centimeters (6 inches by 3 inches)
- 1 piece of Lucite, 8 centimeters by 92 centimeters (3 inches by 36 inches)
- Aquarium glue
- 1 small hinge
- 2 metal washers
- 1 piece of Lucite, 15 centimeters by 5 centimeters (6 inches by 2 inches)
- Piece of string
- Pea gravel or sand
- Water
- Blue food coloring (optional)
- White paper
TL;DR (Too Long; Didn't Read)
A hardware store may be able to cut the Lucite to size for you.
Let joints dry completely before moving on to the next step.
Warning
Vigorous wave generation can result in splashing, keep an old towel on hand.
Cite This Article
MLA
Becker, Andrea. "How To Simulate A Tsunami For A Science Project" sciencing.com, https://www.sciencing.com/how-to-simulate-a-tsunami-for-a-science-project-12762939/. 5 March 2014.
APA
Becker, Andrea. (2014, March 5). How To Simulate A Tsunami For A Science Project. sciencing.com. Retrieved from https://www.sciencing.com/how-to-simulate-a-tsunami-for-a-science-project-12762939/
Chicago
Becker, Andrea. How To Simulate A Tsunami For A Science Project last modified August 30, 2022. https://www.sciencing.com/how-to-simulate-a-tsunami-for-a-science-project-12762939/
