How To Install A Voltage Reducer In A 12-Volt System
Many electric circuits need multiple levels of voltage, but most have only one power source. Dimmer switches, radio volume controls, motor speed controls and more need to have an adjustable level of voltage. Lights, radios,and many common tools run off 12-volt batteries. You can make your 12-volt battery adjustable by adding a simple voltage divider, also called a voltage reducer, to your circuit.
Step 1
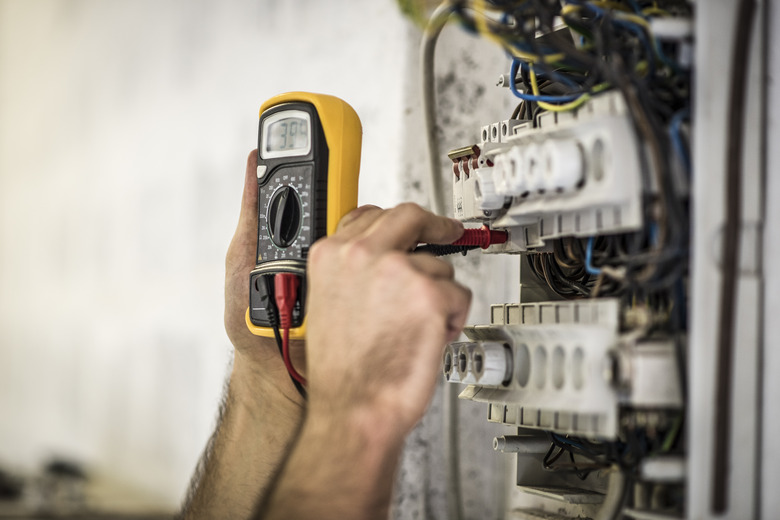
Hook the circuit up to the 12-volt battery and turn it on. Set the multimeter to read resistance. Place the black probe on the negative terminal of the battery and the red probe on the positive terminal. The reading on the multimeter will be the resistance of the whole circuit.
Step 2
Cut either one of the wires that connect the battery case to the rest of the circuit, approximately 1 inch from the case. It does not matter which wire is cut. If the circuit is wired directly to the battery instead of to a battery case, cut either wire to the battery.
Step 3
Remove approximately 1/2 an inch of insulation from each end of the cut wire, using the wire strippers.
Step 4
Scour the leads of the variable resistor with the emery board. This will remove the thin layer of rust and oil that builds up on them from exposure to air and handling.
Step 5
Insert the leads of the variable resistor into the mini circuit board. Insert the bare end of the wire from the battery case into the hole next to one of the leads from the resistor.
Step 6
Touch the tip of the soldering iron to one of the leads of the variable resistor, where it emerges from the bottom of the board. Touch the wire from the battery case to the lead and soldering iron. Apply the tip of the solder to the junction and allow the iron to melt it. Once it has covered both the lead and the wire in molten solder, withdraw the soldering iron and hold the connection in place until it sets.
Step 7
Insert the bare end of the wire leading to the circuit into the hole next to the other lead of the variable resistor. Solder it to that lead as you did the first one. The variable resistor is now wired into the rest of the circuit. The mini circuit board it is mounted on will make it easy to attach to a case or a panel. Set the resistor to zero to get the full 12 volts of the battery.
Things Needed
- Wire snippers
- Wire strippers
- Multimeter
- Variable resistor
- Emery board
- Mini circuit board
- Soldering iron
- Solder
TL;DR (Too Long; Didn't Read)
To determine the resistance range your variable resistor needs to have, divide 12 volts by the smallest voltage you need to produce. Multiply this by the resistance of your circuit. Subtract the resistance of your circuit from this number. The result is the minimum resistance your variable resistor needs to produce.
Cite This Article
MLA
Thompson, Jason. "How To Install A Voltage Reducer In A 12-Volt System" sciencing.com, https://www.sciencing.com/install-voltage-reducer-12volt-system-7596284/. 3 December 2010.
APA
Thompson, Jason. (2010, December 3). How To Install A Voltage Reducer In A 12-Volt System. sciencing.com. Retrieved from https://www.sciencing.com/install-voltage-reducer-12volt-system-7596284/
Chicago
Thompson, Jason. How To Install A Voltage Reducer In A 12-Volt System last modified March 24, 2022. https://www.sciencing.com/install-voltage-reducer-12volt-system-7596284/