Instructions For A Simple Mechanical Grabber School Project
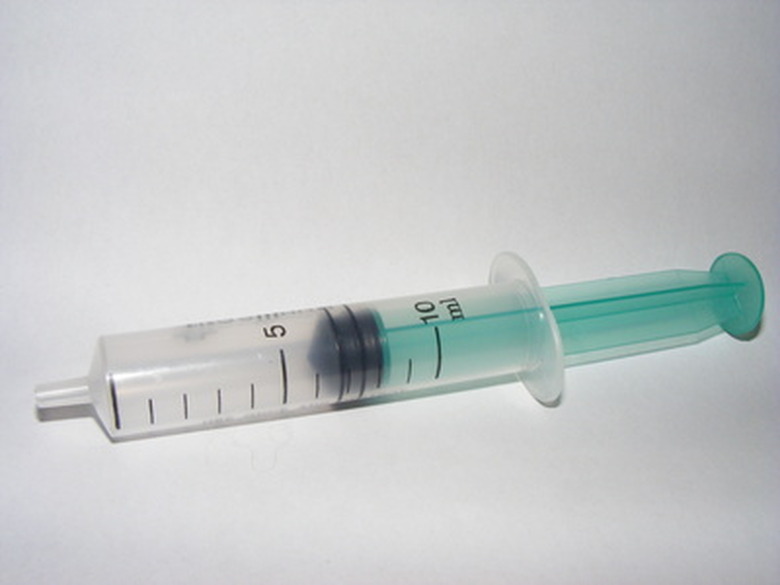
Building a simple mechanical grabber is a popular school project to teach students about mechanics. The most commonly built grabber is the syringe driven hydraulic arm, which utilizes water pressure to move the arm and open and close the grabber. Syringe driven hydraulic arm kits can be purchased from companies such as Teacher Geek and Science Kit; However, one of these grabbers can be built completely from scratch using wood and store bought syringes.
Step 1
Cut the 1-by-1-cm wood into 19 pieces. These pieces include three 30-cm pieces rounded at one end, two 12.2-cm pieces rounded off on both ends, two 7 1/2-cm pieces, four 6-cm pieces that are cut and sanded at an angle on the inside edge, four 3.2-cm pieces, one 2.5-cm piece, and three 1.1-cm pieces. Cut the 2-by-2-cm wood into two 15-cm pieces. Cut the 1/4-inch plywood into a 7.5 cm diameter circle disk.
Step 2
Drill holes for the wire in the middle of the wood pieces. These pieces include the four 3.2-cm pieces, one 2 1/2-cm piece, and three 1.1-cm pieces. Drill the holes centered at 6 mm away from the end. Be sure to use your smallest bit for these holes, making the holes just big enough for a wire. Also, drill a hole in the center of the disk.
Step 3
Build the arm. Align the three 30-cm pieces, with the rounded end, with the rounded ends together. Glue the 3.2-cm pieces to the outside of the 30-cm pieces and allow to dry, according to the product's directions.
Step 4
Build the base. Place the center of the disk about 8 cm from the front and over the side of the sheet of plywood. Cut a 4-cm dowel and glue it to the base. Slide the disk over the dowel and glue it to the plywood. Be sure not to glue the disk to the wood – the disk must be able to turn. Place two screw eyes into the right side of the 15-cm support structure – on one the inside and the other on the outside. Glue the support structure to the disk and allow to dry.
Step 5
Build the grabber. Attach the 7 1/2-cm and 12.2-cm pieces to the end of the arm at the rounded ends. Use pegs to attach these pieces to the arm. Slide a 1/2-cm piece of 4-mm tubing over each peg to create a snug fit. Place a peg through the arm, on both sides, and secure the peg with a 1/2-cm piece of tubing.
Step 6
Add hydraulics by using syringes as pistons. Drill a hole in the top of each syringe. Attach the syringe to the arm with a piece of wire and use a screw eye and plastic tube to hold each in place. Attach a 6-mm tubing snuggly onto the end of the syringe. Place the tubing in colored water and draw the piston and tube full of water. Slide up the holder tube and attach the top to the long arm.
Things Needed
- Six 5-ml syringes
- Four screw eyes
- 93 cm of tubing with a 4 mm inside and 6 mm outside
- 93 cm of tubing with a 6 mm inside and 8 mm outside
- 166 cm of 1-by-1-cm sticks
- 11-inch piece of 1-by-4-inch wood (2-cm thick-by-8.8-cm wide)
- One sheet 1/4-inch plywood
- 30 cm of 2-by-2-cm wood
- 50 cm of dowel
- 2 1/2-cm pegs
- Wood glue
Cite This Article
MLA
Frazier, La Vera. "Instructions For A Simple Mechanical Grabber School Project" sciencing.com, https://www.sciencing.com/instructions-mechanical-grabber-school-project-7925837/. 24 April 2017.
APA
Frazier, La Vera. (2017, April 24). Instructions For A Simple Mechanical Grabber School Project. sciencing.com. Retrieved from https://www.sciencing.com/instructions-mechanical-grabber-school-project-7925837/
Chicago
Frazier, La Vera. Instructions For A Simple Mechanical Grabber School Project last modified March 24, 2022. https://www.sciencing.com/instructions-mechanical-grabber-school-project-7925837/
