Kids' Science Projects On Things That Melt
Predicting, observing and discovering through simple science experiments is an exciting way for little ones to explore and learn more about the world around them. Activities that encourage problem-solving and thinking skills at an age-appropriate level are the best way to teach your child scientific concepts. The options for showing your youngster how substances melt are endless, but it is the discovery of why this happens that is the most important part.
Ice and Salt
Ice and Salt
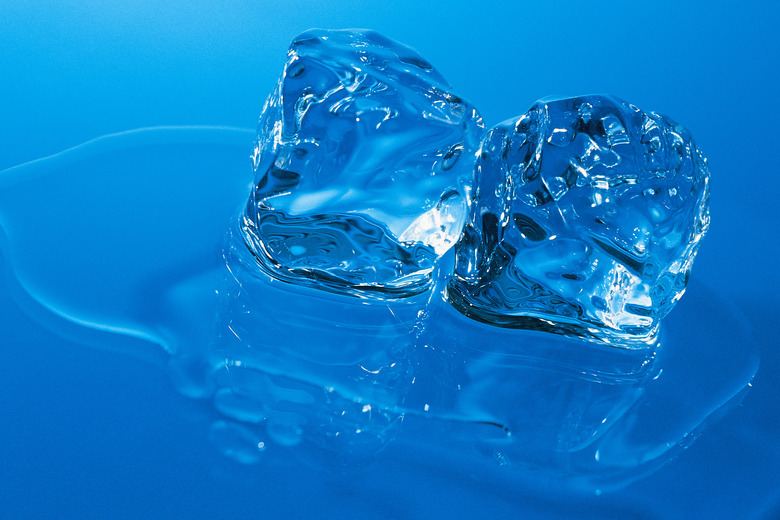
You and your little scientist will discover that salt melts ice through a fun and simple experiment. Get two foil trays, two ice cubes and a salt shaker. Sprinkle some salt into the bottom of one of the trays. Place an ice cube in the salt tray and one in the empty tray. Have your child predict which ice cube will melt faster. Each of you can hold a tray in both hands and slide the ice cubes back and forth by tilting the trays side to side. Watch as the ice cube in the salted tray begins to dissolve faster. After a few minutes of ice cube sliding, stop to observe and discuss what is happening to the ice cubes. Was your little one's prediction right? Explain to him that the salt causes the ice to melt faster because it changes the freezing point of the ice.
Sweet! Melting Chocolate
Sweet! Melting Chocolate
Turn your science experiment into a treat by melting pieces of chocolate. You and your child will place milk chocolate bars on paper plates. Take your chocolate into the backyard and place one plate in the shade and one in the direct sun. Enjoy a glass of lemonade while you and your youngster predict what will happen to the chocolate. Will the sun cause the chocolate to melt faster? Why or why not? Add to the fun and place another piece of chocolate on a piece of aluminum foil and put it in the sun, too. Does this speed up the melting process, and if so, why? After you have discovered the answers to your questions, don't let the fun end. Enjoy the gooey treat of melted chocolate and make a lasting memory.
The Art of Melting
The Art of Melting
Crayons are a part of every child's life, so why not use them in an unusual way and teach your child about the process of melting? Take a handful of broken crayons and peel off the paper. Place them in a plastic baggie. Take the bag out to the driveway or your back porch and have your child stomp on the bag until the crayons are broken into small pieces. Use a metal pan or paper plate and place a medium-size rock in the middle. Have your child sprinkle the crayon pieces on top of the rock and set it out in the sun. Your little one will enjoy watching as his masterpiece comes to life right before his eyes. As the crayons melt, the rock will be transformed into a colorful piece of art.
Saving an Ice Cube
Saving an Ice Cube
After your child has mastered the process of melting objects, show him that this process can be slowed down through a simple and informative hands-on experiment. Place ice cubes in small glass jars and instruct your child to figure out a way to save the ice cubes. Give him options by allowing him to use materials from around the house such as newspaper, cloth or bubble wrap. Have your child wrap the glass jars in the various materials and predict which one he thinks will slow down the melting of the ice cube the most. Discuss how the materials act as insulators and compare the way the texture and thickness effect the melting process. Set the kitchen timer for 10 minutes. When the time runs out, check to see which material was the most successful at rescuing the ice cube.
Cite This Article
MLA
Bates, Pamela Harvey. "Kids' Science Projects On Things That Melt" sciencing.com, https://www.sciencing.com/kids-science-projects-on-things-that-melt-9754339/. 31 October 2018.
APA
Bates, Pamela Harvey. (2018, October 31). Kids' Science Projects On Things That Melt. sciencing.com. Retrieved from https://www.sciencing.com/kids-science-projects-on-things-that-melt-9754339/
Chicago
Bates, Pamela Harvey. Kids' Science Projects On Things That Melt last modified August 30, 2022. https://www.sciencing.com/kids-science-projects-on-things-that-melt-9754339/
