Kids' Science Projects On Things That Melt
Science and art may seem to be an unlikely pair, but many of the skills children learn for science, they can use in art as well. Observing, comparing, predicting and problem-solving are skills students can develop through both subjects. Take a hot summer day and let the children explore "melting" through science and art and also develop important thinking skills.
Help! I'm Melting
Help! I'm Melting
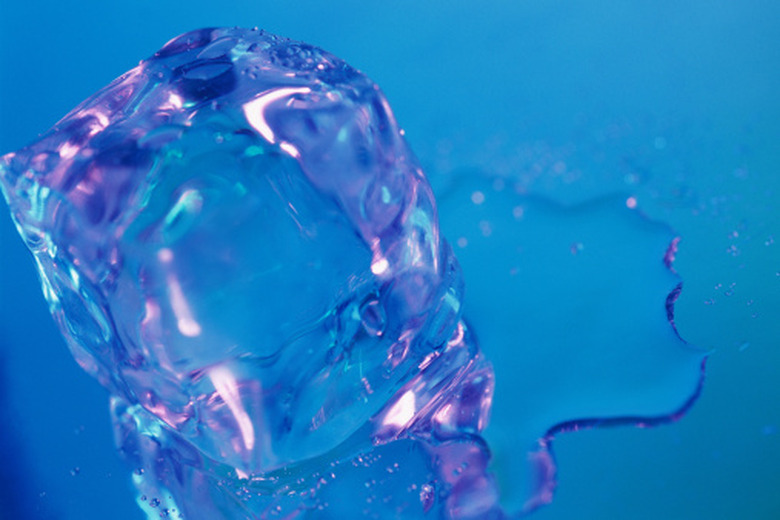
Young scientists will enjoy this experiment with things from the kitchen. The children need six identical bowls for this experiment. Put a tablespoon of butter in the first two bowls. Next, add a few ice cubes in two bowls and then pieces of old crayons in the last bowls. Place one bowl of each item in the hot sun and the other bowls in the shade. Ask the children to predict what will happen. Set a timer for 30 minutes and have the children check on the bowls. Have them draw a picture of the results. Repeat this process every 30 minutes. What happened to the objects in each of the bowls?
Keep It Cool
Keep It Cool
Place an ice cube in a baby food jar and ask the kids to think of ways to keep the ice cube from melting. Let them try a variety of materials such as newspaper, bubble wrap packing material, fabric and other containers to keep the ice cold and frozen. Observe the ice cube every 30 minutes and record the results. Which item worked the best?
Melted Crayon Paperweight
Melted Crayon Paperweight
Choose old crayons in three or four light or bright colors. Peel off the paper and put the crayons into a zip-locking plastic bag. Place the bag on the sidewalk and have the kids stomp on it or use a mallet to pound the crayons into small pieces. Find a nice rock and place it into an aluminum pie tin. Sprinkle it with the crayon pieces. Put this in the hot sun so the crayon pieces will melt onto the rock. When the crayons finish melting on the rock, take it out of the sun to cool. The crayon hardens and forms a colorful waxy coating. Cut a piece of felt to glue to the bottom of the rock and use this as a paperweight.
Homemade Shrink Art
Homemade Shrink Art
Draw a picture on a Styrofoam meat or product tray. Cut the shape out and poke a hole at the top to use this as a pendant or ornament. Place this shape on a cookie sheet lined with aluminum foil. An adult places this into a 300-degree oven for about three to five minutes. Watch it carefully. If the shape begins to curl, flatten it with a spatula. Remove it from the oven and let cool. The original picture will be small and hard. Discuss the observations on how the Styrofoam melted and changed shape.
References
- "1-2-3 Science"; Gayle Bittinger; 1993
- "1-2-3 Art"; Jean Warren; 1985
Cite This Article
MLA
Cowling, Tania K.. "Kids' Science Projects On Things That Melt" sciencing.com, https://www.sciencing.com/kids-science-projects-things-melt-8544326/. 24 April 2017.
APA
Cowling, Tania K.. (2017, April 24). Kids' Science Projects On Things That Melt. sciencing.com. Retrieved from https://www.sciencing.com/kids-science-projects-things-melt-8544326/
Chicago
Cowling, Tania K.. Kids' Science Projects On Things That Melt last modified August 30, 2022. https://www.sciencing.com/kids-science-projects-things-melt-8544326/
