How To Learn Microprocessor Programming
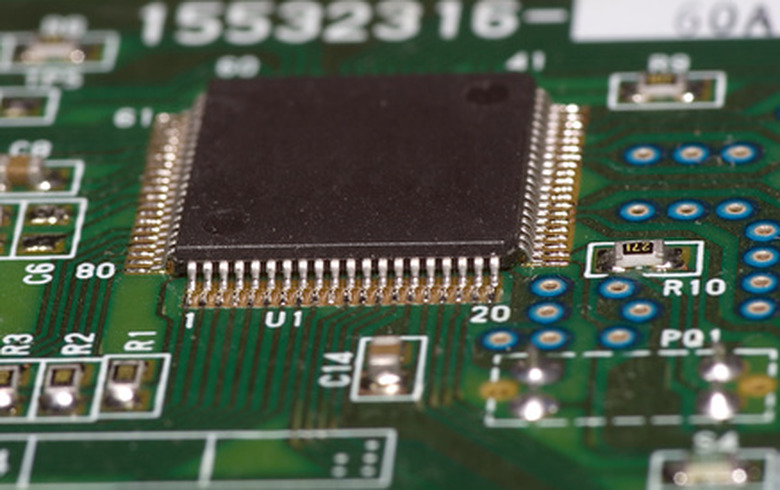
The simplest and most immediately rewarding way to learn microchip programming is by working with a microcontroller. A microcontroller is essentially a computer on a chip with its own processor, RAM memory, and input/output pins. Some microcontrollers have built-in analog-to-digital converters. There are many types of microcontrollers, but the easiest way to start is by using an Arduino board. An Arduino is a small circuit board that includes a microcontroller and all the external circuitry needed to program and run it. With an Arduino, you can jump right into learning programming.
Step 1
Choose a microcontroller you want to learn. Microchip's PIC series and Atmel's AVR chips are both popular choices, as well as the Arduino board. Most microcontrollers use a version of the C programming language, but there are variations. Each manufacturer also uses its own assembly language. Assembly code is less clear than C, but is more efficient because it's closer to the machine language of the chip. Because assembly language is so compact and memory on a microcontroller is limited, many programs are written in a combination of C and assembly.
Step 2
Read the data sheet for the microcontroller you've chosen, and find out what external circuitry you'll need to run it. You'll need a breadboard to prototype circuits on, components for the power supply circuit, a programming cable, and potentially an EEPROM memory chip for program storage. If you're using an Arduino you don't need to wire up any external circuitry before programming the chip.
Step 3
Download code-editing software and a compiler for your chip. "Compiling" code transforms it from the relatively clear language you wrote it in to a language the chip can understand. Code for a microcontroller needs to be compiled for that specific chip, therefore, download the compiler from your microcontroller's manufacturer. Arduino uses its own programming language, which is similar to C, but easier to learn. Free editing and compiling software for Arduino is available on its website, along with extensive tutorials.
Step 4
Set up your microcontroller on the breadboard. Follow the instructions in the data sheet for external circuits such as the power supply. Different microcontrollers require different amounts of voltage and current to run, so you need circuitry that will condition the power supply properly.
Step 5
Follow the instructions you've found for your chip's programming language, either online or in a book, to write your first simple program. Don't get ahead of yourself and try something complicated. The first step is just to successfully program the chip with some simple instructions. For example, try writing a program that will blink an LED on and off. Your instructional materials will most likely have sample introductory projects as well.
Step 6
Connect your microcontroller to the power supply, and connect the programming interface to your computer. Compile and download your software to test it out.
Step 7
Develop your skills by adding features to your software and making it more complex. For example, try adding a dial to your blinking LED project that will allow you to change the rate at which the LED blinks.
Step 8
Learn more code and become confident in your programming by working on increasingly complicated example projects, and trying out your own ideas. Don't just read the whole book through and then try something complicated. You learn programming by programming, not just reading.
Cite This Article
MLA
Quaid, Douglas. "How To Learn Microprocessor Programming" sciencing.com, https://www.sciencing.com/learn-microprocessor-programming-7483604/. 24 April 2017.
APA
Quaid, Douglas. (2017, April 24). How To Learn Microprocessor Programming. sciencing.com. Retrieved from https://www.sciencing.com/learn-microprocessor-programming-7483604/
Chicago
Quaid, Douglas. How To Learn Microprocessor Programming last modified March 24, 2022. https://www.sciencing.com/learn-microprocessor-programming-7483604/
