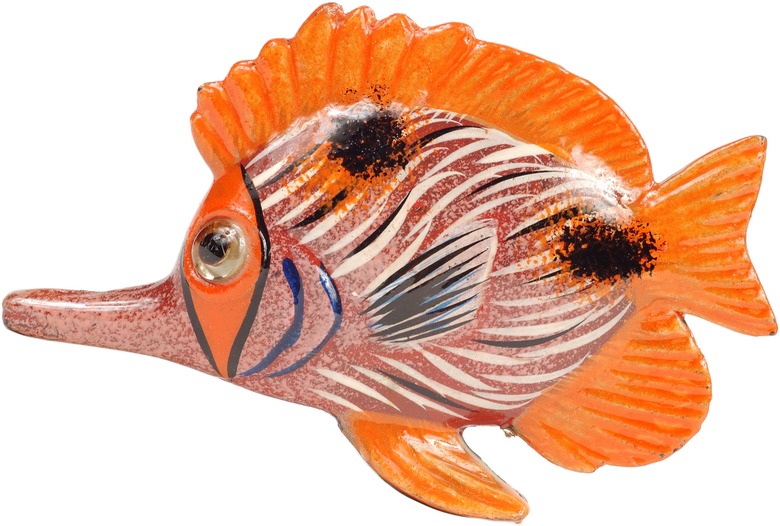
How To Make A 3-D Fish Model
Fish come in a wide variety of shapes, colors and patterns that make them one of the most diverse family of animals on the planet. Whether you are looking to create a realistic looking fish for a biology project or a whimsical representation for art class, making a 3-D model is a simple process. All the materials required can be found at home or a hobby store.
Papier Mache
Step 1
Draw the outline of the fish onto a piece of cardboard. You can either use pictures of an actual fish for realism or be creative to make your own fish design. Cut out the design with scissors.
Step 2
Tear the newspaper into stripes of various sizes and crumble. Tape these crumbled pieces of newspaper to the sides of the fish. The newspaper strips will add depth to the card board cutout. Most fish are the widest towards the midsection and thinner at the head and tail. This means add more paper to the middle of the fish and less towards either end. If your fish is very skinny, instead of crumbling the newspaper, fold it over to create additional depth to the fish without adding too much bulk.
Step 3
Add features onto the fish that will extend out from the body, like the dorsal fin or pectoral fins, by cutting out pieces of cardboard and attaching the pieces to the newspaper with tape. When adding fins, examine the placement closely so that the fins are in the same location on each side of the fish.
Step 4
Dip strips of newspaper into papier mache glue. Papier mache glue can be purchased at hobby stores. Add multiple layers over the entire fish, crisscrossing the paper with each layer. Add extra layers where the cardboard cut outs attach to the body of the fish for support. The entire length of the fish should be smooth after multiple layers of papier mache has been added. Place the fish on top of a cup or wire rack to allow to dry completely.
Step 5
Paint the fish with acrylic paints to add color and details to the fish. Use pictures of the fish to provide realistic color or be creative and make colorful designs on the fish's body. Allow paint to dry.
Step 6
Glue additional details onto the fish which may include eyes, buttons, glitter or other items which add additional detail to your fish model.
Recycled Materials
Step 1
Peel the labels from the outside of a plastic bottle. Labels on some bottles will be easy to remove by hand. If the labels are glued directly to the bottle, immerse the bottle in dish soap and water for five minutes to get the label wet. Remove for the water and peel away the label. Use a butter knife to scrape away any remaining label and glue from the bottle.
Step 2
Cover the body in either spray paints or with tissue paper. Tape the tissue paper onto the bottle and cut off and excess with scissors.
Step 3
Add fins, dorsal fins, gills, eyes and a tail to the bottle. These items can be fashioned from construction paper, polystyrene foam cups, paper plates and aluminum foil. Attach these materials to the body of the model with tape or glue.
Things Needed
- Cardboard
- Pencil
- Scissors
- Newspaper
- Tape
- Papier mache glue
- Cup or wire rack
- Acrylic paint
- Paint brushes
- Eyes
- Buttons
- Glitter
- Plastic bottle
- Dish soap
- Water
- Butter knife
- Spray paint
- Tissue paper
- Construction paper
- Polystyrene foam cups
- Paper plates
- Foil
- Glue
TL;DR (Too Long; Didn't Read)
Use any kind of plastic bottle to make a recycled-bottle fish — 2-liters and even laundry detergent bottles make excellent shapes for the body of the model fish.
Cite This Article
MLA
Carpenter, Michael E. "How To Make A 3-D Fish Model" sciencing.com, https://www.sciencing.com/make-3d-fish-model-12093664/. 24 April 2017.
APA
Carpenter, Michael E. (2017, April 24). How To Make A 3-D Fish Model. sciencing.com. Retrieved from https://www.sciencing.com/make-3d-fish-model-12093664/
Chicago
Carpenter, Michael E. How To Make A 3-D Fish Model last modified March 24, 2022. https://www.sciencing.com/make-3d-fish-model-12093664/
