How To Make A 3D Model Of A Flower
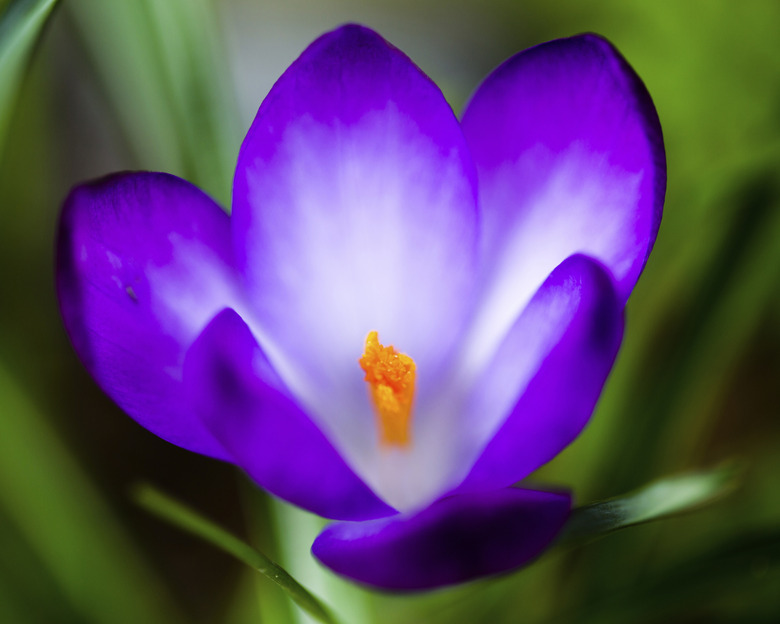
Some plants create flowers as part of their reproductive cycle. Insects and wind spread pollen from one plant to another for fertilization. Once fertilized, the flower can create a seed, which grows into a new plant. Flowers vary in appearance, but they all share some of the same characteristics: petals, stamen, pistil and receptacle. You can make a 3D model in any color and the shapes of the petals can be changed to mimic any type of flower.
Step 1
Lay a cardboard sheet on a flat surface. Trace an oval shape at least 5 inches long and 3 inches wide. Cut out the petal template. Lay the template on colored card stock and trace it four times. Cut out the traced ovals that will be the petals of the flower. Lay a toothpick in the center of the petal so at least 1/2 inch extends beyond the bottom of the petal. Glue in place and set aside to dry.
Step 2
Cut craft wire into 4-inch lengths, representing the filaments in the flower. Make at least four. Mold orange clay into small hot dog shapes and insert them onto one end of the filaments to represent the anthers. Glue in place. Set aside to allow the glue to dry. These are your stamens.
Step 3
Cut a length of straw approximately 2 inches long. Mold green clay around the straw to form the stem and receptacle of the flower, while leaving 1/2 inch of straw extending beyond the bottom of the stem.
Step 4
Mold yellow clay into a vase shape for the pistil. Press your thumb into the center of the large area of the vase to create a hollow area. Place a white marble into the hollow area to represent the ovule. Glue as necessary. The marble is the front of the flower model.
Step 5
Press the yellow pistil onto the top of the green receptacle. Glue in place as necessary. Insert the wire end of the filaments around the sides and back of the green receptacle and bend the wire so it does not touch the pistil. Glue in place.
Step 6
Insert the toothpick at the bottom of each petal into the green clay and glue in place to secure the petals to the flower. Place the petals so the front of the flower is easily visible. Insert the bottom of the stem into a Styrofoam base and glue as necessary to hold in place.
Things Needed
- Flower diagram
- Sheet of cardboard
- Ruler
- Pencil
- Scissors
- Colored card stock paper
- Toothpicks
- Glue
- Green clay
- Straw
- Yellow clay
- White marble
- Thick craft wire
- Orange clay
- Sheet of Styrofoam, 1 inch thick
TL;DR (Too Long; Didn't Read)
Make the flower petals and filaments several hours before beginning the rest of the project to ensure the glue is dry enough to hold the items together. The clay parts must be completed before the clay dries to allow all the parts to fit together.
References
Cite This Article
MLA
Marcotte, Dawn. "How To Make A 3D Model Of A Flower" sciencing.com, https://www.sciencing.com/make-3d-model-flower-6713962/. 24 April 2017.
APA
Marcotte, Dawn. (2017, April 24). How To Make A 3D Model Of A Flower. sciencing.com. Retrieved from https://www.sciencing.com/make-3d-model-flower-6713962/
Chicago
Marcotte, Dawn. How To Make A 3D Model Of A Flower last modified March 24, 2022. https://www.sciencing.com/make-3d-model-flower-6713962/
