How To Make A 3D Model Of An Ocean Floor For Kids
Oceans cover over 70 percent of the Earth's surface. At the bottom, the ocean floor features tall mountains, expansive plains and deep trenches. Most of these features remained unknown to bathymetrists — scientists who study the form of the ocean floor — until the advent of sonar and satellites. Creating a model of the ocean floor out of common household items allows children to visualize a part of the Earth's surface they cannot actually see or experience first-hand.
Step 1
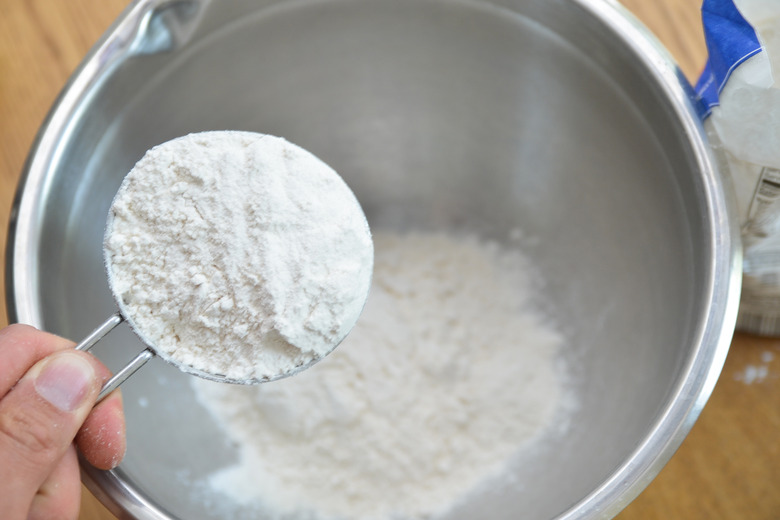
Mix 2 cups of flour, 1 cup of table salt and 1 cup of warm water in a large mixing bowl.
Step 2
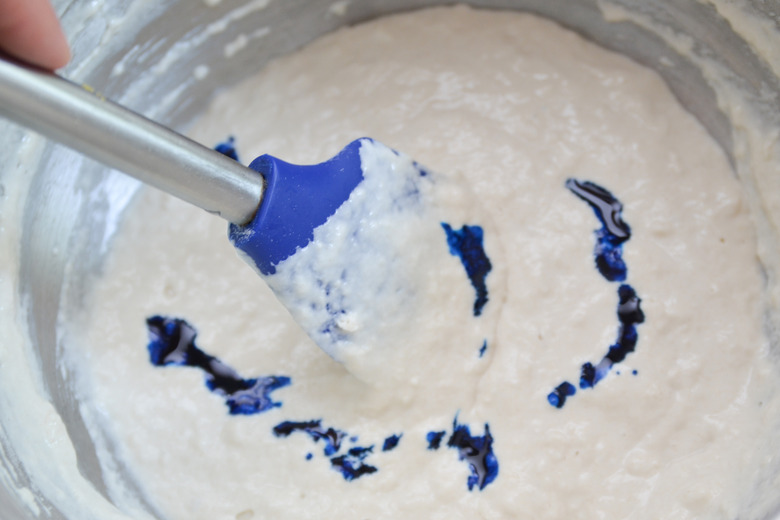
Add two or three drops of blue food coloring, and knead the dough to evenly distribute the food coloring.
Step 3
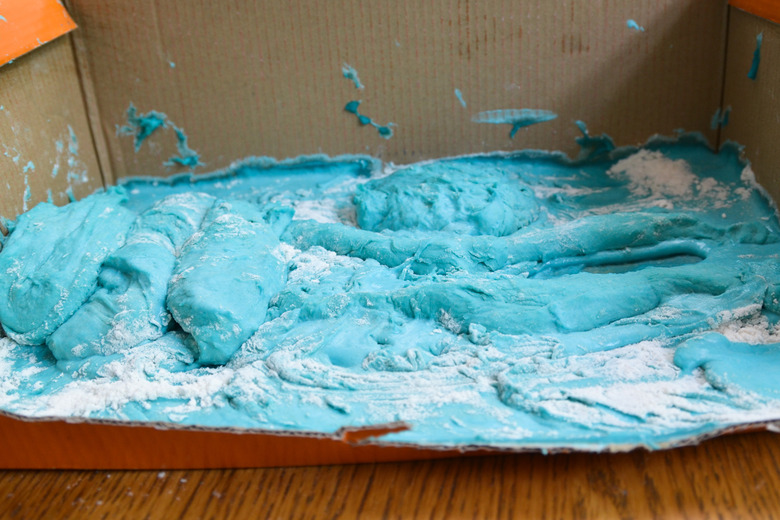
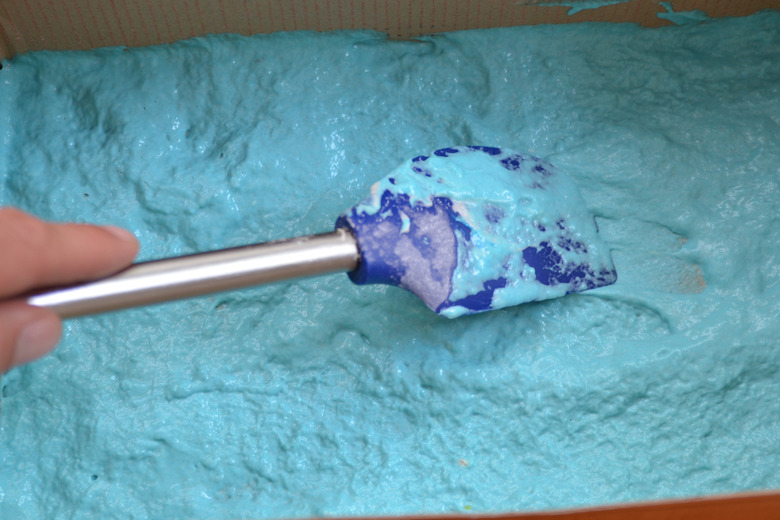
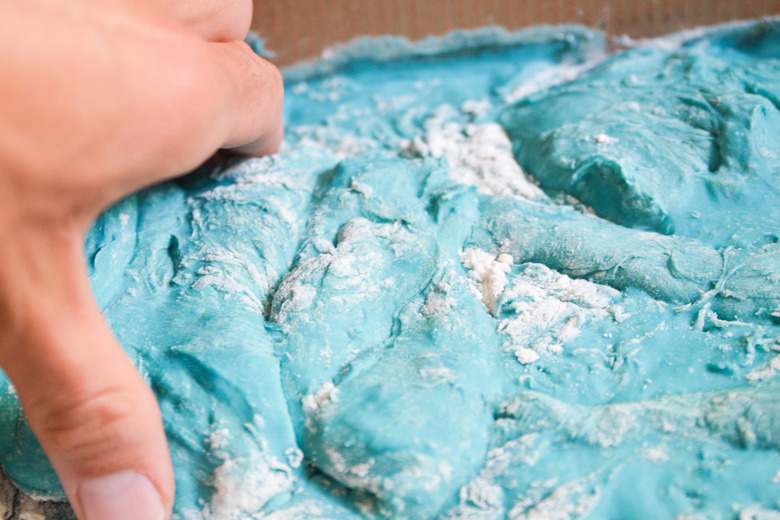
Place an even layer of dough, approximately 1/2 inch thick, over the bottom of the shoe box. Smooth the dough with a thick piece of plastic. This even layer of dough represents the abyssal plain, a flat expanse of ocean floor.
Step 4
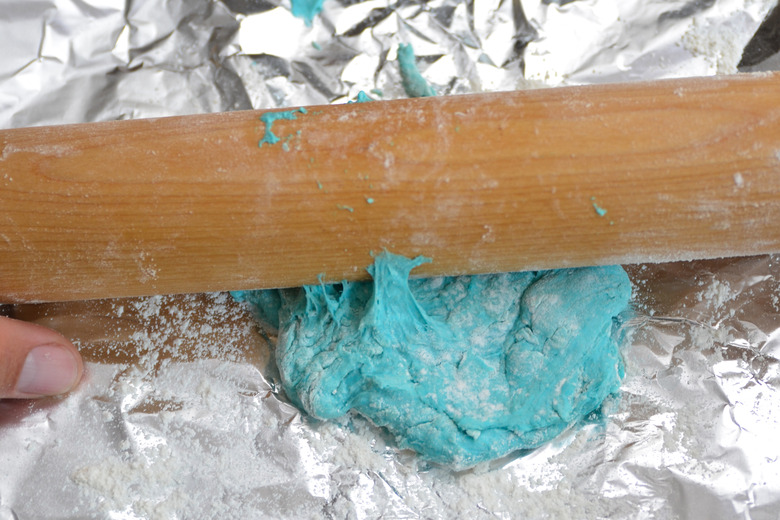
Take two large handfuls of dough and roll them flat with your rolling pin. Roll the dough until you have a large rectangle approximately 1/4 inch thick. Fold the rectangle in half lengthwise. Keep folding it in half until it is approximately 1/2 inch wide. Place the folded strip of dough along the left-hand wall of the shoe box. If the strip is too long to fit in the box, slice off the extra with your thick plastic. Add dough until it reaches approximately halfway up the side of the box. This side represents the continental shelf, an area of land that lies just under the ocean's surface near the coast line.
Step 5
Roll out three more handfuls of dough into two large rectangles, each 1/4 thick. Use two handfuls of dough for one rectangle, and one handful of dough for the other rectangle. Fold each rectangle in half lengthwise. Continue folding the sheets until each is approximately 1/2 inch wide. Place the larger strip to the right of the first strip. Then, place the smaller strip to the far right. Run your piece of thick plastic diagonally down from the top of the continental shelf to the abyssal plain. This creates a steep slope that represents the continental slope — a steep drop-off that connects the continental shelf with the deep ocean floor.
Step 6
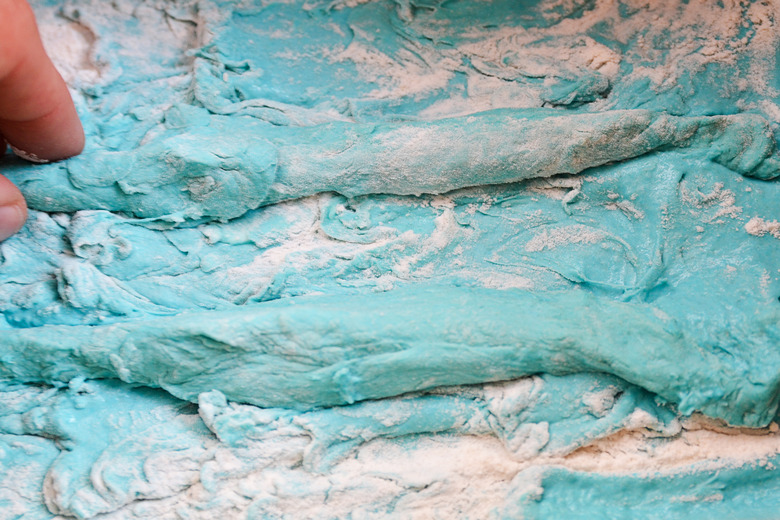
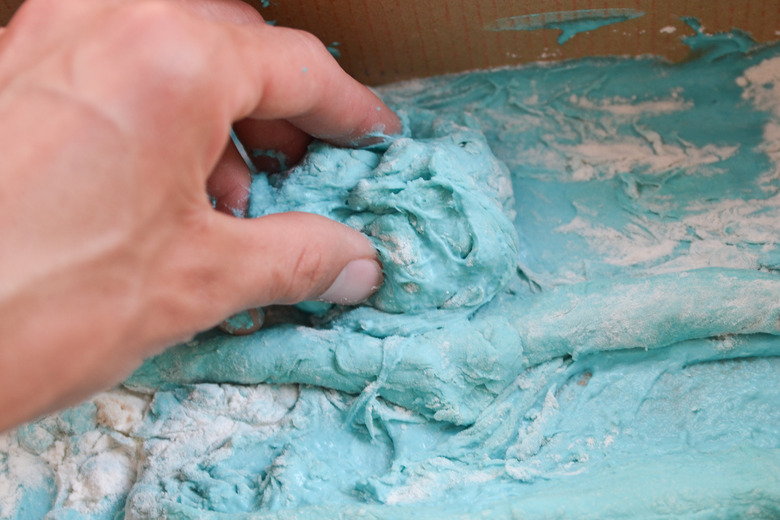
Take two small handfuls of dough and roll each of them into a rectangle with your rolling pin. With your hands, separately roll each of these rectangles width-wise into a log shape. Place the two rolled logs side-by-side in the center of the box, running from front to back. Run your finger along the crease between the two logs, forming a trench. With the thick plastic, smooth the left and right sides of the rolls so that they slope down to the ocean floor, like the sides of mountains. With your fingers, pinch the dough on either side of the trench. This creates the mid-ocean ridge, a feature of the ocean floor with two mountain chains separated by a valley.
Step 7
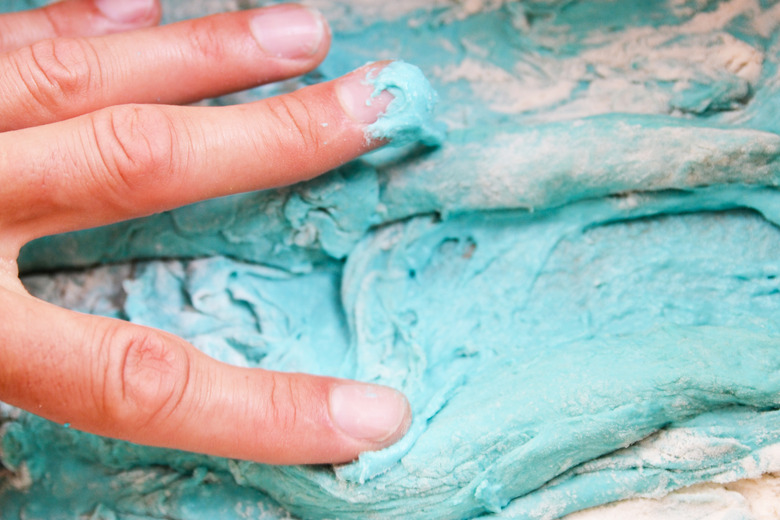
Scrape out some of the dough from the abyssal plain to the right of the mid-ocean ridge with your little finger. This creates an ocean trench. The deep-sea trenches, such as the Marianas Trench, are the ocean's deepest parts.
Step 8
Form two mountains out of dough and place them to the right of the trench. To form a mountain, take a golf-ball-sized piece of dough and roll it between the palms of your hands to form a ball. Place the ball on the ocean floor, and push the outer part down against the surface, smoothing the crease with your fingers and leaving the middle part higher. Gently work the dough at the top of the ball until it forms a peak. With the thick plastic, slice off the top of one of the mountains, approximately 1/2 inch from the top. The mountain with the peak is a seamount , an isolated mountain on the ocean floor, while the mountain with the flat top is a guyot — a seamount with a flat, eroded surface.
Step 9
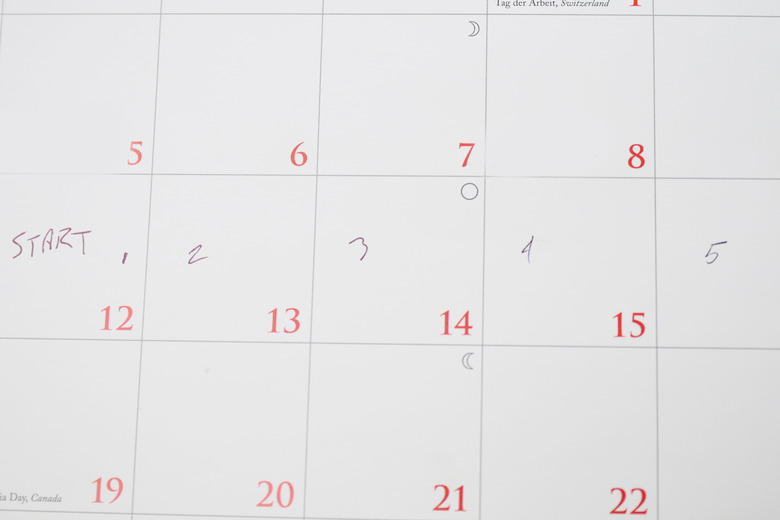
Let the dough dry for approximately 5 days.
Step 10
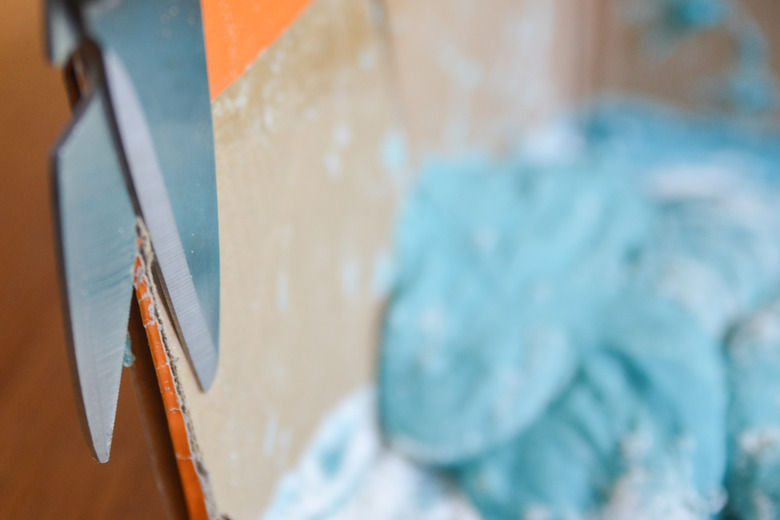
Cut off one of the long sides of the shoe box with a pair of scissors, allowing you to see the contours of the ocean floor.
Things Needed
- Large mixing bowl
- 2 cups flour
- 1 cup table salt
- 1 cup warm water
- Blue food coloring
- Shoe box
- Piece of thick plastic, such as a laminated library card
- Rolling pin
- Scissors
References
- University of California Los Angeles Marine Science Center: Sea Floor and Continental Drift Lesson Plan
- The Museum of Science: Looking at the Sea: Physical Features of the Ocean
- Office of Naval Research: Ocean Floor — Continental Margin and Rise
- Office of Naval Research: Ocean Floor — Deep Ocean Basin
- Office of Naval Research: Ocean Floor — Mid-Ocean Range
- National Oceanic and Atmospheric Administration: Mapping the Ocean Floor: Bathymetry
Cite This Article
MLA
Black, Kat. "How To Make A 3D Model Of An Ocean Floor For Kids" sciencing.com, https://www.sciencing.com/make-3d-model-ocean-floor-kids-12207506/. 24 April 2017.
APA
Black, Kat. (2017, April 24). How To Make A 3D Model Of An Ocean Floor For Kids. sciencing.com. Retrieved from https://www.sciencing.com/make-3d-model-ocean-floor-kids-12207506/
Chicago
Black, Kat. How To Make A 3D Model Of An Ocean Floor For Kids last modified March 24, 2022. https://www.sciencing.com/make-3d-model-ocean-floor-kids-12207506/
