How To Make A 3D Model Of The Respiratory System
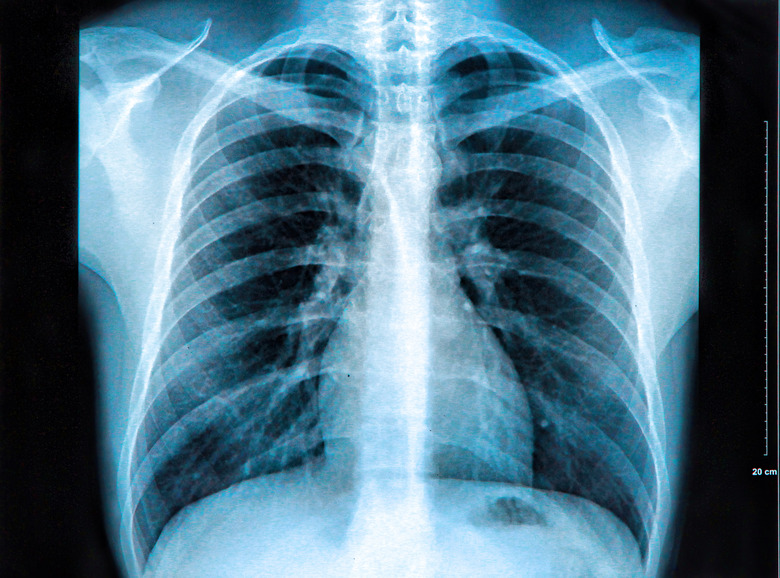
The respiratory system is responsible for getting oxygen to the blood. The blood can then deliver the oxygen to all parts of the body. Oxygen is inhaled through the mouth or nose and carbon dioxide is exhaled. The respiratory system has many parts in addition to the lungs and mouth. Determine how detailed the model should be before beginning, as some items such as the alveoli are normally too small to be seen with the naked eye.
Step 1
Review the diagram of the respiratory system. Cut the Styrofoam head in half from top to bottom. Sketch the mouth on the front of the Styrofoam head with the pencil. Sketch the trachea on the side of the head as it leads from the mouth to the bottom of the neck. If additional detail is required for the project, sketch in the vocal cords and the esophagus according to the diagram. Paint the lips with red and all other lines with black paint. Set aside to dry.
Step 2
Mold two lungs from white clay or modeling foam. Include a large trachea tube on one side of each lung. Cut one of the lungs in half to expose the inside. Hollow out the bottom side of this lung slightly to allow room for the bronchus and alveoli and still be able to cover the lung.
Step 3
Mold one roll of red clay as thick as a pencil. Place one end on the left side of the open lung and lay the rest sloping across and down the lung. This piece should be fairly short to allow room for the remaining branches of the bronchus. Make additional rolls of red clay in progressively smaller diameters and add them to the original roll in an upside-down branching pattern.
Step 4
Place groups of silver beads at the ends of the smallest bronchus to represent the alveoli. This should be toward the bottom of the lung. Use glue to keep them in place if necessary. Allow the lungs to dry completely.
Step 5
Glue the trachea from the lung toward the bottom of the hose. Glue one end of the rubber hose to the bottom of the Styrofoam head to represent the trachea. The head should be turned to the side so the respiratory system is visible. The hose should hang down 9 to 12 inches to allow room for the lungs on either side. Allow the glue to dry completely.
Things Needed
- Diagram of respiratory system
- Styrofoam head
- Utility knife
- Sharp pencil
- Modeling clay or foam – white, red, blue
- Small silver beads
- Red paint
- Black paint
- Fine paintbrushes
- Glue
- Rubber hose
- Toothpicks
- Small paper squares
- Pen
TL;DR (Too Long; Didn't Read)
Cutting the head in half will allow the model to lay on a flat surface for viewing. If the parts need to be labeled, use a toothpick to poke a hole in each part before the clay dries. Create labels with paper and pen and attach them into these prepunched holes after the model has dried.
Cite This Article
MLA
Marcotte, Dawn. "How To Make A 3D Model Of The Respiratory System" sciencing.com, https://www.sciencing.com/make-3d-model-respiratory-system-5985640/. 13 March 2018.
APA
Marcotte, Dawn. (2018, March 13). How To Make A 3D Model Of The Respiratory System. sciencing.com. Retrieved from https://www.sciencing.com/make-3d-model-respiratory-system-5985640/
Chicago
Marcotte, Dawn. How To Make A 3D Model Of The Respiratory System last modified March 24, 2022. https://www.sciencing.com/make-3d-model-respiratory-system-5985640/
