How To Make A Battery Powered Fan
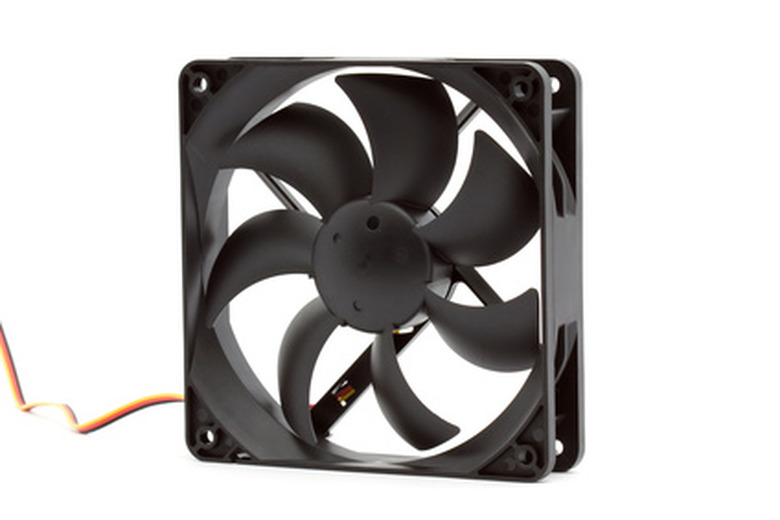
Whether you're cooling yourself, a computer or just about anything else, a battery powered fan provides a convenient solution. The basic components of an electric fan and method of assembly, are consistent whether you're building a tiny personal fan to run off an AA battery or a giant industrial fan powered by a series of car batteries. For this fan, we'll use a nine volt battery and a cooling fan from an electronic device. You can use any fan and battery, as long as the input voltage and current on the fan motor, match the output voltage and current of the battery.
Step 1
Strip a quarter of an inch of wire from the ends of each of the wires connected to the snap connector and the fan.
Step 2
Twist the exposed sections of the positive wires, which are typically red, around each other. Heat the wires with your soldering iron and apply solder over the joint to bind the wires.
Step 3
Repeat step two for the negative wires. Cover both solder points with electrical tape so that no wire or solder is exposed.
Step 4
Connect the nine volt battery to the snap connector and enjoy the cool breeze.
Things Needed
- Nine volt snap connector
- Cooling fan for computer or DVD player
- Wire strippers
- Soldering iron
- Solder
- Electrical tape
- Battery, nine volt
TL;DR (Too Long; Didn't Read)
You can optionally install an on/off switch or button by cutting any one of the wires and soldering the wires onto the connections on the on/off switch. If you want your fan to run backwards, you can connect the positive wire from the battery to the negative wire for the fan and vice-versa. You can also run this fan on USB power by removing the small USB connector from the end of a USB power plug and soldering the wires from the power cable into the fan in step
Warning
Soldering irons become very hot; exercise caution while soldering.
Cite This Article
MLA
Weinberg, David. "How To Make A Battery Powered Fan" sciencing.com, https://www.sciencing.com/make-battery-powered-fan-6395151/. 24 April 2017.
APA
Weinberg, David. (2017, April 24). How To Make A Battery Powered Fan. sciencing.com. Retrieved from https://www.sciencing.com/make-battery-powered-fan-6395151/
Chicago
Weinberg, David. How To Make A Battery Powered Fan last modified March 24, 2022. https://www.sciencing.com/make-battery-powered-fan-6395151/
