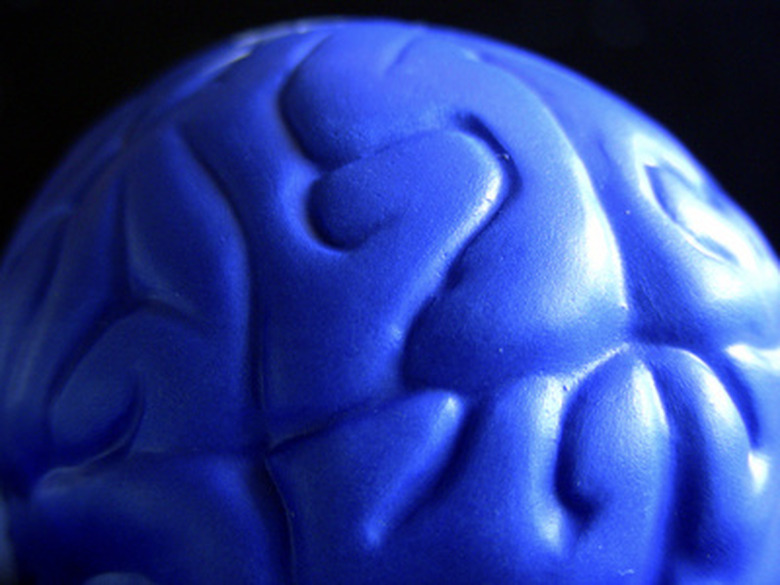
How To Make A Detailed Human Brain Model Out Of Clay
The human brain is not only amazingly intricate and the most advanced "biological computer" discovered to date, but also, in a lot of people's eyes, it is an aesthetically intriguing marvel of nature as well. With its telltale elegant folds on the surface of its cerebral hemispheres to complement the intricate structures on its underside, the human brain all but asks to be explored in a way that is both artistic and instructive.
Clay is an excellent material for creating detailed brain model project. A clay brain model can be made quickly and inexpensively, and it lasts indefinitely as a display and teaching aid.
Gather Your Materials
Gather Your Materials
You can choose any kind of modeling clay you like to build a human brain, and if you are used to working with this medium, select the type you are most pleased with. You will likely want to select a brand that comes in contrasting colors, such as Play-Doh or a similar alternative. Since an adult human is brain is close to 1.5 liters in size, if you want anything resembling a full-scale model, you'll want plenty of clay.
Also, you'll need a neuroanatomy atlas or at least an illustrated basic human anatomy text. Free online versions are available (see Resources).
Finally, you'll want some extras to make your clay brain project stand out. Toothpicks can help etch exquisite detail into your model, and you can combine toothpicks with small sticky notes to create labels for your brain.
The Basic Clay Brain Model
The Basic Clay Brain Model
You can choose the portions of the brain on which to focus, but one great starting point would be using a different color for each of the main portions, or lobes, of the brain: frontal, temporal, parietal and occipital. You can use other colors, perhaps ones you generate through blending other colors, to make a cerebellum and a brain stem. Once this is done, you have the six main parts of the brain seen on gross examination.
A Fully Human Brain
A Fully Human Brain
From here, you can add details to add fidelity to your model. For example, you can etch grooves into the cerebral hemispheres (these are called sulci and gyri) to give your brain its characteristic appearance. You can also work on the underside and add smaller elements, such as the pond, medulla and origins of the cranial nerves. If you like, you can include the top portion of the spinal cord for completeness.
Customizing Your Creation
Customizing Your Creation
Once the basics are in place, and you are comfortable with your own knowledge of the gross anatomy of the human brain, you can take your project a step further and home in on a particular area and how it functions. For example, you could even slice your brain into two equal parts longitudinally (that is, from front to back) and show the corpus callosum and other bilateral (paired) structures deep in the middle of the brain and what they are for. Alternatively, you could type up index cards detailing the job of the limbic system, associated strongly with memory. The possibilities are limited only by – naturally – your mind.
Cite This Article
MLA
Beck, Kevin. "How To Make A Detailed Human Brain Model Out Of Clay" sciencing.com, https://www.sciencing.com/make-brain-model-out-clay-6345524/. 25 July 2018.
APA
Beck, Kevin. (2018, July 25). How To Make A Detailed Human Brain Model Out Of Clay. sciencing.com. Retrieved from https://www.sciencing.com/make-brain-model-out-clay-6345524/
Chicago
Beck, Kevin. How To Make A Detailed Human Brain Model Out Of Clay last modified March 24, 2022. https://www.sciencing.com/make-brain-model-out-clay-6345524/
