How To Make A Bridge Out Of Straws
Engineers have worked over the years to develop better, stronger bridges that can hold up enormous amounts of weight. Students can learn about bridges, and differences in strength among the types of bridges, by building their own out of straws. Whether the bridge is for an experiment or a model, straw bridges work well when built properly and hold up against a relatively heavy weight.
Step 1
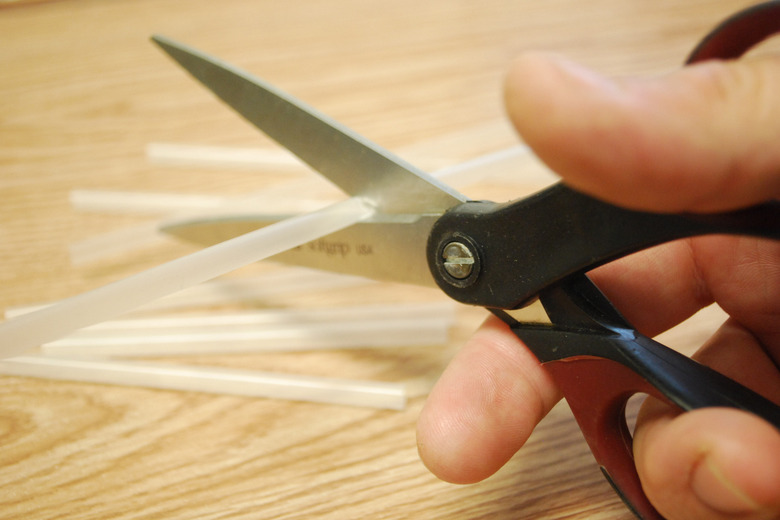
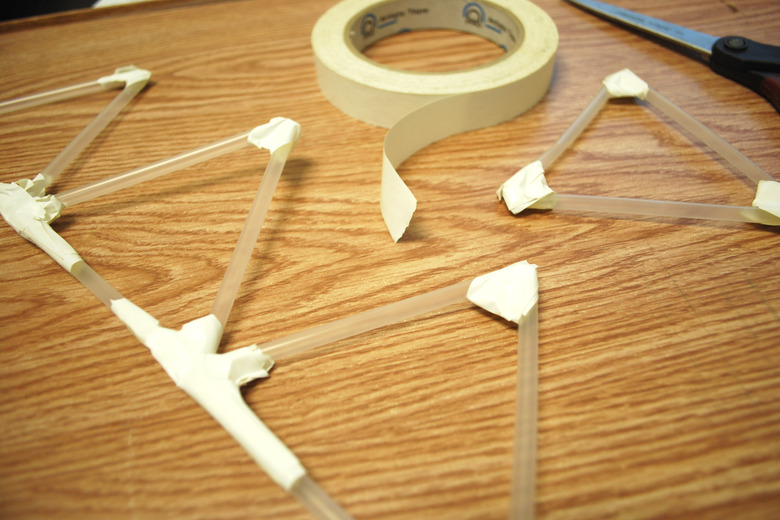
Cut six straws in half to create twelve smaller pieces. You may need more if you want to create a long bridge. Lay out three pieces to form a triangle and tape them together at the corners with masking tape.
If the tape doesn't hold the triangles, roll up a small ball of clay and insert the straw pieces. Apply one at each corner and add tape if necessary to hold the straws to the clay. Certain projects may ask you to only use straws and tape, in which case you'll need to add extra tape to ensure your straws stay in place.
Step 2
Repeat until you have four triangles. Cut up six more straws and create four additional triangles for a total of eight. Check that the triangles are all the same size. Lay four triangles out side by side with only the bottom corners touching and tape the corners together. Repeat for the other four triangles to create two sets of four.
Step 3
Place a straw along the bottom of the four triangles and secure it by placing a piece of tape around the straw and the center of each triangle. Repeat for the other set of four triangles. Tape together two straws if one is not long enough and trim away the extra length on the ends.
Step 4
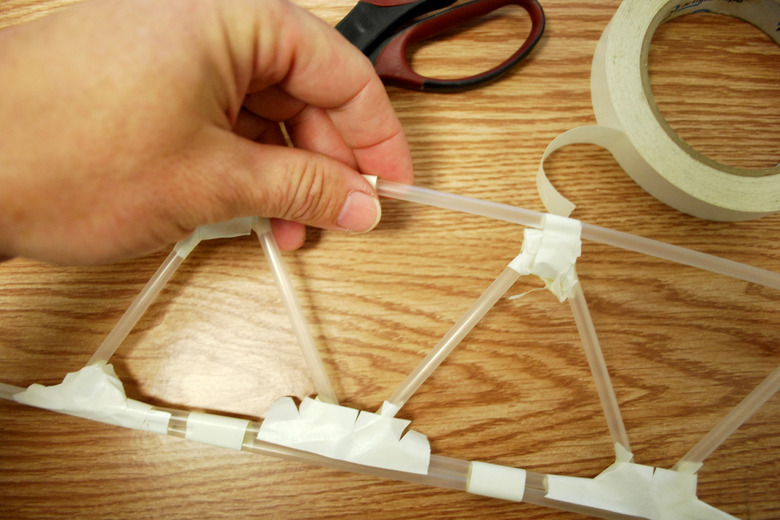
Place a straw along the top of the four triangles and tape around the straw and the point of each triangle. Repeat for the second set of four triangles and trim off any excess straw sticking out.
Step 5
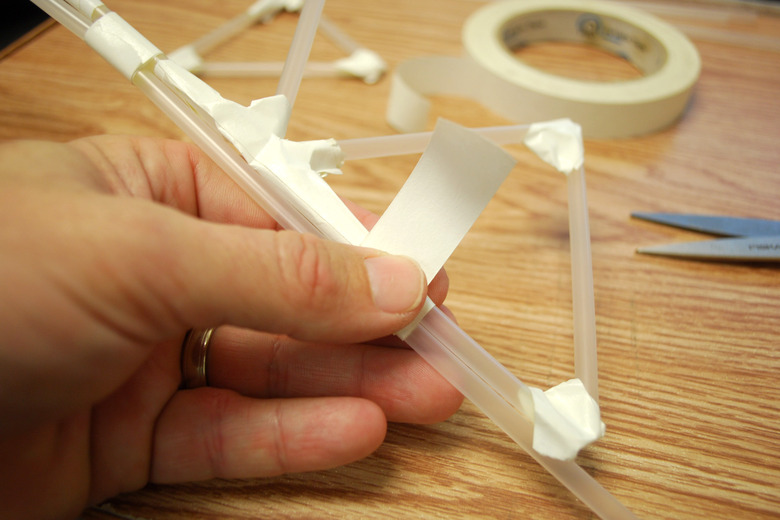
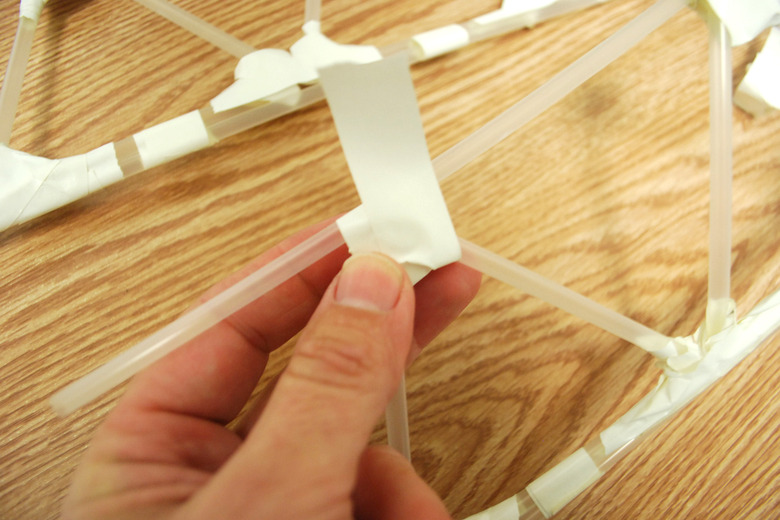
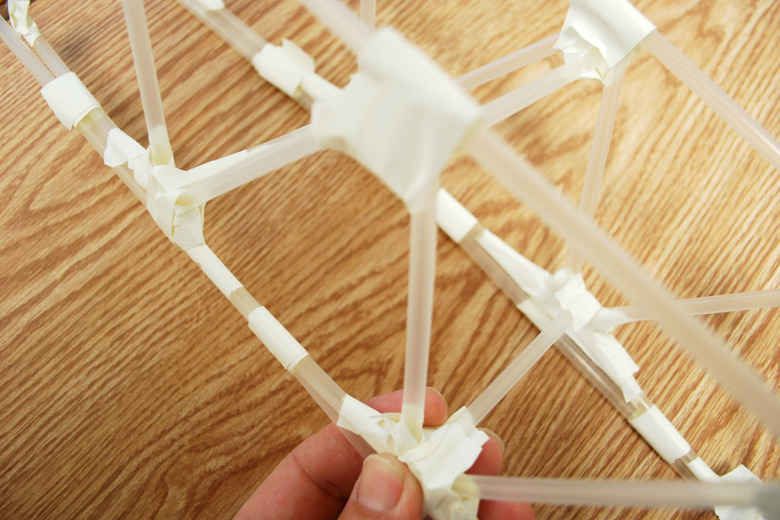
Ask a friend to hold the two sets of triangles, which are now the sides of your bridge, upright and approximately 2 to 3 inches apart running parallel to each other. Extend pieces of straw underneath the top corner of each of the four triangles to slide under the tops of the triangles on the other side. Tape the straw pieces in place. Repeat with the corners at the bottom of the triangles.
Step 6
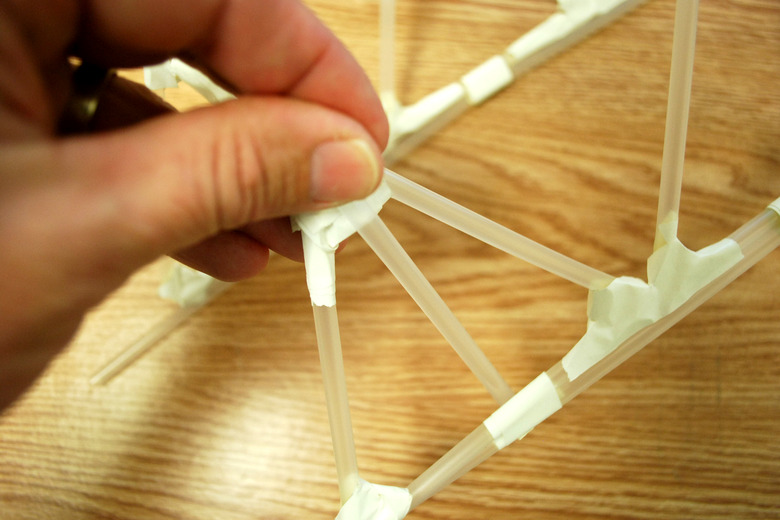
Place your bridge on a sturdy surface. If it seems unstable or does not seem strong enough, connect a small piece of straw from the top corner of each triangle down to the center of the bottom straw forming that triangle. Make sure to connect it to the long straws running above and below the triangles. This provides extra support for your bridge.
Things Needed
- Scissors
- Straws
- Masking tape
- Clay or sticky tack
TL;DR (Too Long; Didn't Read)
When designing your own straw bridge remember that triangles are the strongest shape you can use, according to online resource Technology Student, while squares are the weakest.
Cite This Article
MLA
Reed, Jessica. "How To Make A Bridge Out Of Straws" sciencing.com, https://www.sciencing.com/make-bridge-out-straws-6620094/. 24 April 2017.
APA
Reed, Jessica. (2017, April 24). How To Make A Bridge Out Of Straws. sciencing.com. Retrieved from https://www.sciencing.com/make-bridge-out-straws-6620094/
Chicago
Reed, Jessica. How To Make A Bridge Out Of Straws last modified March 24, 2022. https://www.sciencing.com/make-bridge-out-straws-6620094/
