How To Make Cardboard Machines
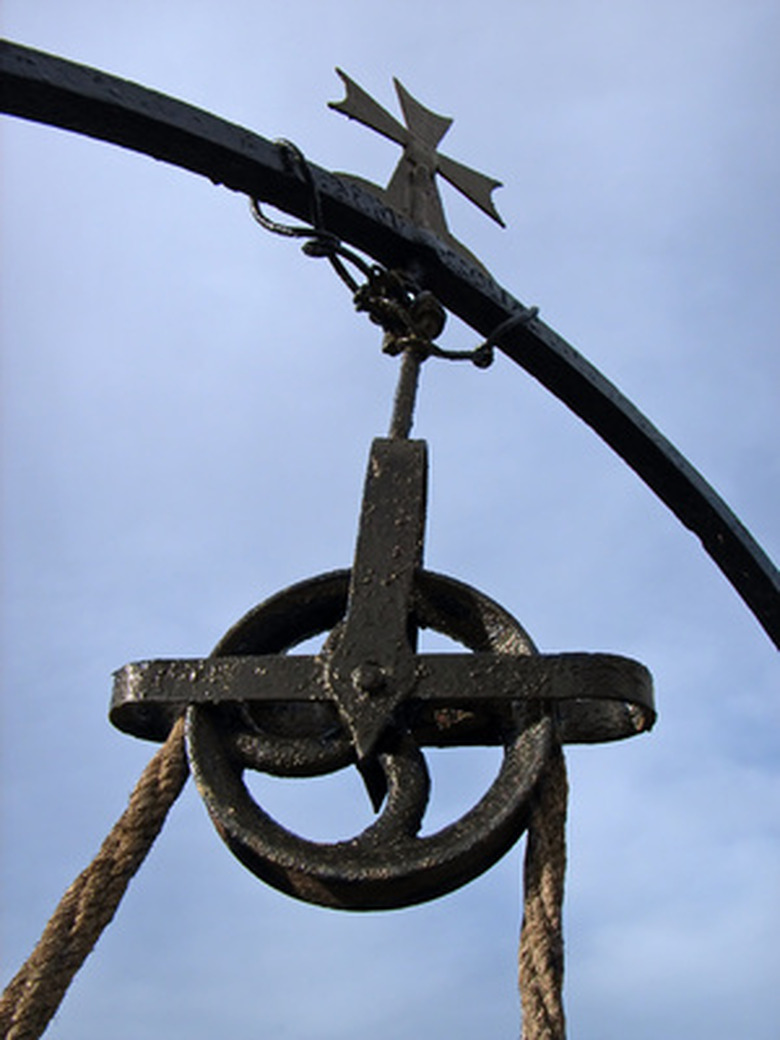
Simple machines are basic forms that make work easier. While they are not what we typically think of as machines today, levers, wheels, pulleys and inclined planes are the basic machines that allowed humans to reach the level of sophistication we enjoy today. Your students can create several of these machines using nothing but corrugated cardboard and glue. This lesson takes advantage of the fact that while cardboard is weak on its face, it is very strong when pressure is applied to its edge.
Inclined Plane
Step 1
Cut out ten right triangles. The bottom of each should be 4 inches, the side 3 inches and the hypotenuse 5 inches.
Step 2
Glue the triangles together with school glue so that they form one thick triangle.
Step 3
Tape the triangles together until the glue dries.
Step 4
Have the students walk their fingers up the inclined plane to show that it is a much easier way of obtaining height than climbing or using stairs.
Wheel and Axle
Step 1
Cut out ten circles with 4-inch diameters.
Step 2
Cut a 1/2-inch hole in the exact center of each circle.
Step 3
Glue the circles together so that the holes and edges line up. Use tape to hold the cardboard together as the glue dries.
Step 4
Cut a cardboard rectangle that is 1 inch wide and 6 inches long. The corrugation must follow the 6-inch side.
Step 5
Use a razor blade to cut slits along the corrugation ridges on one side of the rectangle. This will make it flexible.
Step 6
Apply glue to the cardboard and roll it into a tube with a diameter of slightly less than 1/2-inch. Use tape to hold the cardboard in place until the glue dries.
Step 7
Insert the tube, which serves as the axle, into the hole in the wheel. It should be centered in the wheel.
Step 8
Have the students hold the ends of the axle and roll the wheel around.
Pulley
Step 1
Cut out four 3-inch cardboard circles and six 4-inch cardboard circles.
Step 2
Make a wheel and axle as outlined above. The 3-inch cardboard pieces should be sandwiched on each side by three 4-inch pieces.
Step 3
Have a student hold the pulley by the axle above his head. Tie a small weight to a string and thread it through the pulley. Have other students lift the weight using the pulley.
Lever
Step 1
Make an equilateral triangle 4 inches per side, following the steps for the inclined plane. This will be the lever's pivot.
Step 2
Cut out ten cardboard rectangles 1 inch wide and 12 inches long.
Step 3
Glue the rectangles into a lever, using tape to hold them until the glue dries.
Step 4
Wedge the lever under an object such as a box. Position the pivot under the center of the lever and have the kids flip the object over.
Things Needed
- Cardboard
- Scissors
- Glue
- Tape
- String
Warning
Razor blades and other sharp objects should be handled only by adults.
Cite This Article
MLA
Smith, Alex. "How To Make Cardboard Machines" sciencing.com, https://www.sciencing.com/make-cardboard-machines-7892574/. 24 April 2017.
APA
Smith, Alex. (2017, April 24). How To Make Cardboard Machines. sciencing.com. Retrieved from https://www.sciencing.com/make-cardboard-machines-7892574/
Chicago
Smith, Alex. How To Make Cardboard Machines last modified March 24, 2022. https://www.sciencing.com/make-cardboard-machines-7892574/
